Absolutely no regrets choosing to do a mountaineering course before heading into the hills independently. The course run in 2014 by Stuart Hollaway for MUMC members was a once in a lifetime, unforgetable opportunity. It is so very sad to have to say that there will probably never be another quite like it. Stu and Dale passed away in an accident while climbing the Silberhorn together the following year. They were both mentors and friends to many of the club members. Despite their warnings, I don't think many of us really expected them, the strongest, and boldest of us, to fall.
I've wanted to write an account of the course for a long time now, but I've been busy, and didn't really feel like I could touch the subject given the circumstances. I hope that others who read this can get a little piece of Stu, second hand, and that there will be an opportunity to remember these lessons and teach them to others. It's also just a bit of a splurge to get all this out of my head so I can look back on it and remind myself.
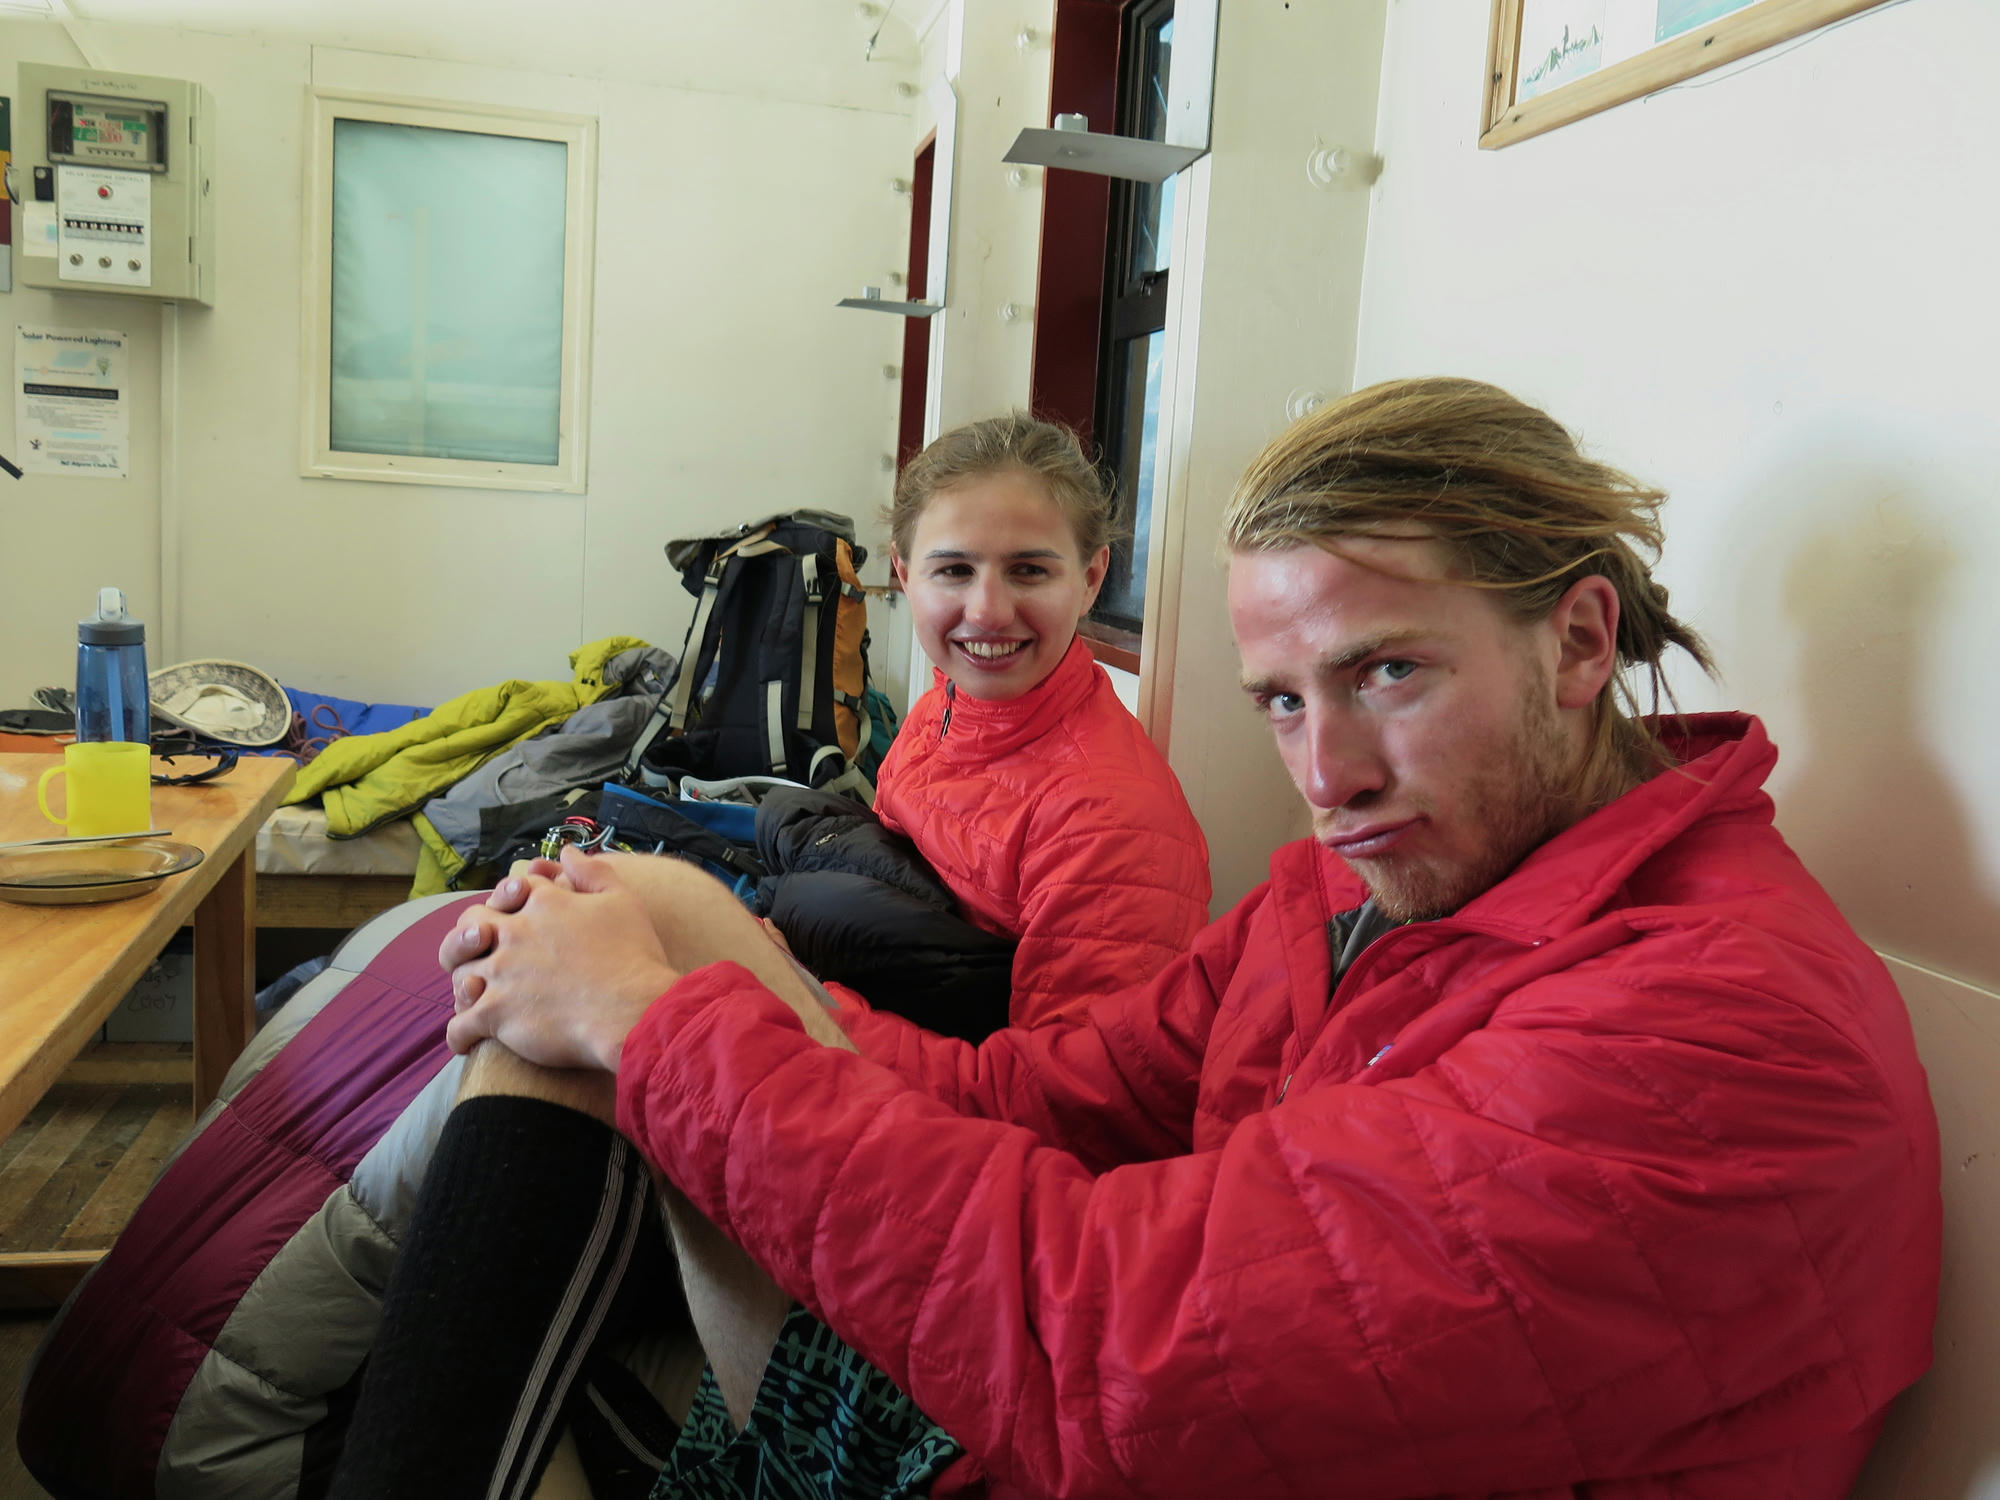
Our course actually began in Melbourne. All the participants were from MUMC and knew Stu in some capacity through the club. We met up on an evening in the clubrooms to discuss the course, some theory, the risks invovled, and to practice some roping up technique.
Video
I made a short film about the trip which is up on vimeo.
Pre-Alpine Weekend
Later in the year, around November, Stu organised the now annual pre-alpine skills weekend. Here we ran through a number of key skills needed in the mountains that are easy to practice at a location like Mt Arapiles. While climbing the key focus was completing long, easy routes in a fast and efficient manner. Stu explained the reason for this: getting up quickly, and back down quickly reduces your exposure to objective risks such as rockfall, icefall and soft snow avalanches/slips. Don't follow rules religiously but consider every option carefully and always be aware and prepared to make good compromises when the situation requires. The mountain doesn't play by your rules.
Efficiency
One of the major gains in efficiency is to ensure that both you and your partner are always doing something, nobody is sitting around waiting. If one person is coiling the rope, the other is sorting out the rack, or chomping on a musli bar.
Communication
An important topic was safe and efficient comunication between climbers. Often the "On belay, climb when ready. Climbing. Climb on. Safe. On Belay, climb when ready. etc" can be reduced to a simpler "On belay" at the bottom, and "Safe" at the top. The rest can be inferred by watching your partner and the rope, as well as an agreed plan of action. It isn't perfect, but practicing climbing like this with your partner will allow you to deal with situations in high wind, and when you can't see or hear your partner.
Seconding
If you're seconding there is a simple rule to follow, climb at the rate that your partner pulls the rope up. Going faster puts a shock load on the anchor or your partner when you fall, and it can get tangled up in your crampons.
If the rope comes tight on you and you've heard a muffled yell from above, you can make the assumption that either:
- Your partner has yelled on belay and you're good to start climbing.
- They have reached the end of the rope.
Take the assumption that they have reached the end of the rope, if you take out your anchor, at worst you are now simul-climbing, with many pieces of protection between you and your partner.
Take the assumption that they have yelled on belay, at worst they have yelled safe, are near the end of their rope, and are just about to put you on belay.
Leading
If you're leading there's another rule to follow, when reaching an anchor, pull rope up tight and chuck your partner on belay as quickly as possible. There is a slight moment between when you've pulled up all the slack rope and when you put them on belay where your partner may have disconnected from the anchor down below. Be aware of this and consider putting them on belay sooner if the situation requires.
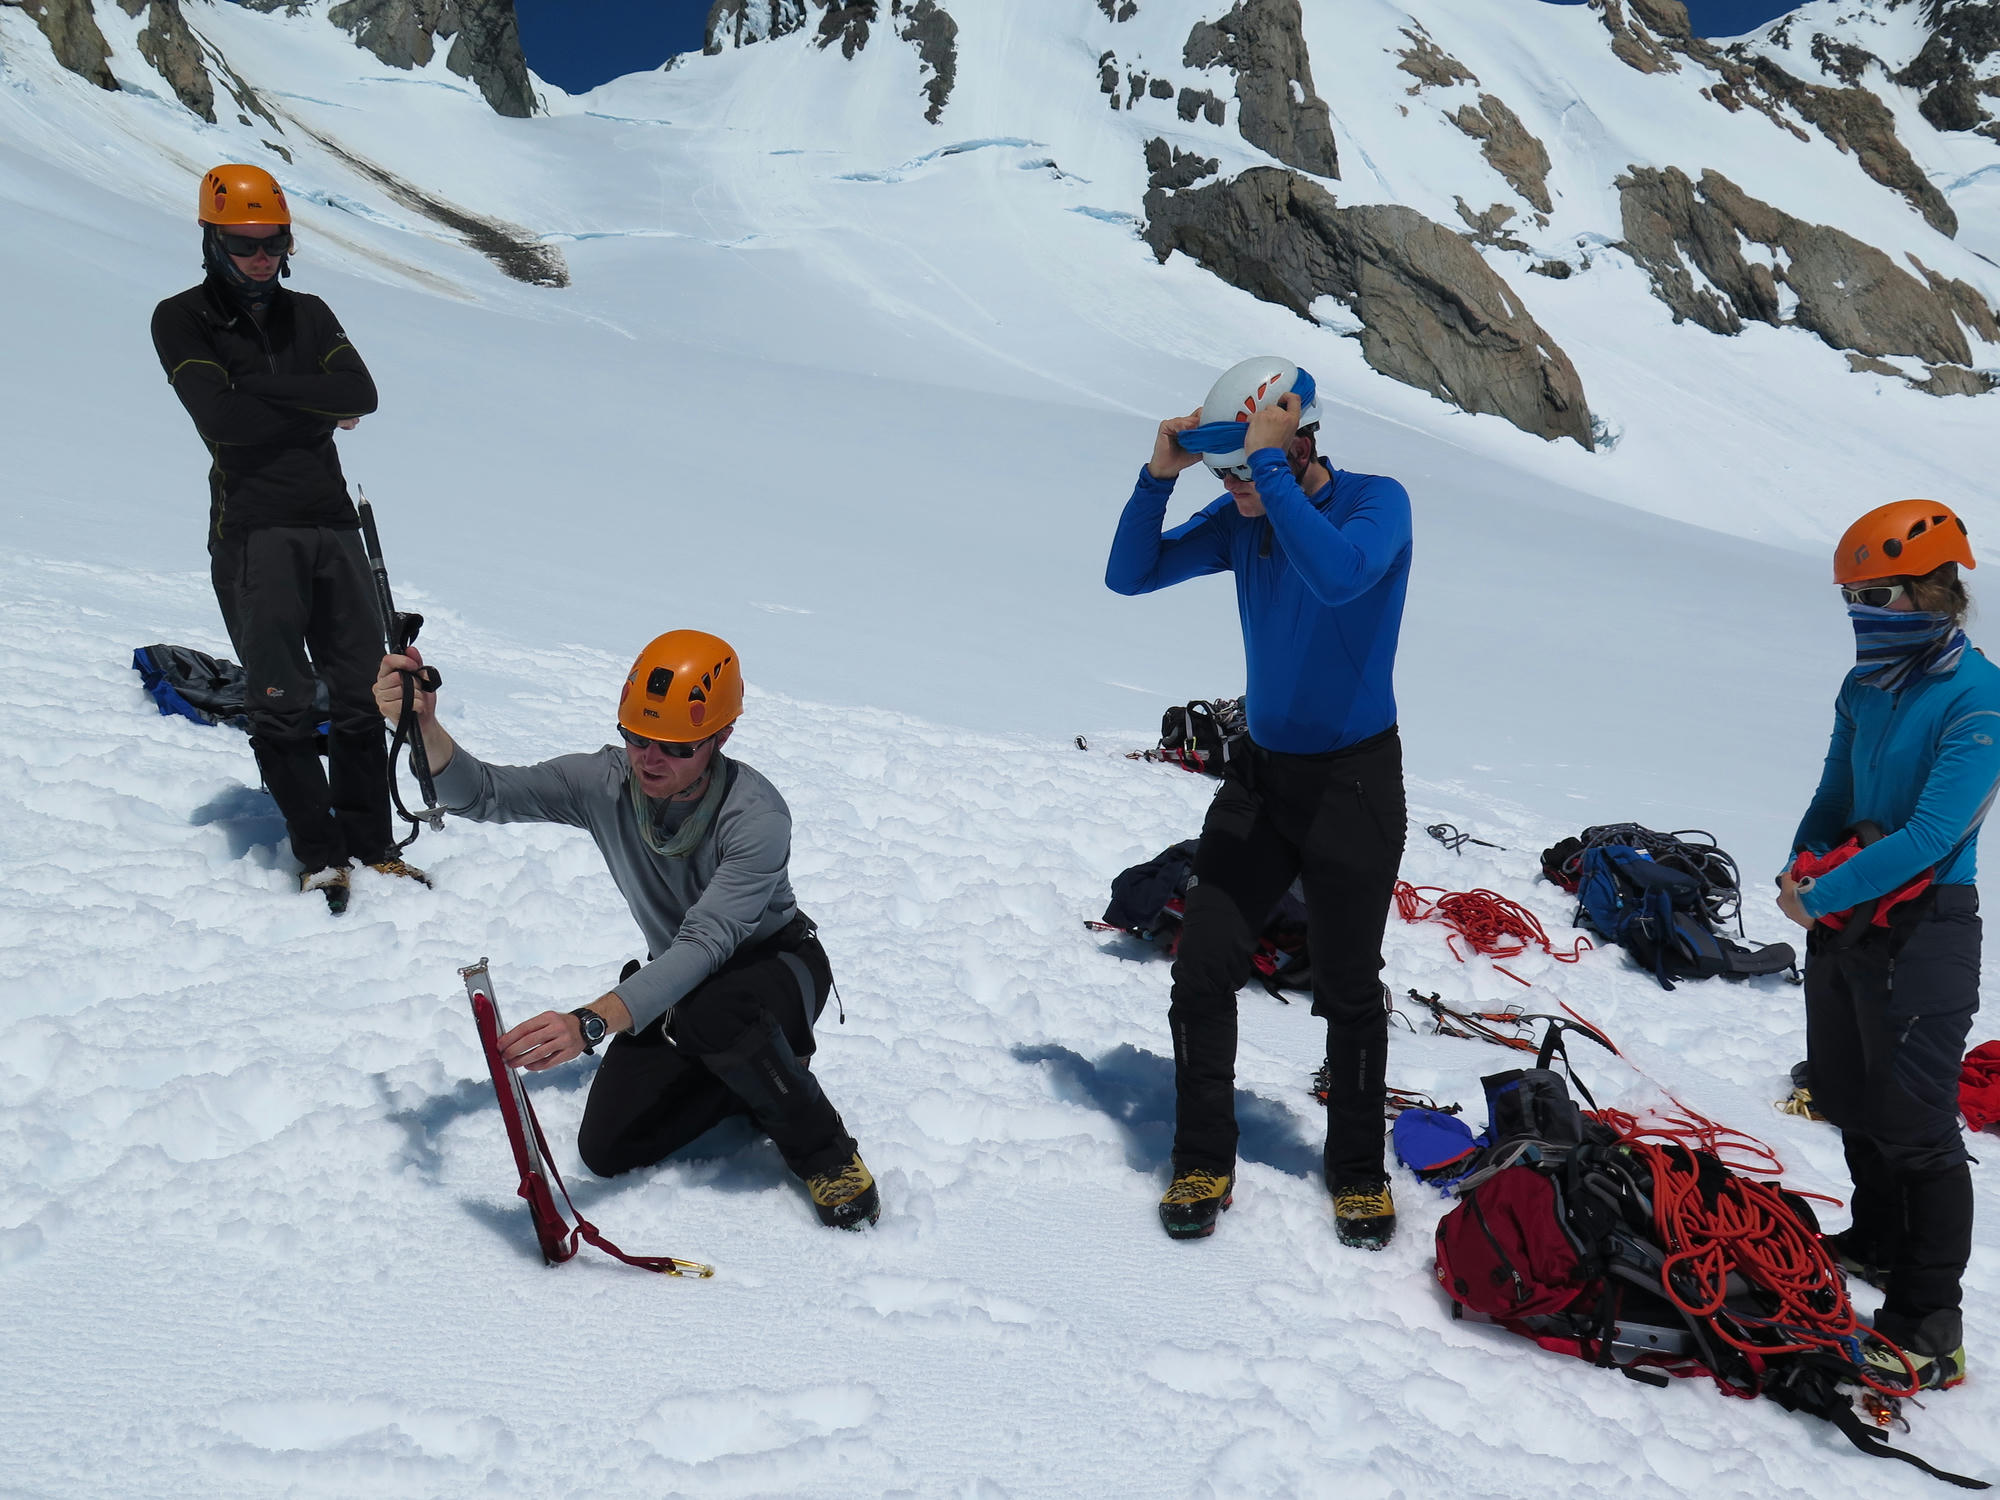
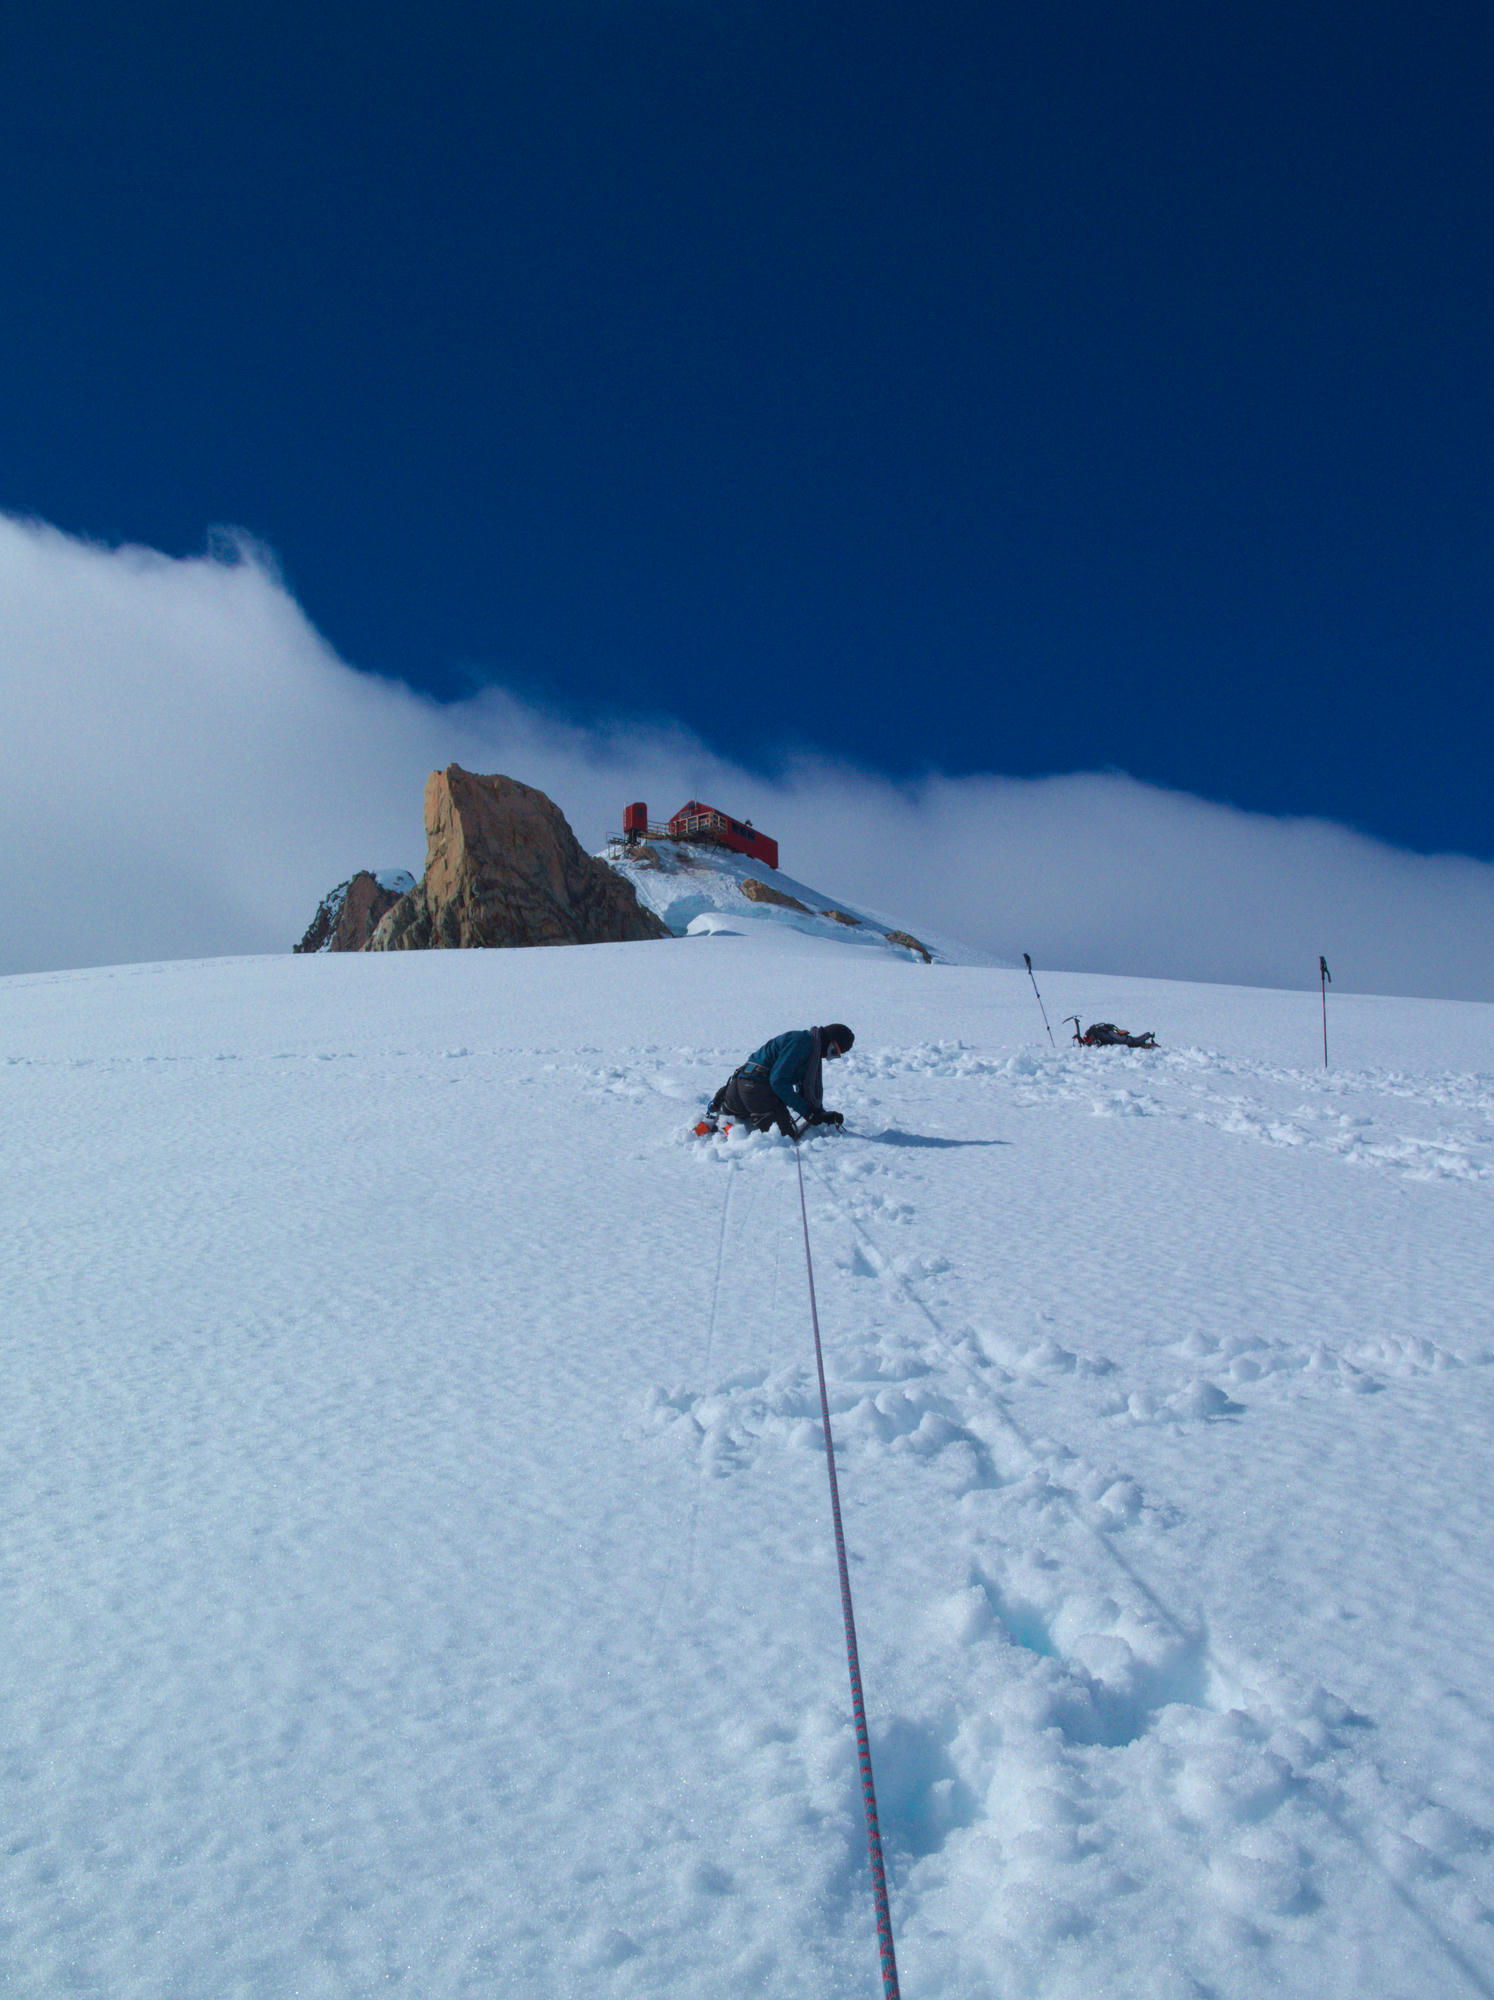
Roping Up
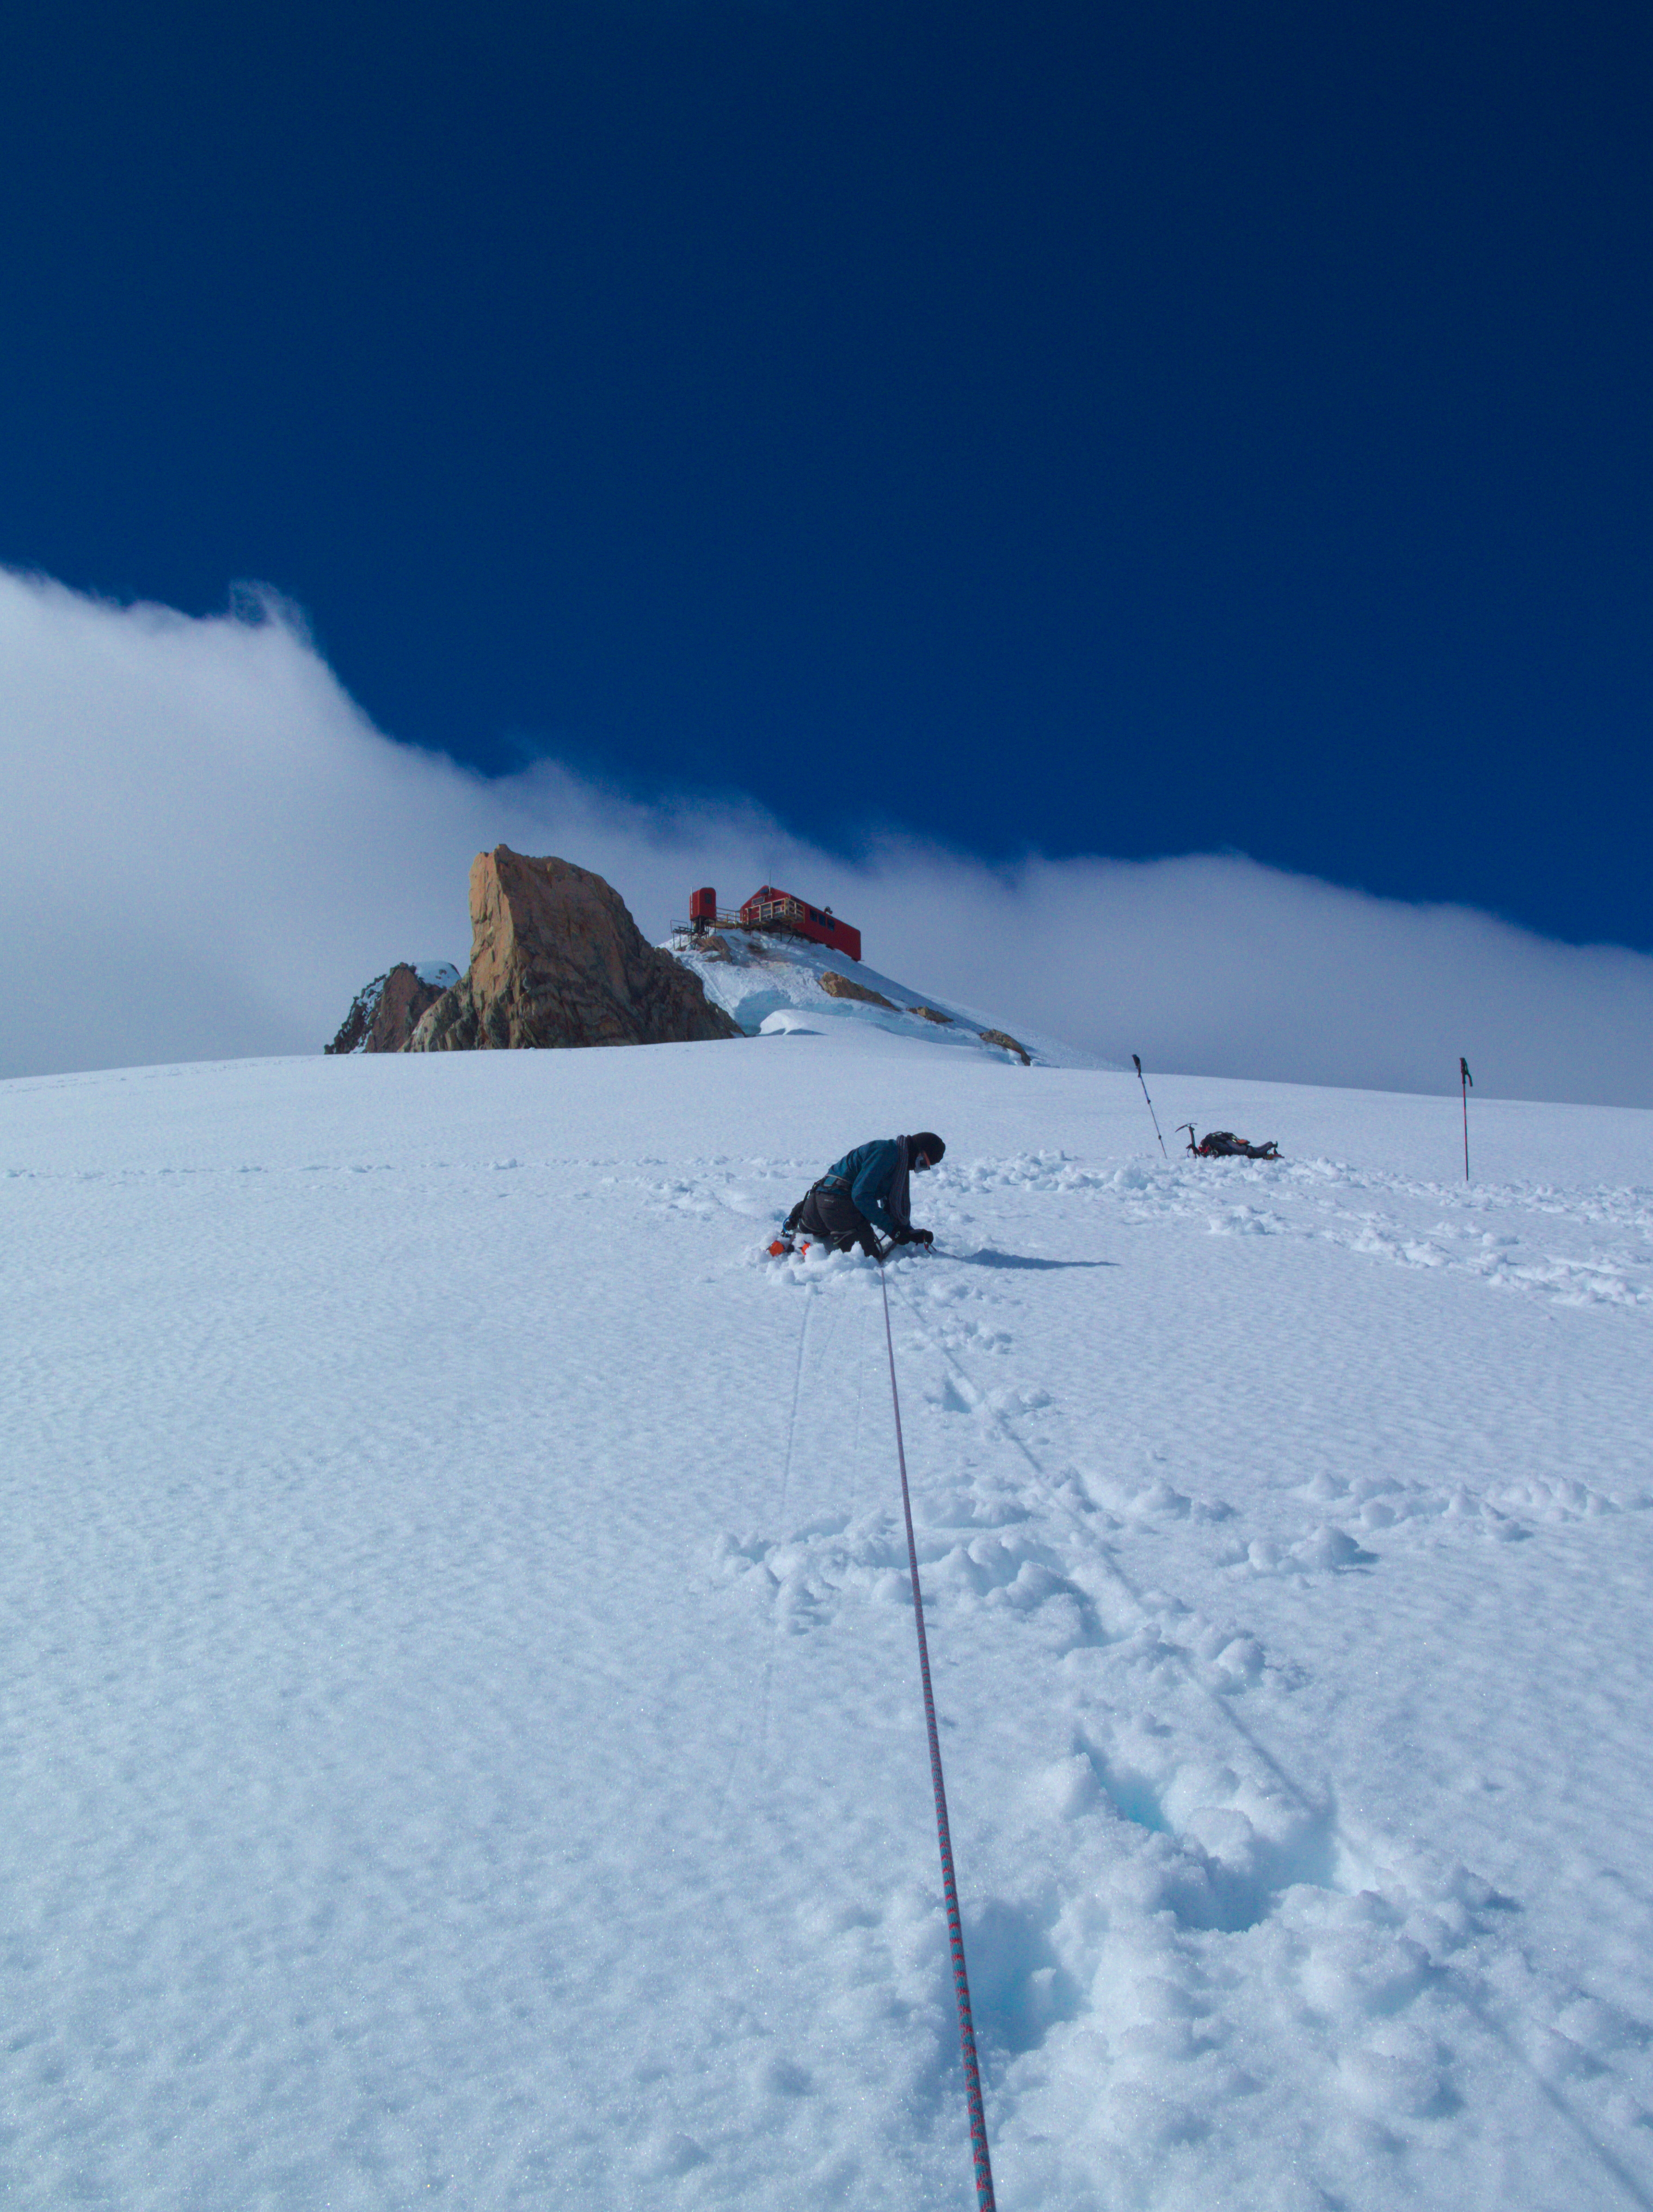
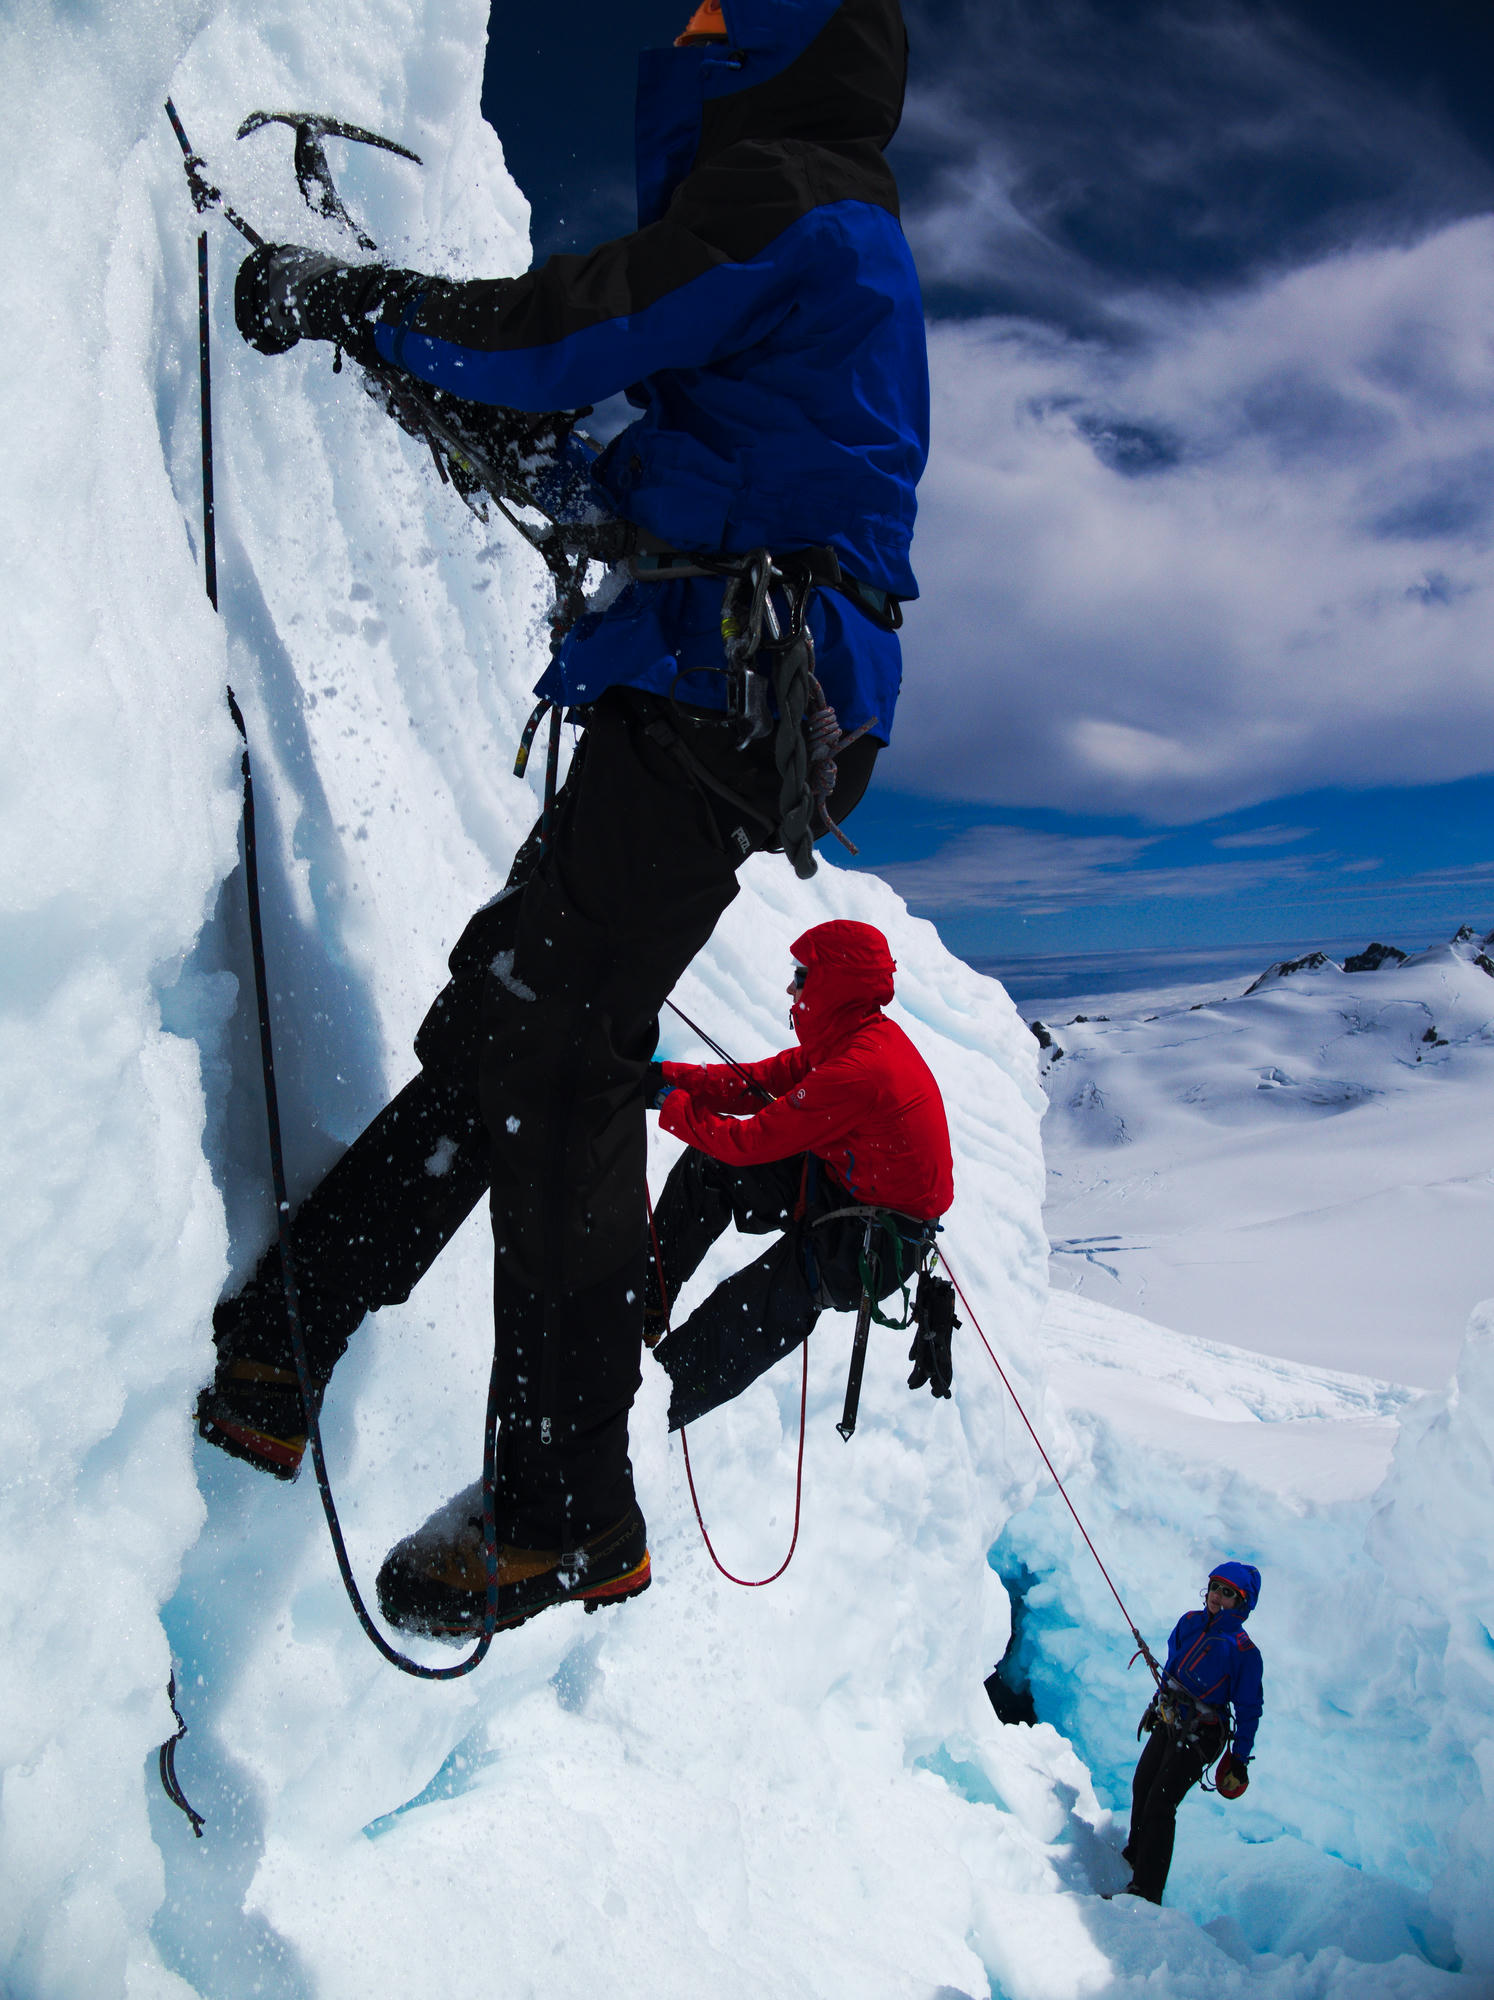
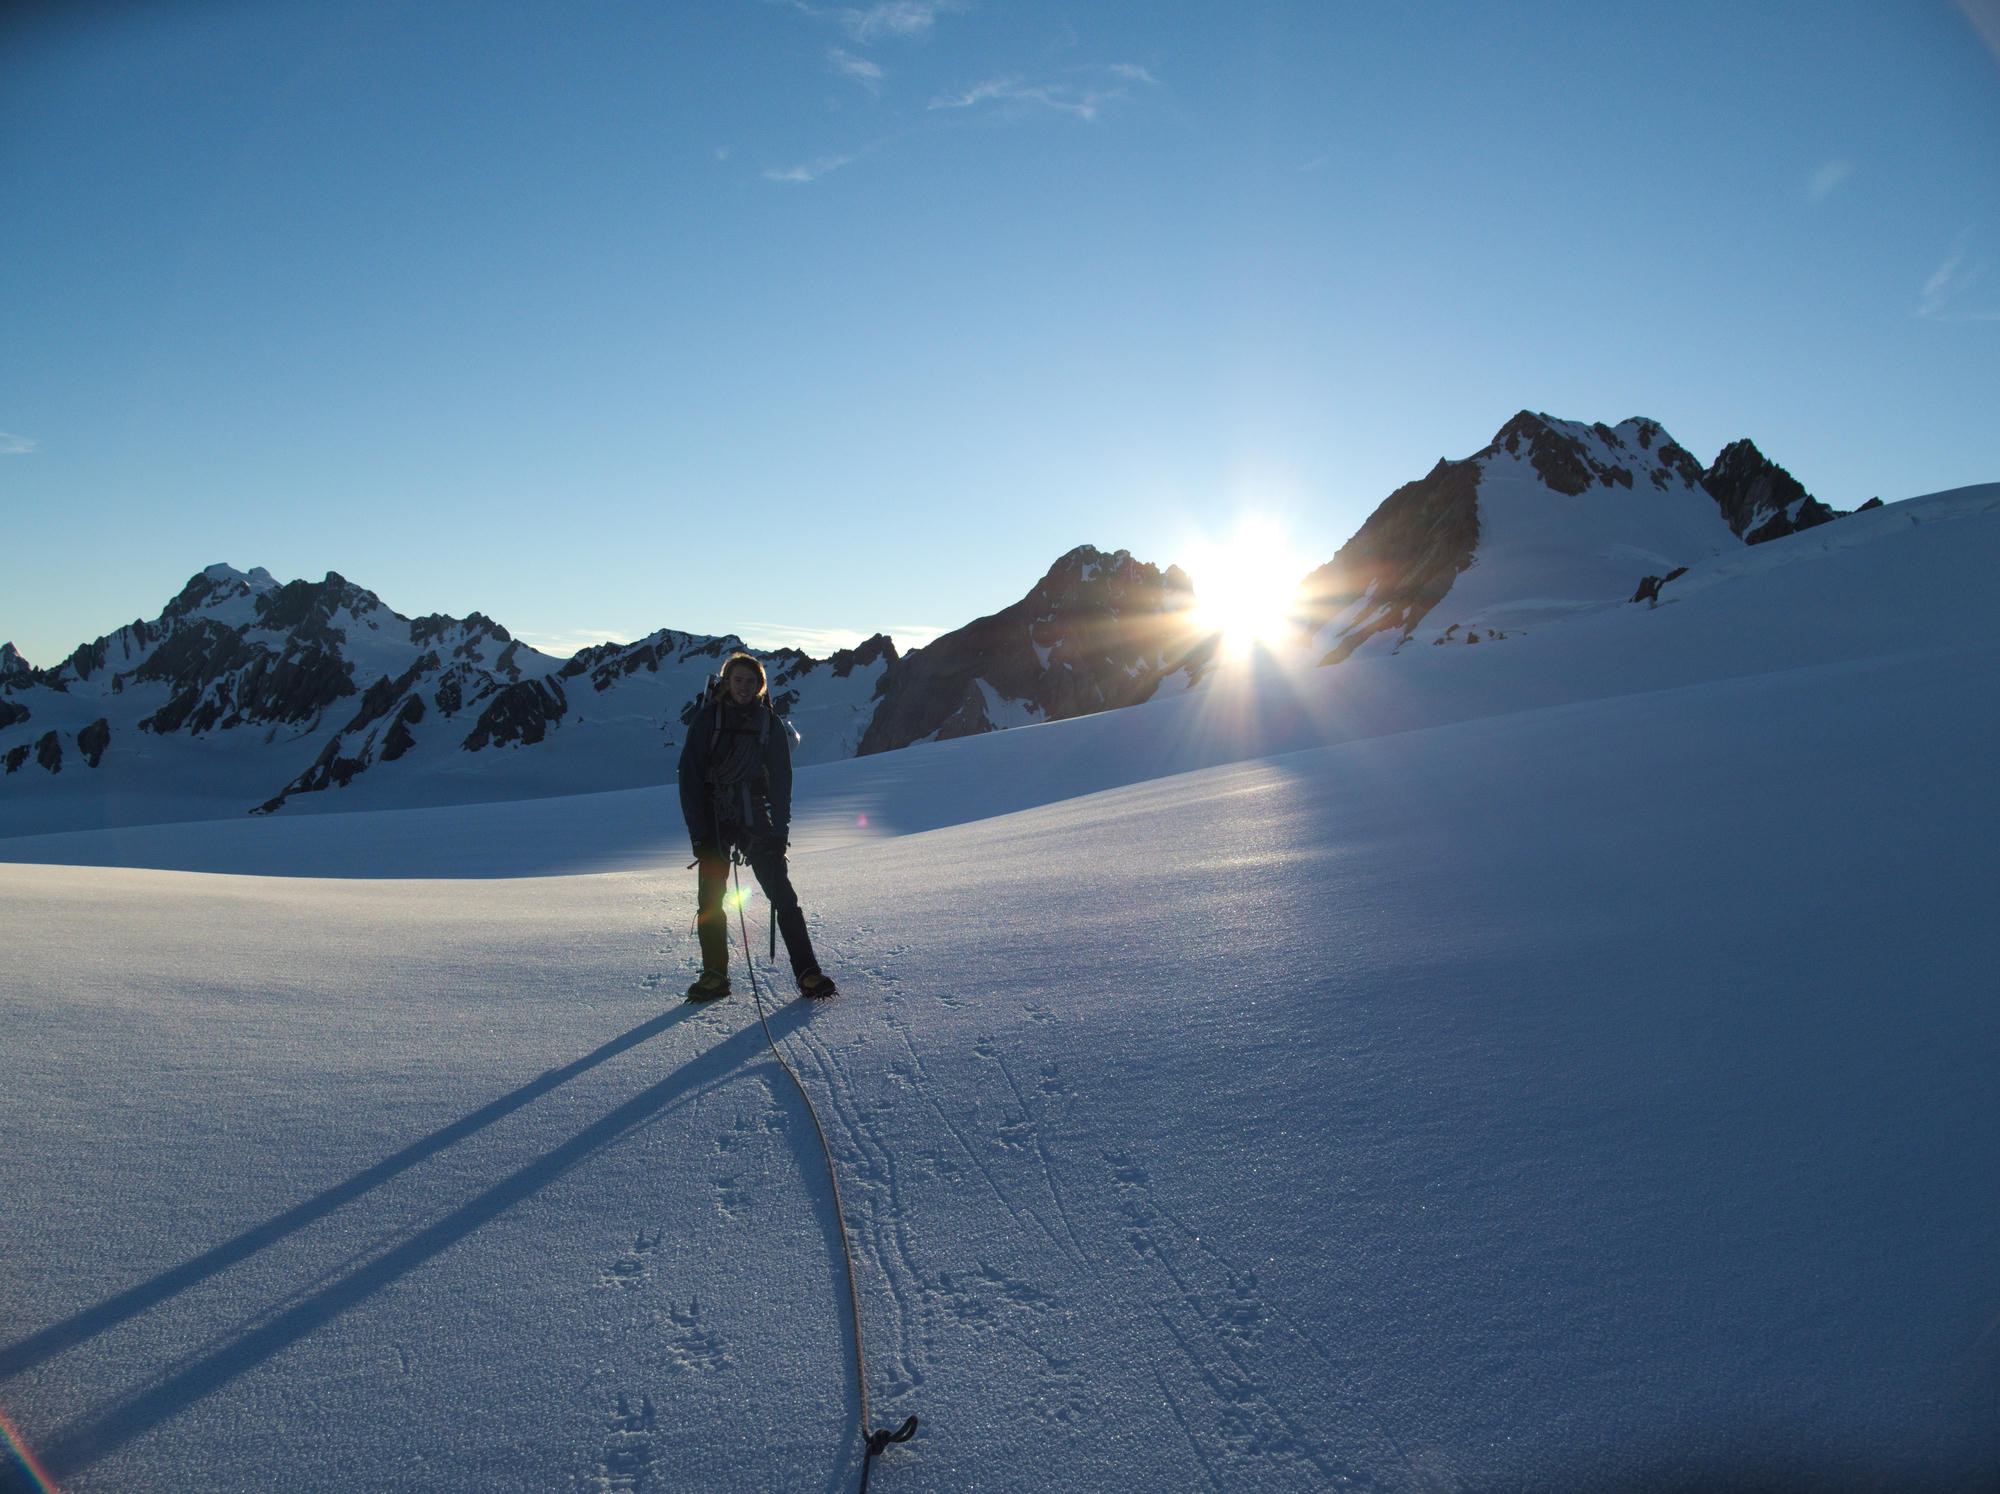
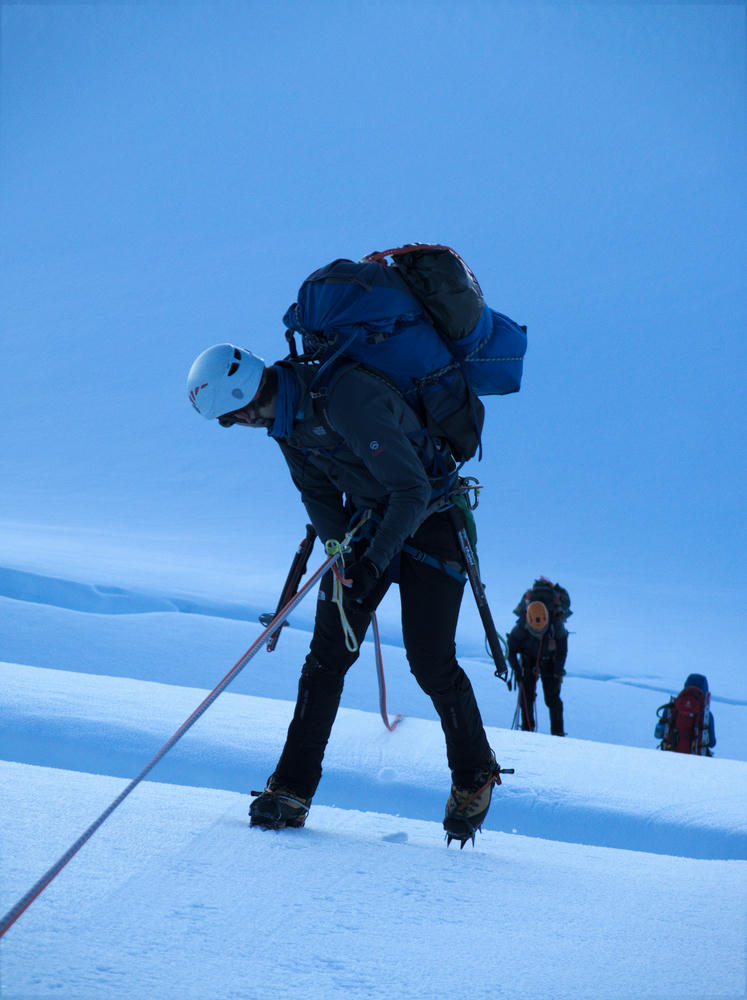
The first thing you do in the morning when summer mountaineering out of a hut in New Zealand is usually roping up for crevasse travel with your partner/s.
extending for person in the middle, two knots. why? 15 metres - three knots. knots get caught in wall of crevasse Rope passing under the arms. Connected to harness for taking crevasse fall. TODO
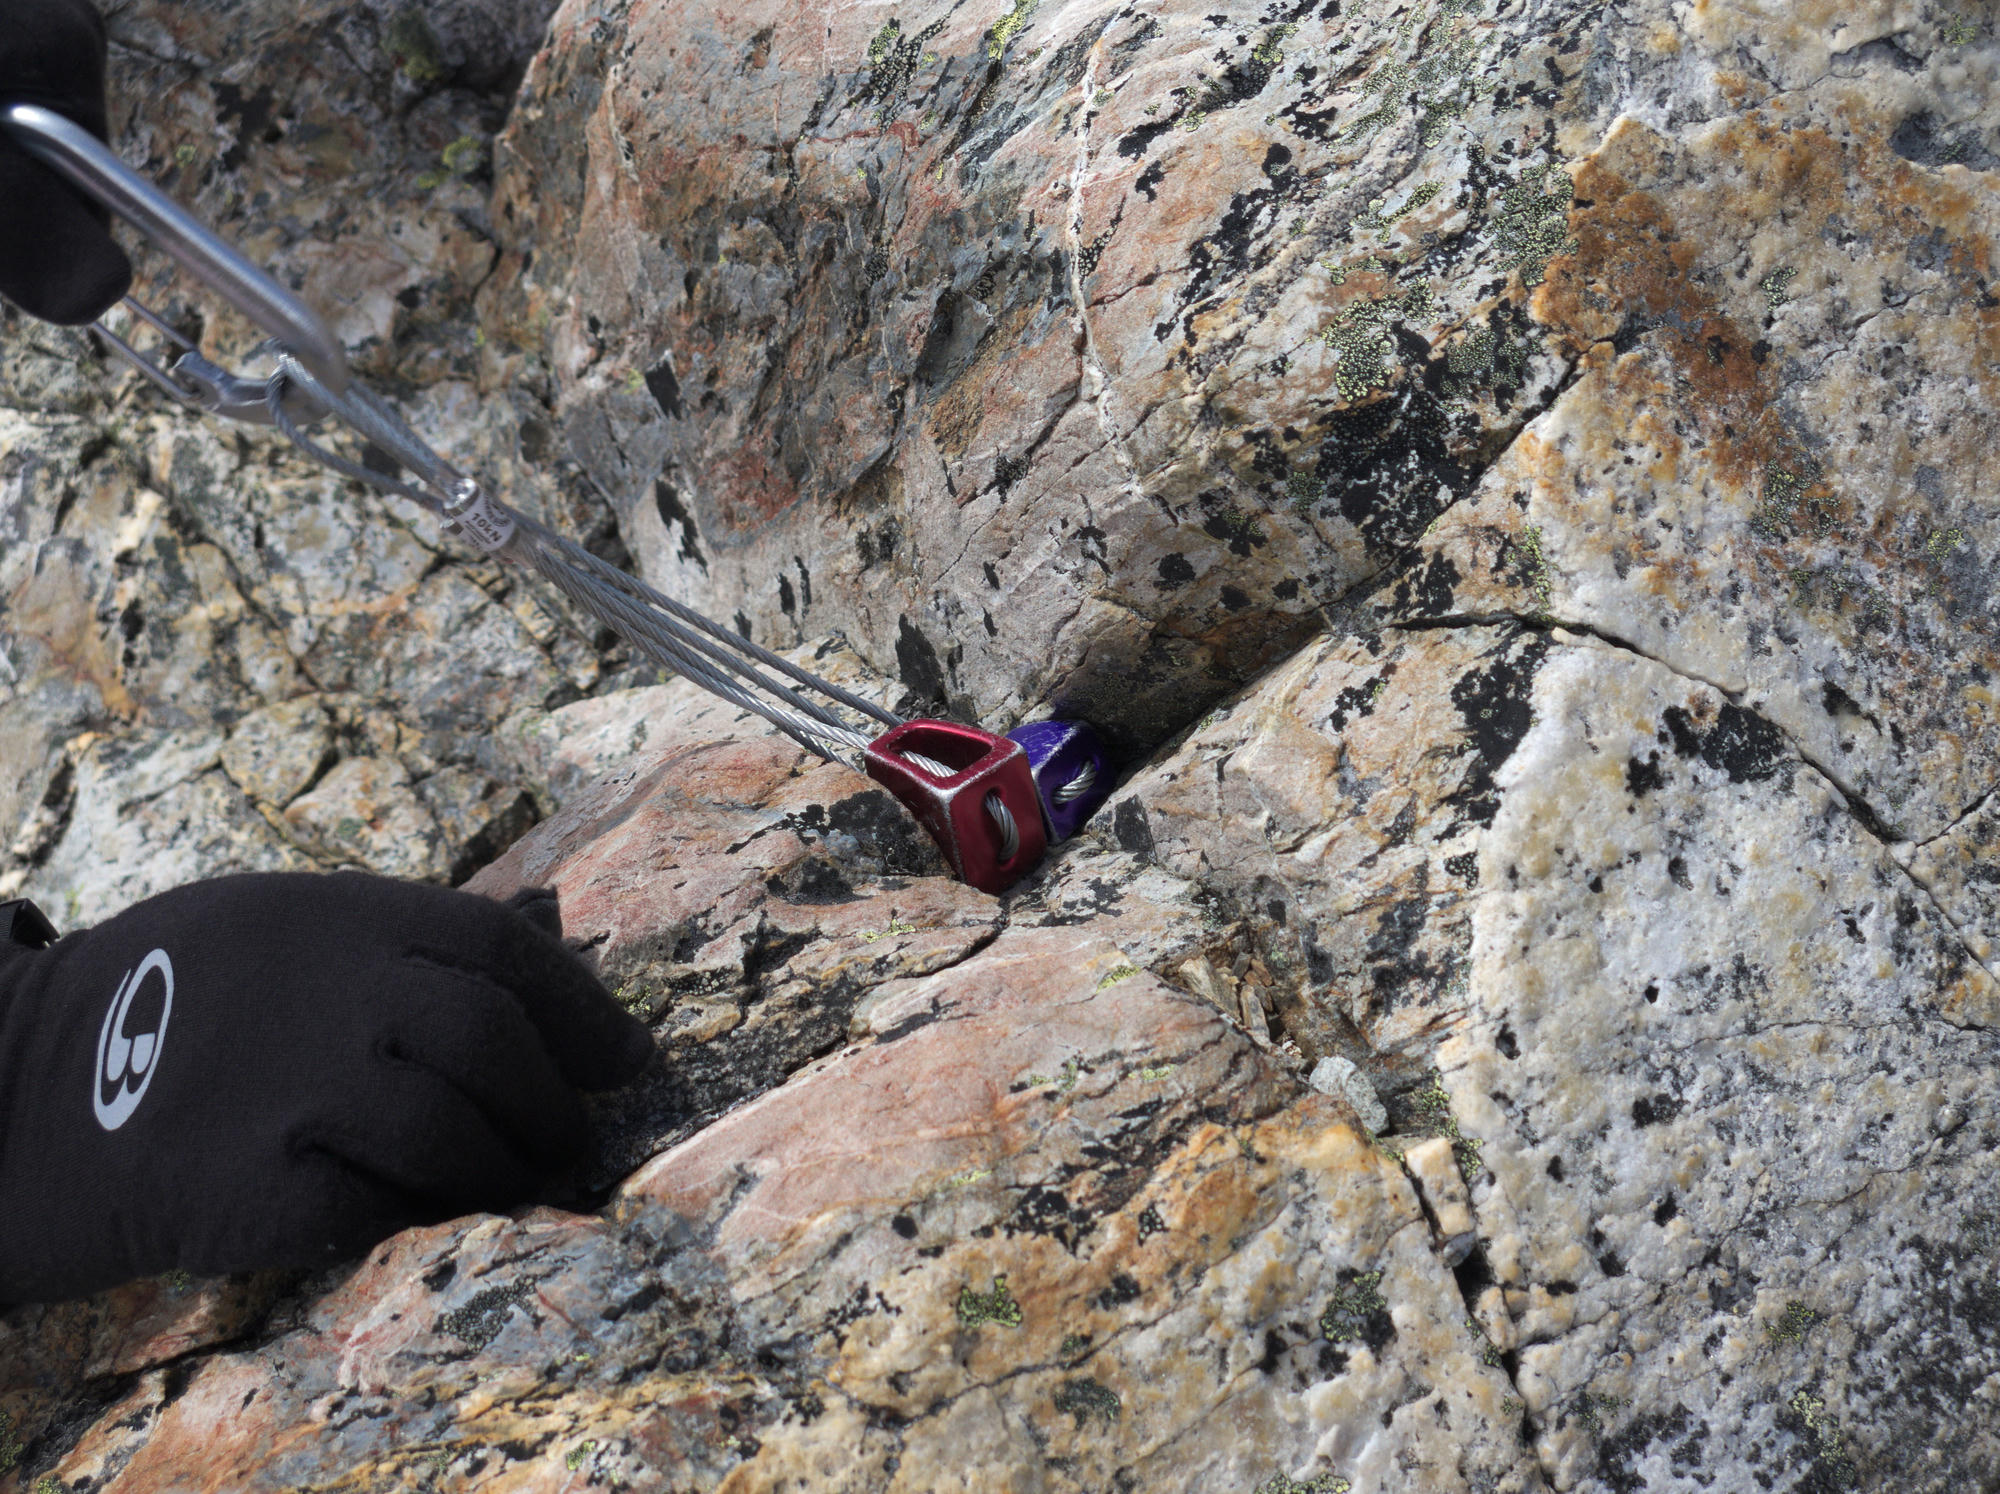
Gear Placement
- While climbing easy routes, the best option is just not to fall. Place the minimum gear required to prevent death, and allow you to move quickly and efficiently.
- Focus your placements on protecting the crux sections of the route.
- What gear you'll need exactly will depend on the route. Often nuts can be reduced because they can be rotated sideways to fit a greater range.
- You should not be roped up together on technical terrain if there is not enough protection attached to the rope between you.
- Try to avoid being roped up on high consequence terrain without protection even if it's easy. If you're going too slow, go unroped, or go back. The exception to this is short-roping, a guiding technique.
- It can be acceptable to continue roped up without protection over "Granny Terrain" in order to reduce the number of transitions required.
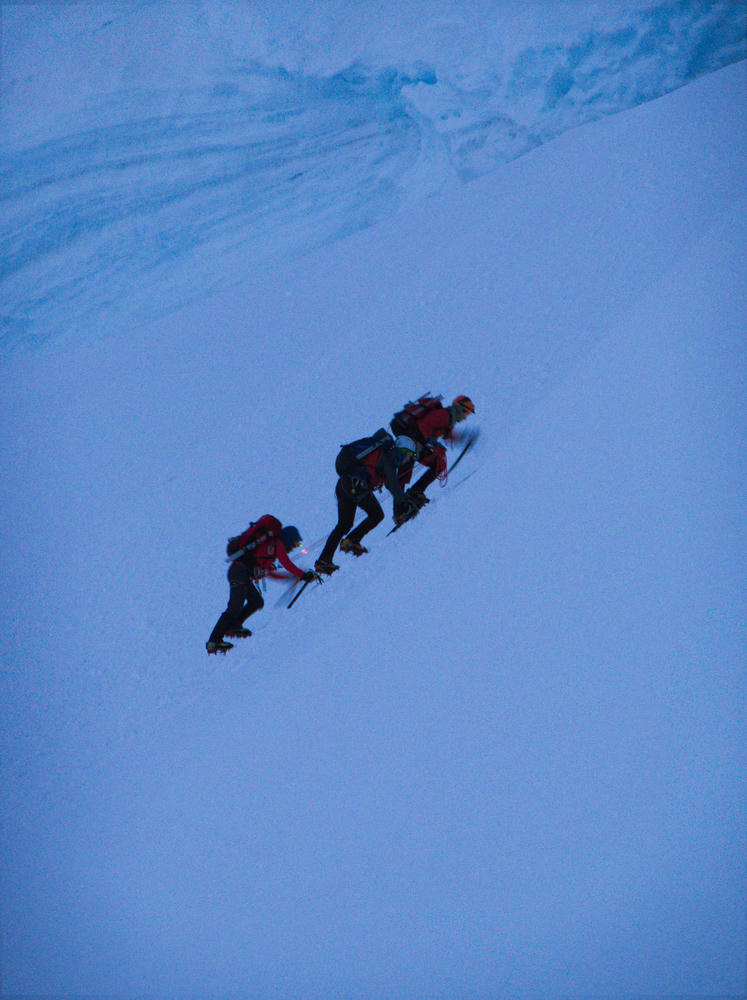
Simul-climbing
Simul-climbing is the act of both climbers climbing simultaneously. If the seconder falls while the leader is climbing they will pull the leader down off the mountain. For this reason it can be better for the stronger climber to be second.
The leader is belayed until several pieces have been placed and the rope comes tight on the seconder. The seconder then begins to climb, without even bothering to take the belay device off usually, as it can be used immediately to begin belaying again at a transition.
The length of rope between the climbers will depend on the situation and the protection available. Long snow slopes with the occasional snow stake you might use the full length of the rope. Slightly more technical rock pitches you might go a bit shorter so that there are around three or four pieces of protection between you.
When the leader runs out of gear they build an anchor and immediately belay their seconder up to them to collect the gear and start again.
Simul-climbing is reserved for less technical terrain where both the leader and the seconder are very confident that they won't be falling off of their own accord, as falling can incur a greater likelyhood of injury than typical pitched climbing.
A technique for traversing easy ridge lines is take in coils, and travel together with the strong climber behind, if someone falls off to one side, the other person jumps over the other, and the rope catches them in the middle.
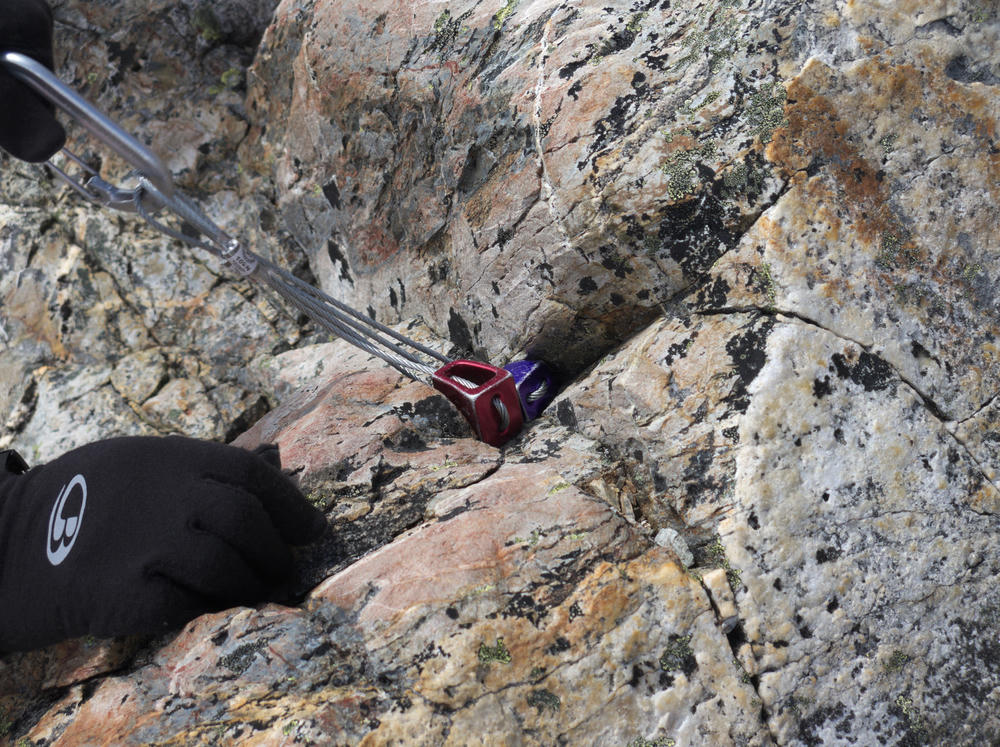
Anchors
The way Stu taught building anchors on the course was different to how I had initially learned, and the norm for Victorian climbing. Instead of religiously placing three pieces of protection and equalising, he taught us to consider the value of each piece that we use. If it's completely bomber (Bomproof, totally secure) then it is possible to be content with a single piece.
Probably bomber:
- A sling securely around a large, obviously well connected horn of rock.
- A snow stake that took a good 15 or so hits with the hammer to slide in.
Probably Less bomber:
- a single cam in a good crack.
- a single ice screw.
- a single nut.
The the total "bomber" value required for your anchor will depend on the situation. When scrambling up an easy slope, a body belay behind a large block, or from within a crevasse/shrund might be considered sufficient without any extra protection.
A special focus was on sling anchors, and the need to weight the anchor to keep it sitting on the rock in the correct position and stop it slipping off.
Belaying
Stu advocated the use of an autoblock atc device and belaying a seconder off the anchor instead of off the waist. But often even this is not fast enough to keep up with a climber running up a snow slope.
In this case, a munter/italian hitch belay off a carabiner on the anchor would be better and faster, or even just a couple of wraps around the carabiner provided you pull in the slack quickly and keep the climber tight.
Another alternative belay which didn't require an anchor was to just wrap the rope around the back of a c hicken head or bollard, and pull the person up and over hand. The friction of the rock would be enough to hold a person's fall on easy ground.
Abseiling
In the mountains it is common to find long descents with many abseils. Getting more efficient at abseiling can greatly reduce the time it takes to descend off a climb, which may be rapidly deteriorating in the afternoon sun.
You need to figure out and practice a system with your partner which is as efficient as possible. You need to be confident doing this even when you're tired at the end of the day. Run through a checklist in your head at every point. A large proportion of climbing accidents occur on the descent.
Lowering
In many situations lowering down may be a better option than abseiling.
- If it's windy and you want to direct where the rope goes accurately.
- If you want to downclimb afterwards, the first person can place protection for the second person on the way down.
- Less likely to let go of the rope or need a prusik
Rope Throwing
If it's windy, other than lowering, another alternative to just throwing your rope away into the wind is to coil it into a sling on your harness and take it with you on the way down.
Prusiks
Stu often didn't use prusiks but I do remember him saying he felt like he should probably try and use them more. I can't remember exactly what he said on the topic, so much of this is my own words/logic, probably heavily influenced by what he has said on the topic.
Prusiks can make you a lot slower on the abseil and have the potential to jam up. While descending down a clean wall or snow slope, you will go a lot faster without a prusik. In the extremely unlikely chance that you let go of the rope in this scenario, you'll go for a slide and hit the knots on the end of your rope and be fine (if your anchor is good).
For the person coming down second, a fireman's belay is a much better option than a prusik, it costs no time, no speed, and offers a similar level of safety without the fuss. I always ask for a firemans belay when coming down second while cragging.
I personally use a prusik when:
- I'm feeling a bit tired
- I'm covering unknown or uncertain ground
- I'm descending through loose rock which may hit me
Direction
The direction you take while abseiling can be important. If you have abseiled straight down the fall line, then your partner may drop ice or rocks on top of you at the next anchor. When you go to pull the rope down, it may also dislodge rocks to fall on you. Try to avoid this.
Anchor Backup and Test Loading
A habit/routine that Stu promoted was that of test loading your abseil setup while still clipped into your safety. This way you can visually and physically confirm that you are ready to go before detaching your safety from the anchor.
If you are intending to abseil off a single piece, it is good practice to back up this piece with another piece which is attached such that it doesn't take any load unless the first piece fails. The first, and preferably heavier person descends with both pieces in place while the second person closely inspects the piece taking the load. If they are happy with it, they can remove the back up piece and leave only the single piece anchor behind.
Routine
An example routine for a multi-pitch abseil down a steep neve slope:
- Build your anchor and clip in.
- Thread the rope through and throw it down. Second person helps coiling and throwing.
- First person attaches and test loads their system.
- First person descends. Second person watches anchor and gets ready to attach.
- First person nears the end of rope and creates suitable anchor.
- First person attaches to anchor, takes themselves off the rope and yells "off rope"
- Second person attaches and test loads their system. First person holds rope in one hand, and in the other hand/mouth undoes knots in end of rope and begins threading through the next anchor.
- Second person descends, while the first person gives them a fireman's belay.
- Second person reaches anchor, clips in and takes themselves off the rope.
- Second person pulls rope down, first person threads rope through anchor, coils and throws.
- Repeat until you reach the bottom.
Someone is always doing something, there is no waiting around.
Balance and Facing In
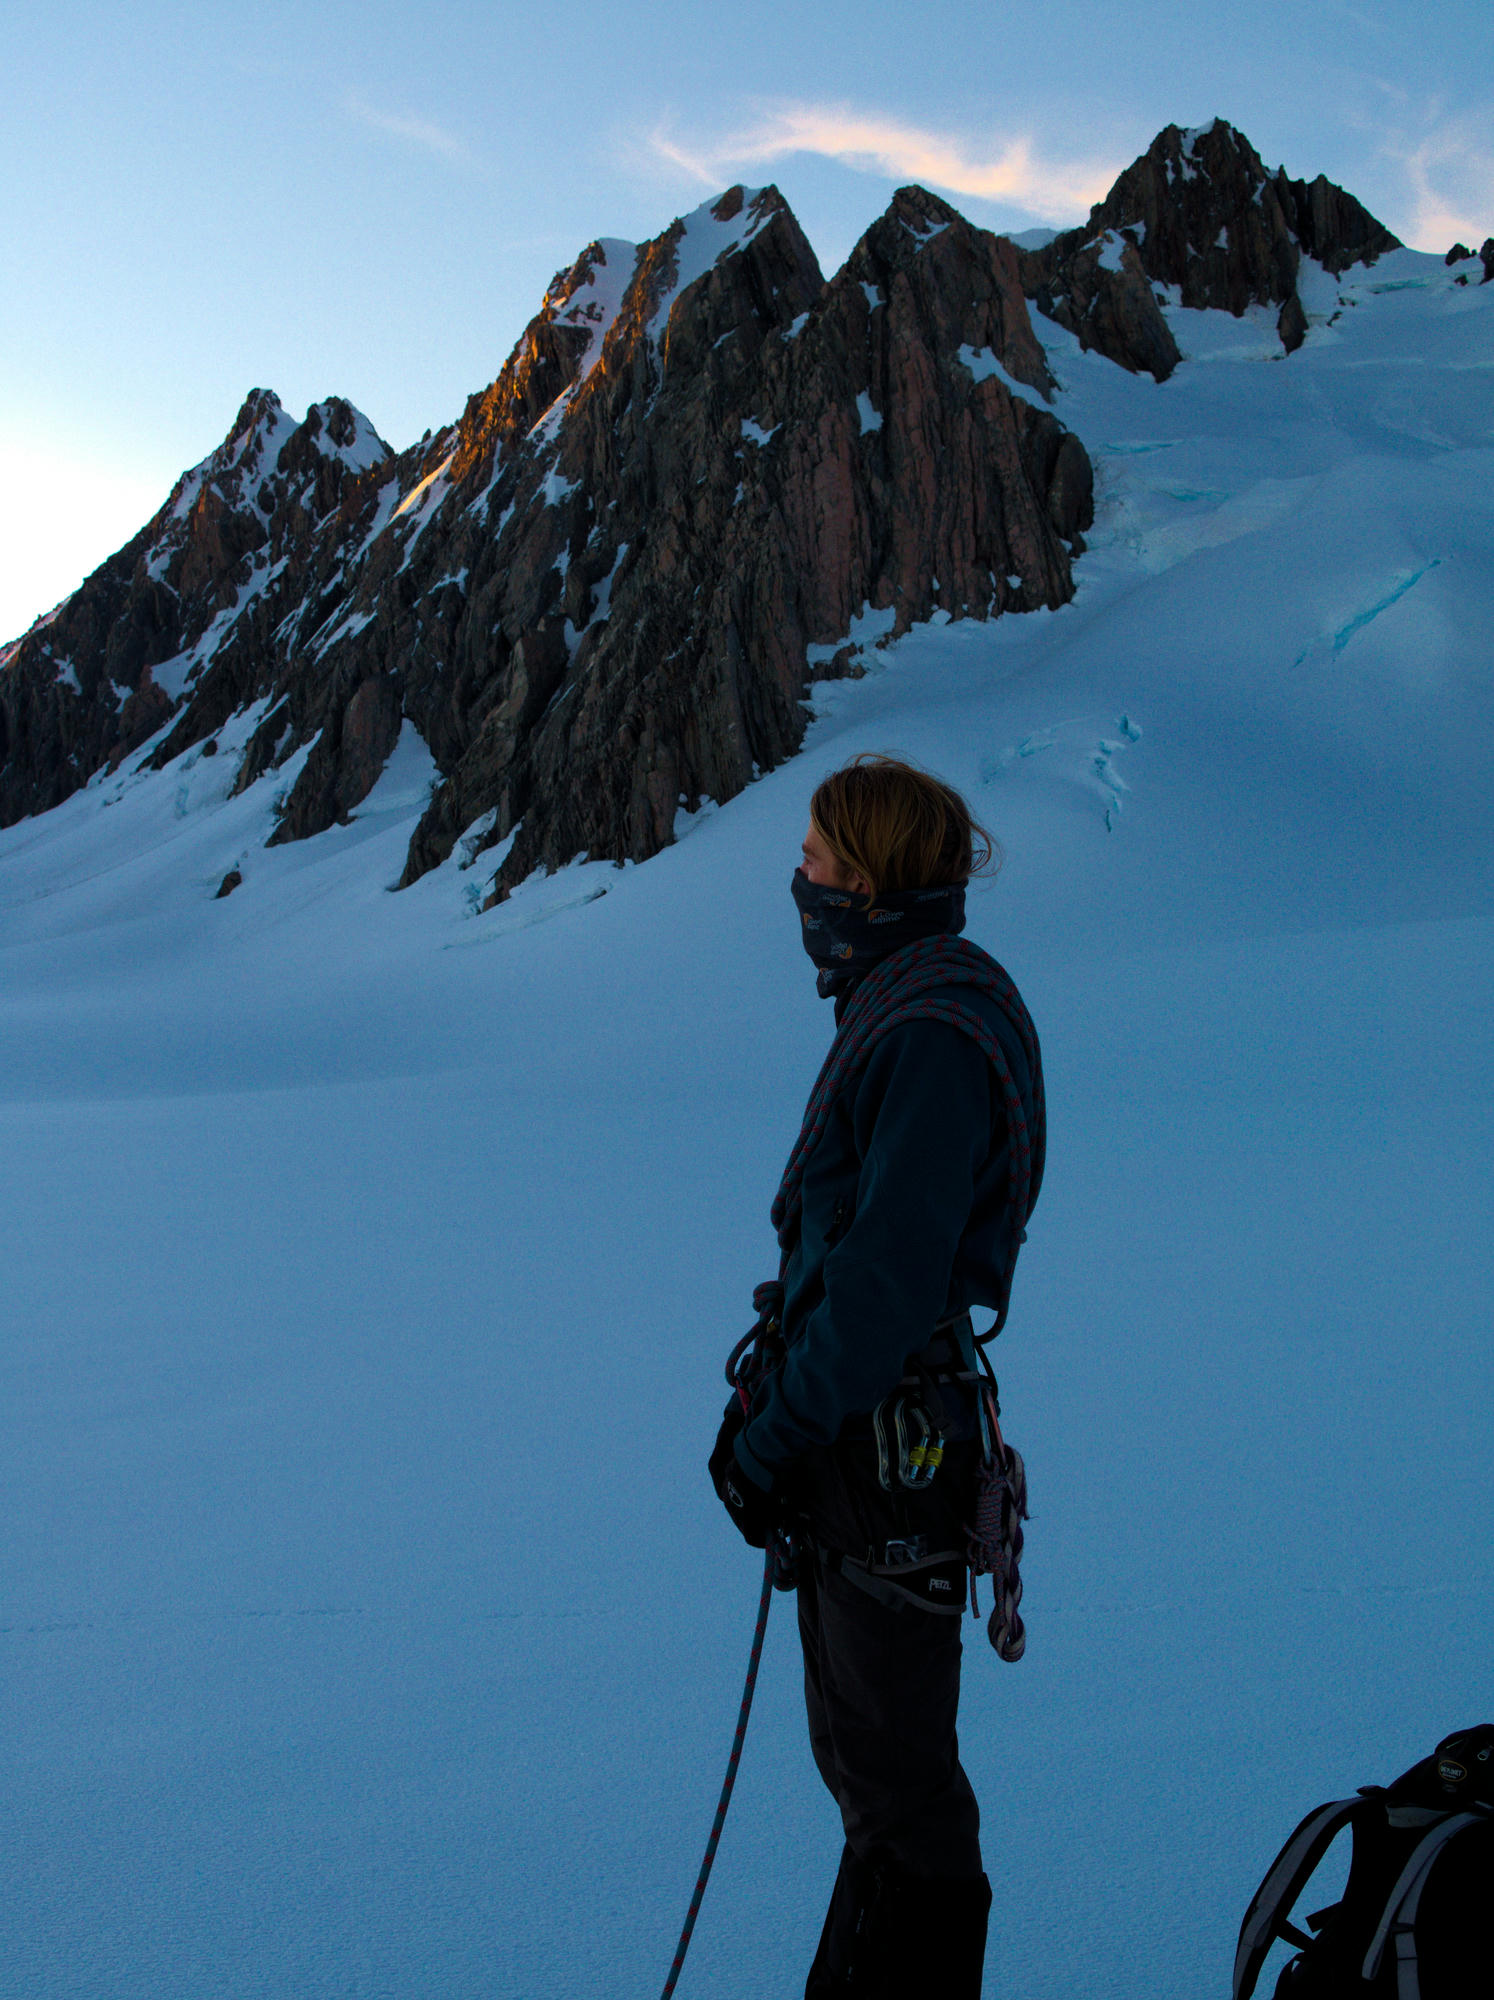
Staying in balance and in a secure stance at all times, especially when unroped, is crucial while mountaineering. While I was setting up my anchor at the top of the cliff, Stu made the comment that I was not in a secure posiiton. I had been standing upright, flat on my feet. All it would have taken for me to fall off backwards would have been a big gust of wind. Easy to fix by just leaning forward against the rock. This is perhaps even more important while doing tasks like setting up an anchor, where your attention is not on your balance, but on the task at hand. "Stay strong in the mountain" was a takeaway catchphrase for all of us from the course. I'm pretty sure Stu yelled that phrase at all of us at some stage.
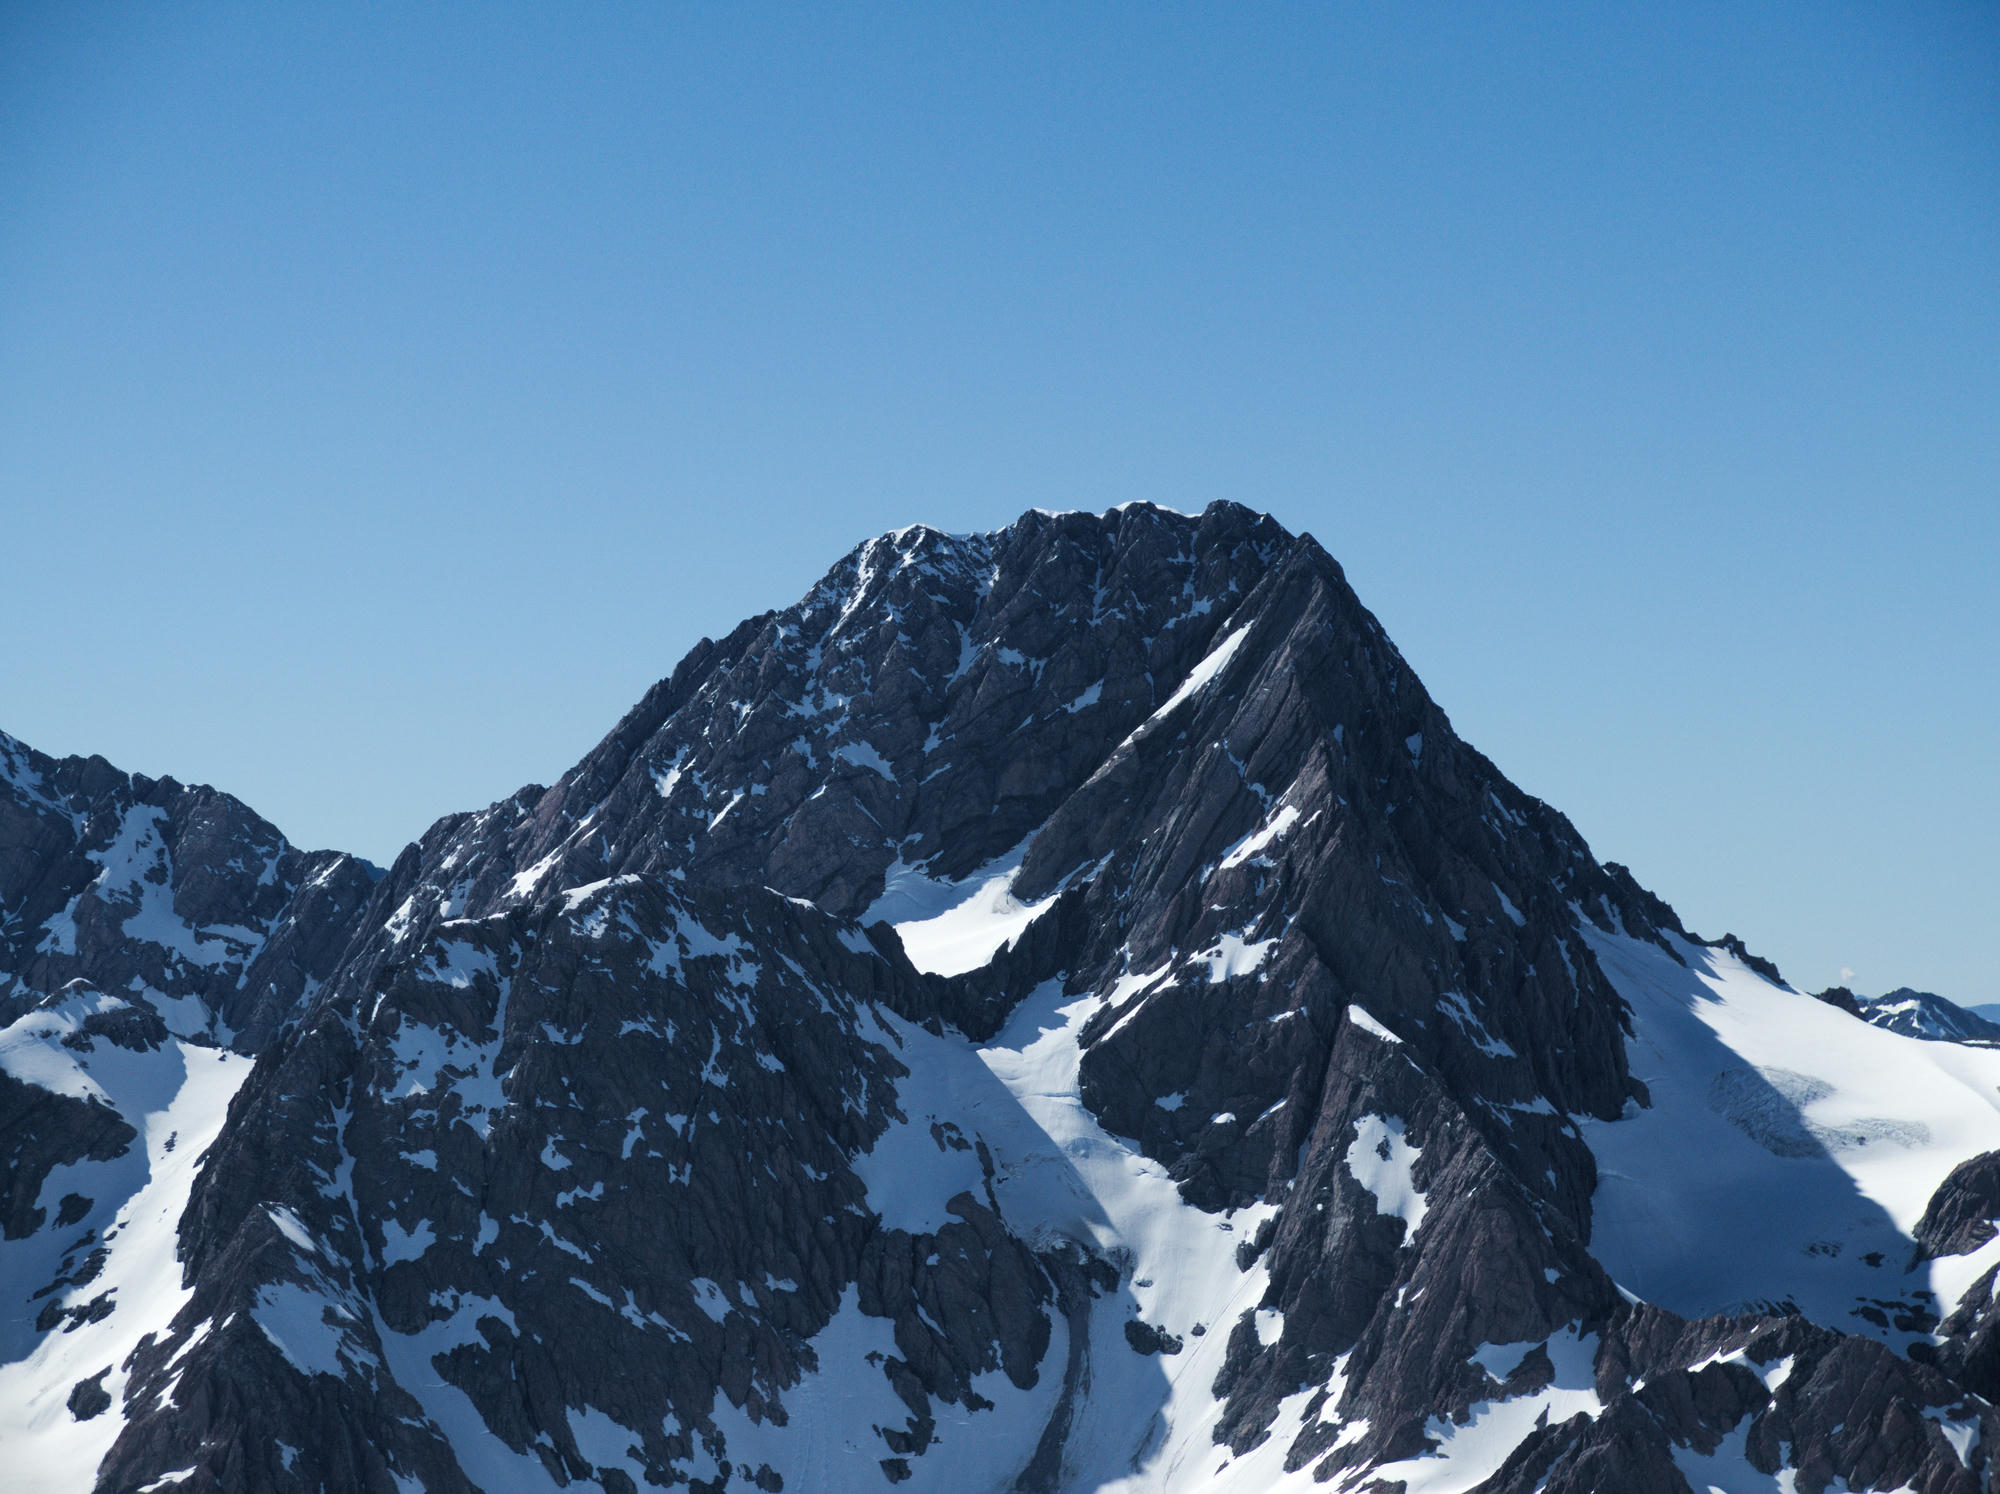
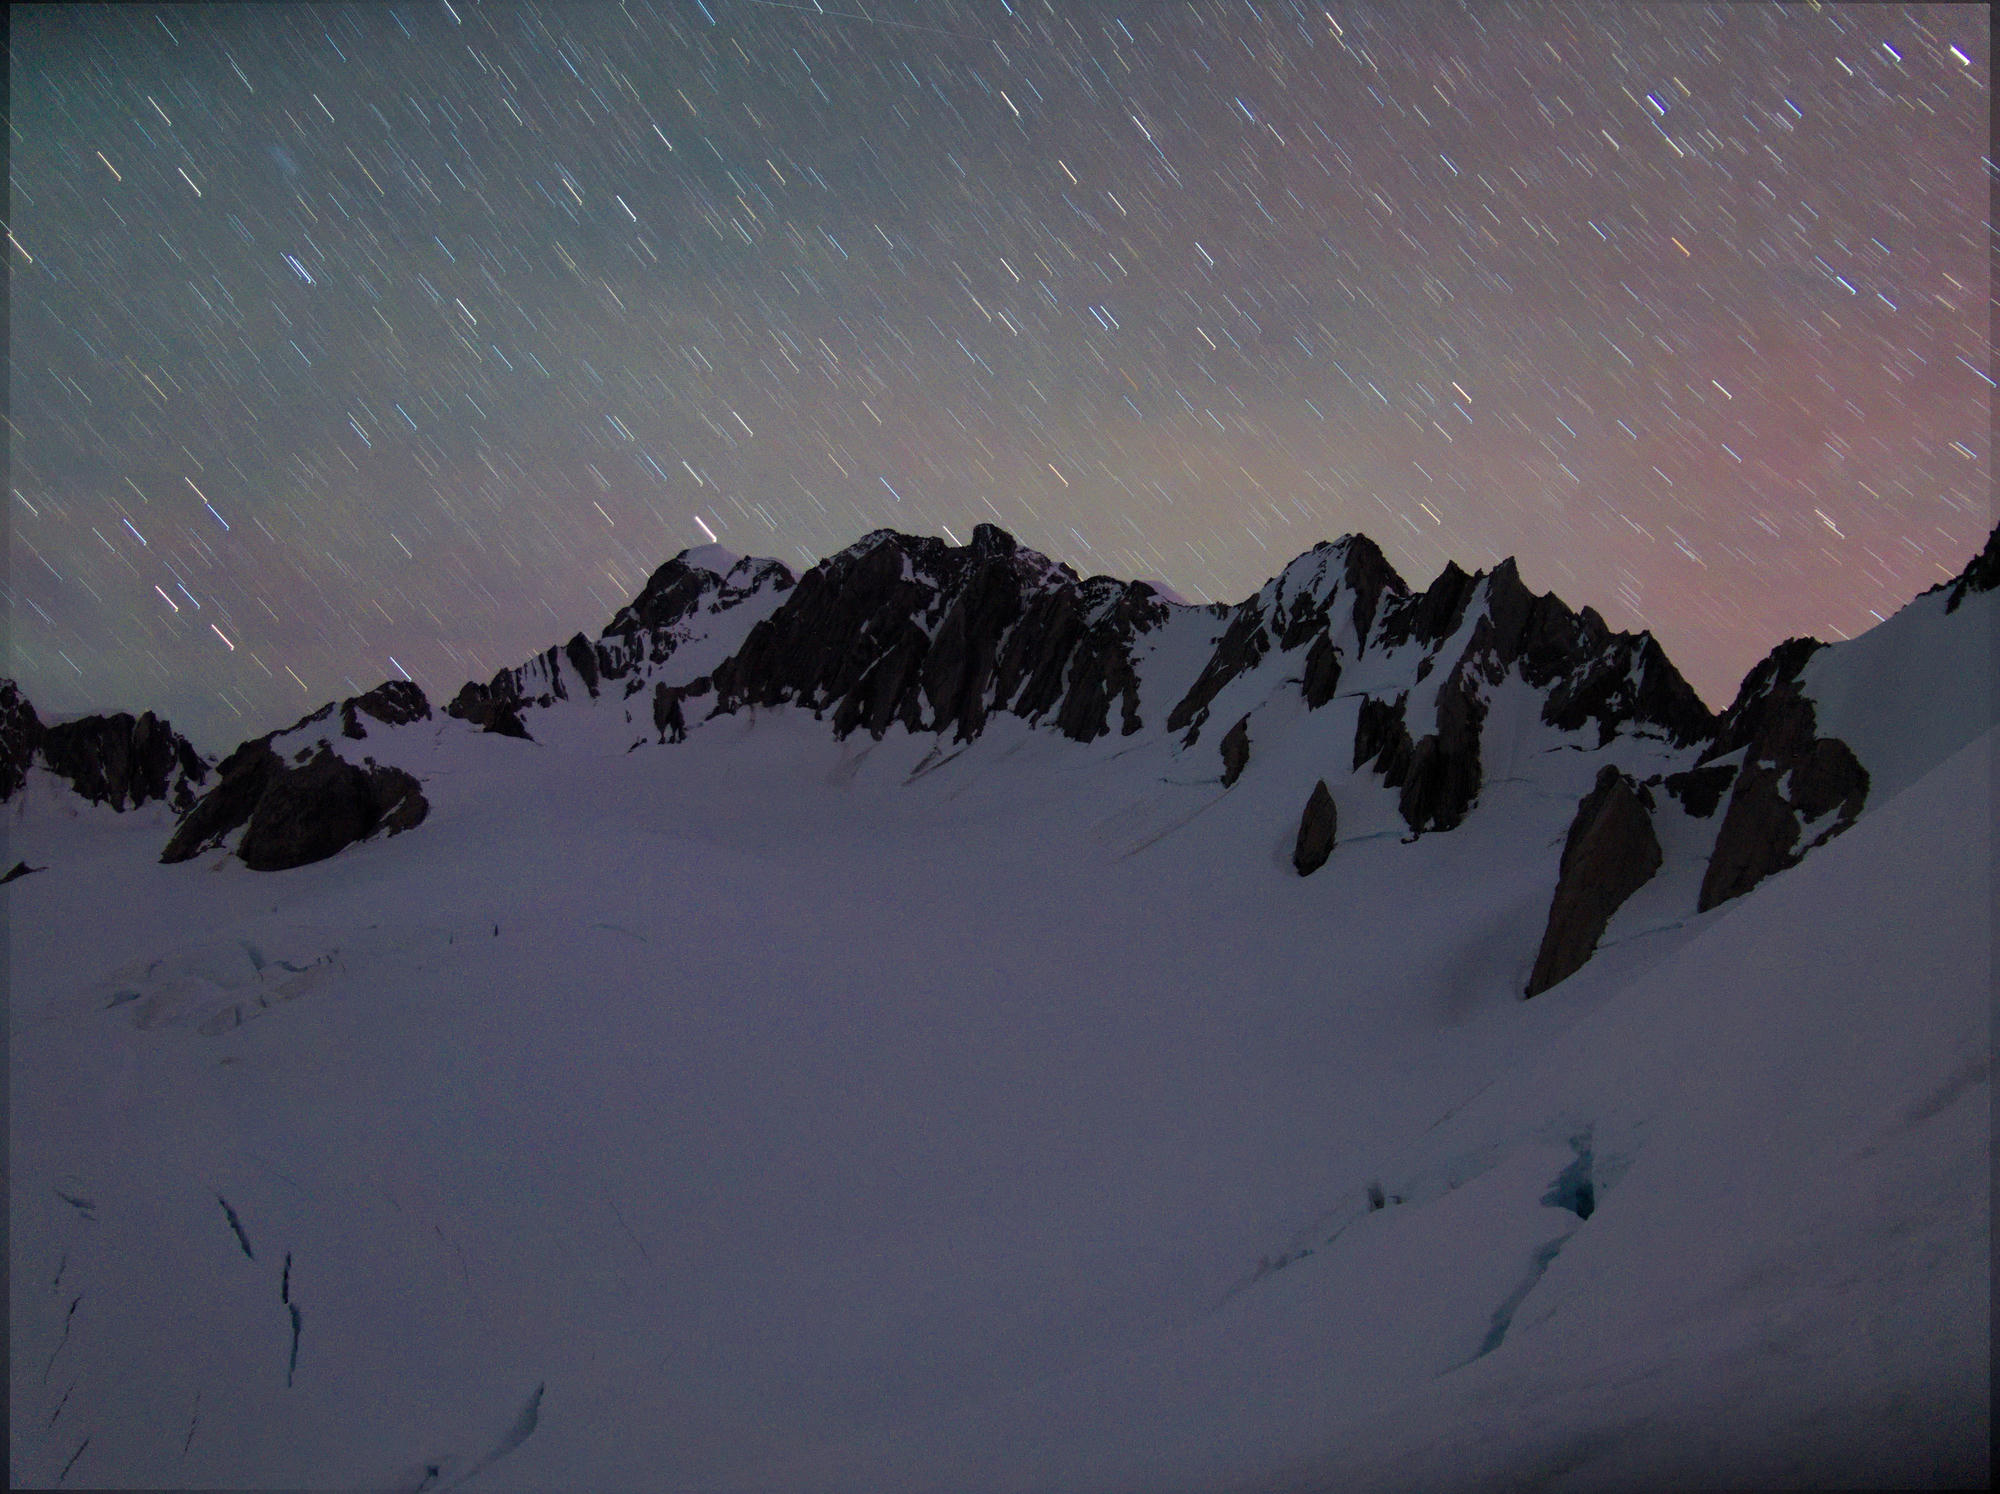
New Zealand
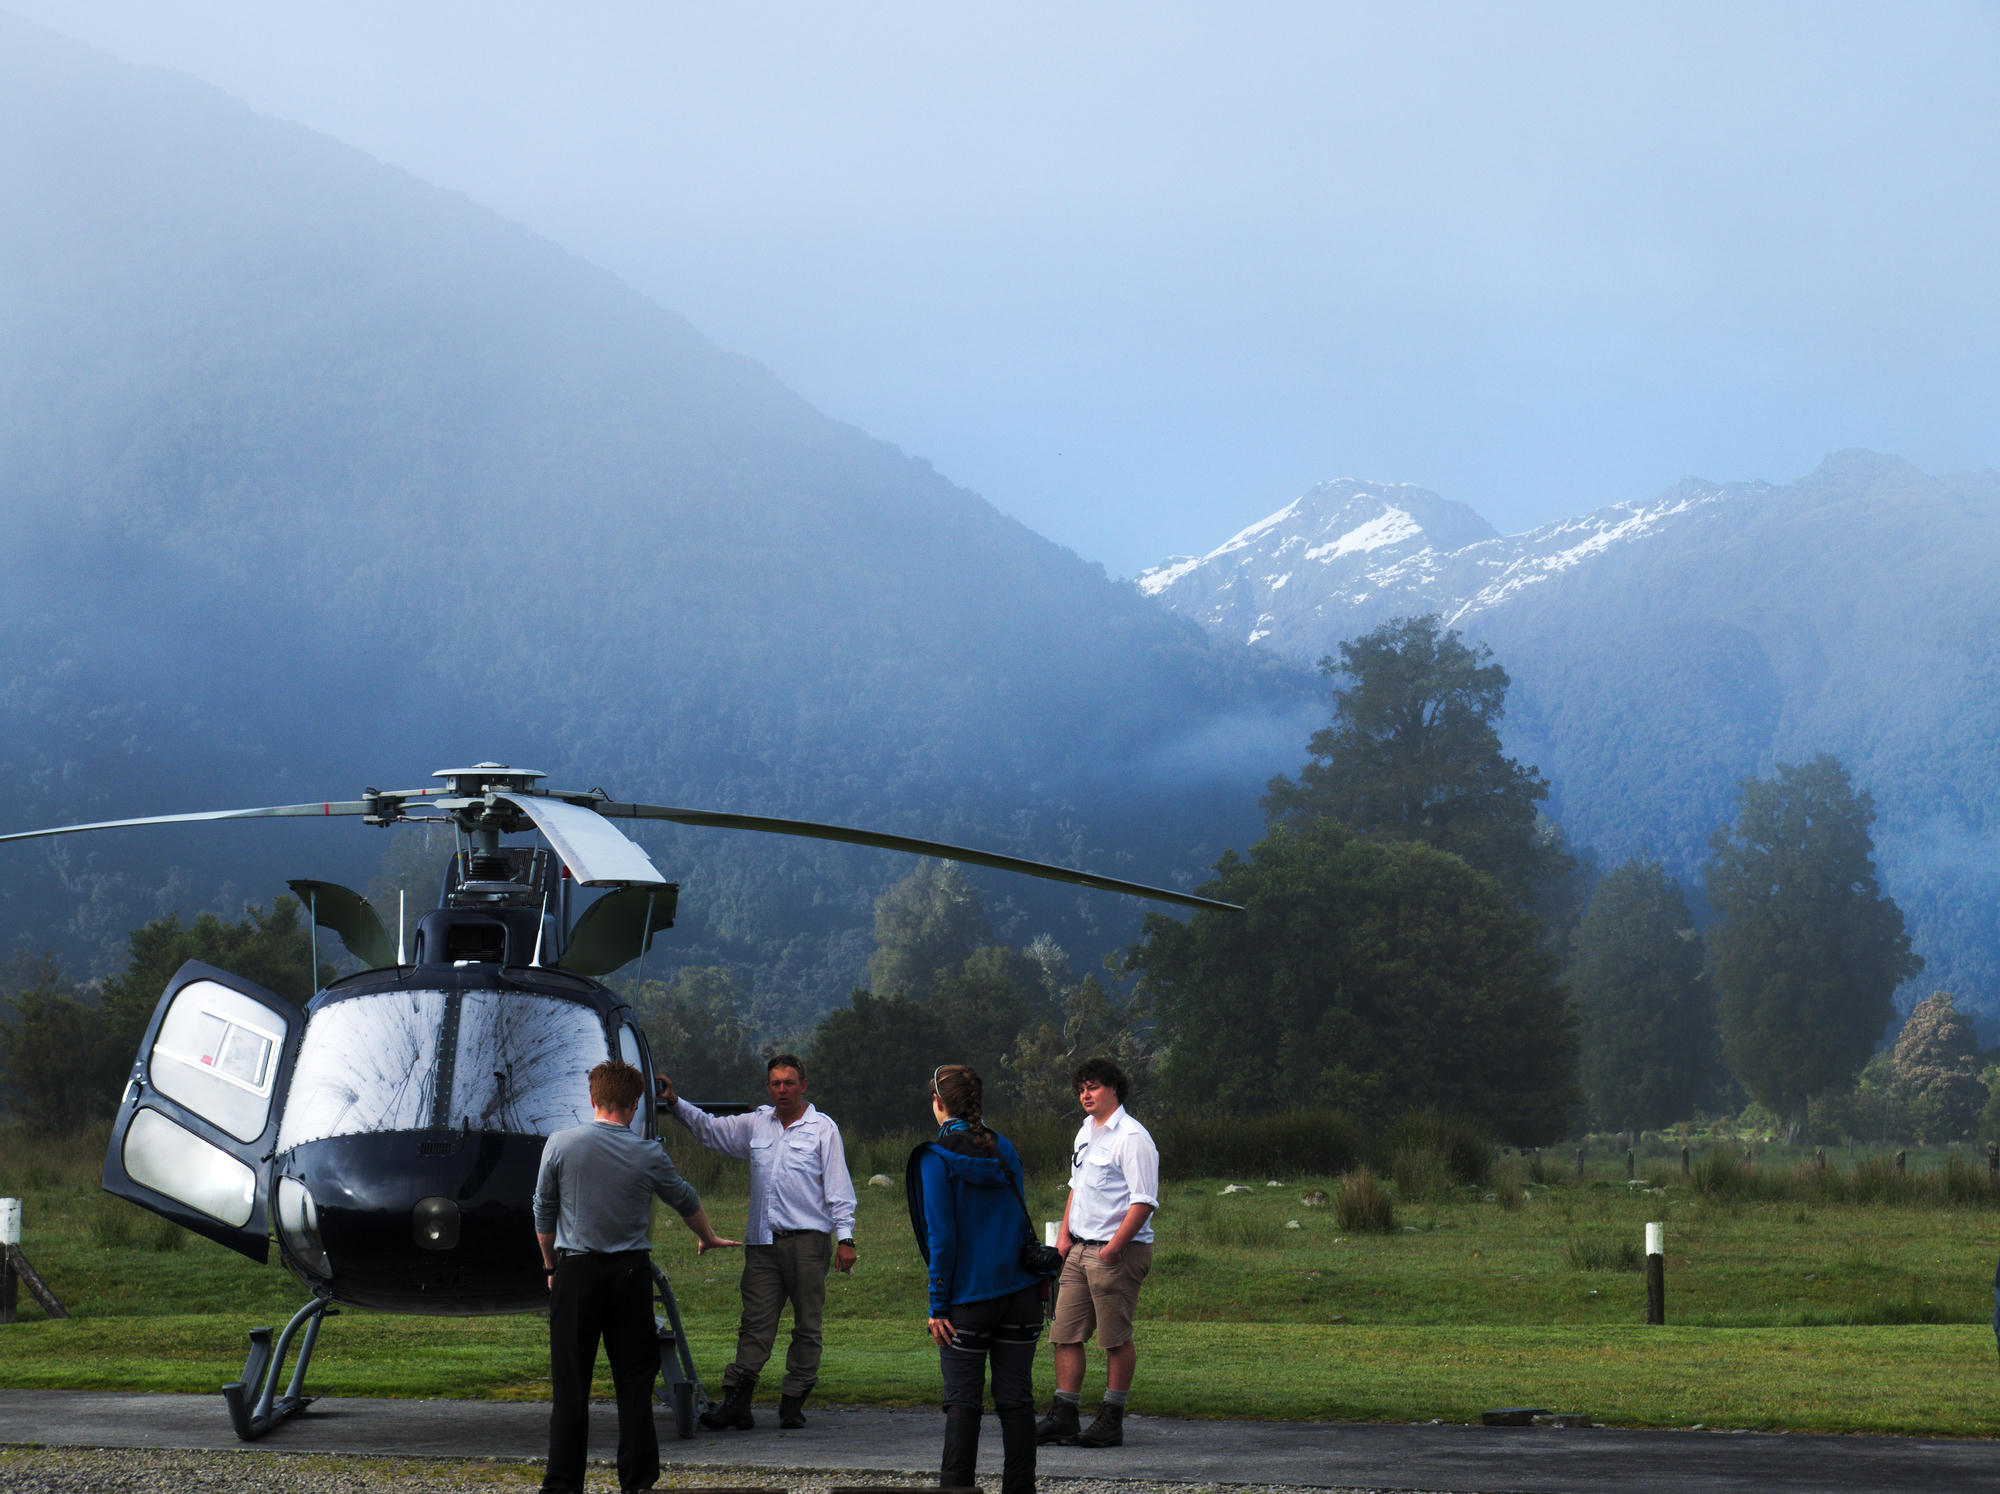
We met for the course in Fox Village. The before we were due to fly out I managed to get myself pretty badly entangled with a rusty barbed wire fence while racing back to the lodge.
"That was stupid wasn't it?" I said. I thought I had ruined my chances participating in the course. Stu didn't say much but he rushed off to the general store to grab some antiseptic cream before it closed.
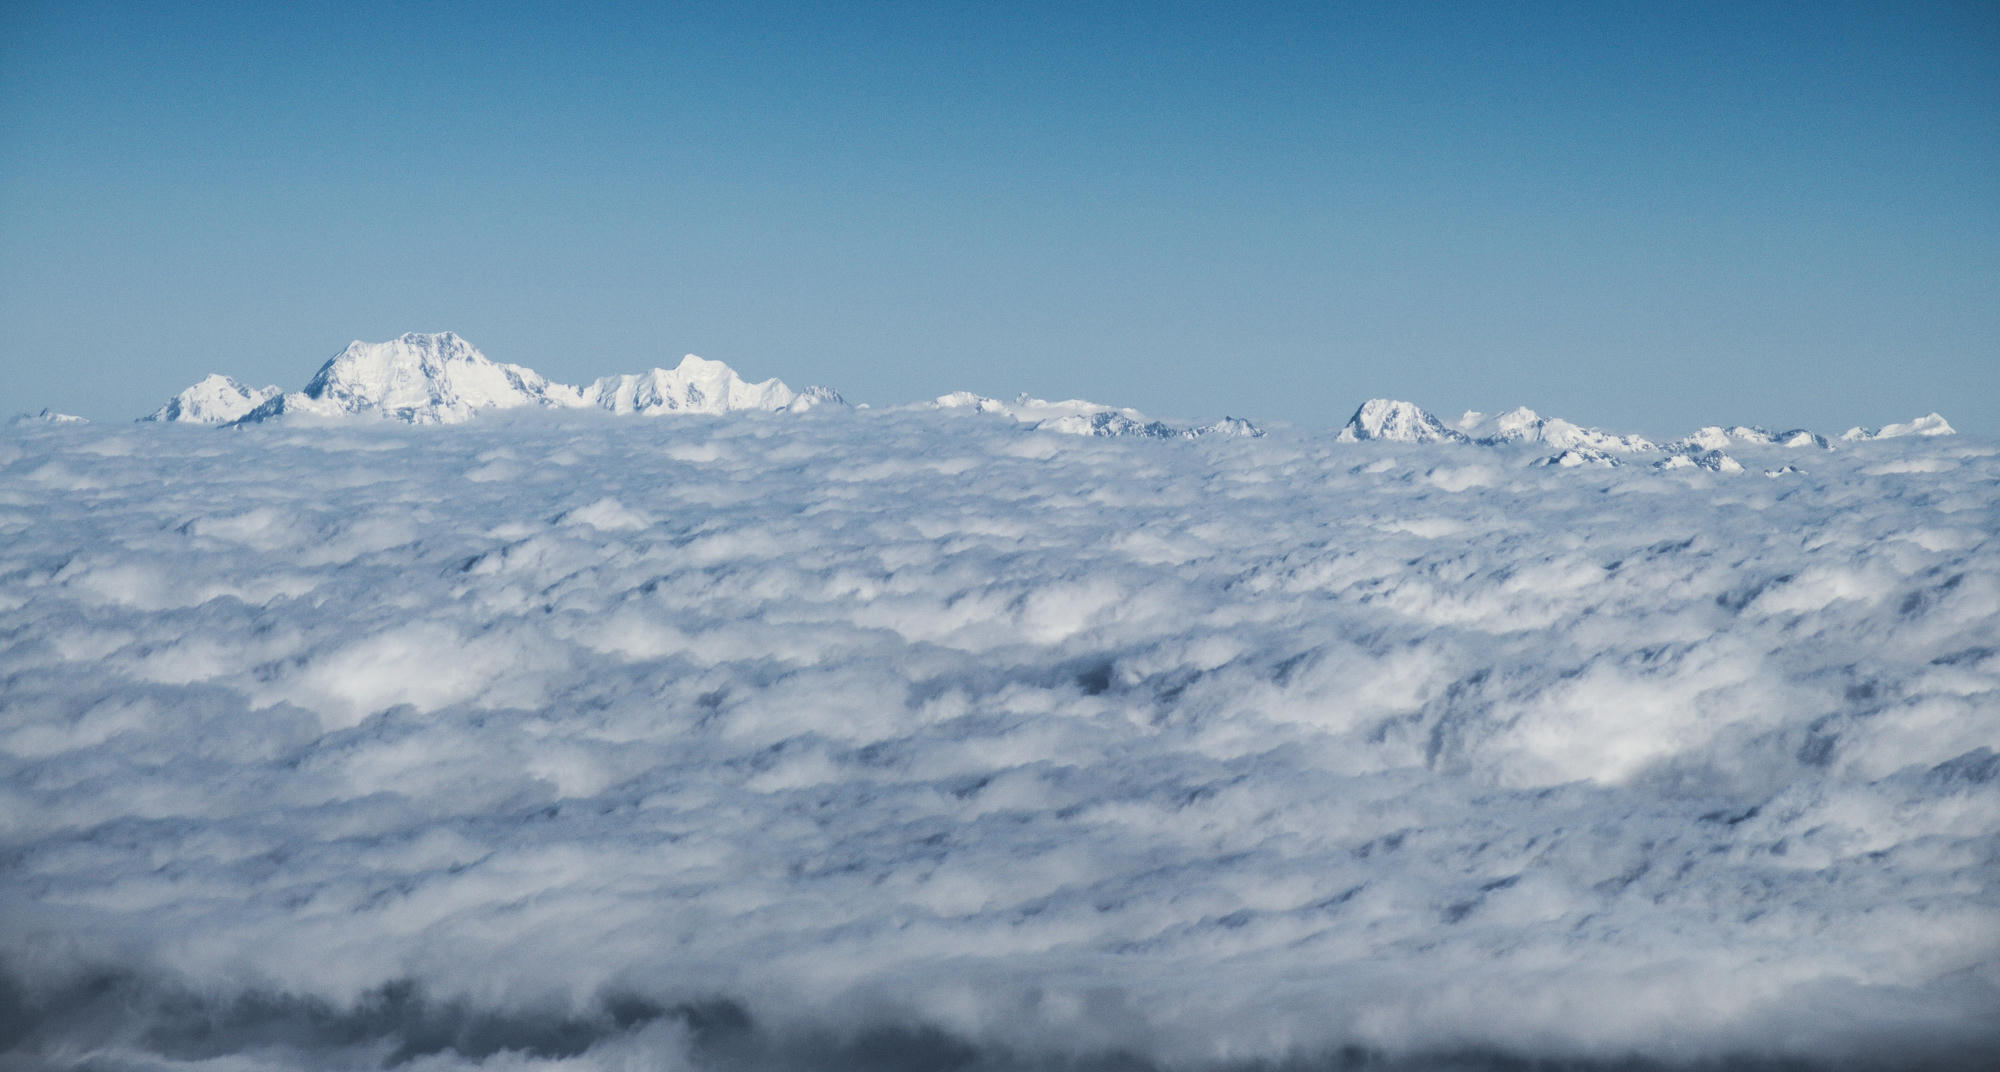
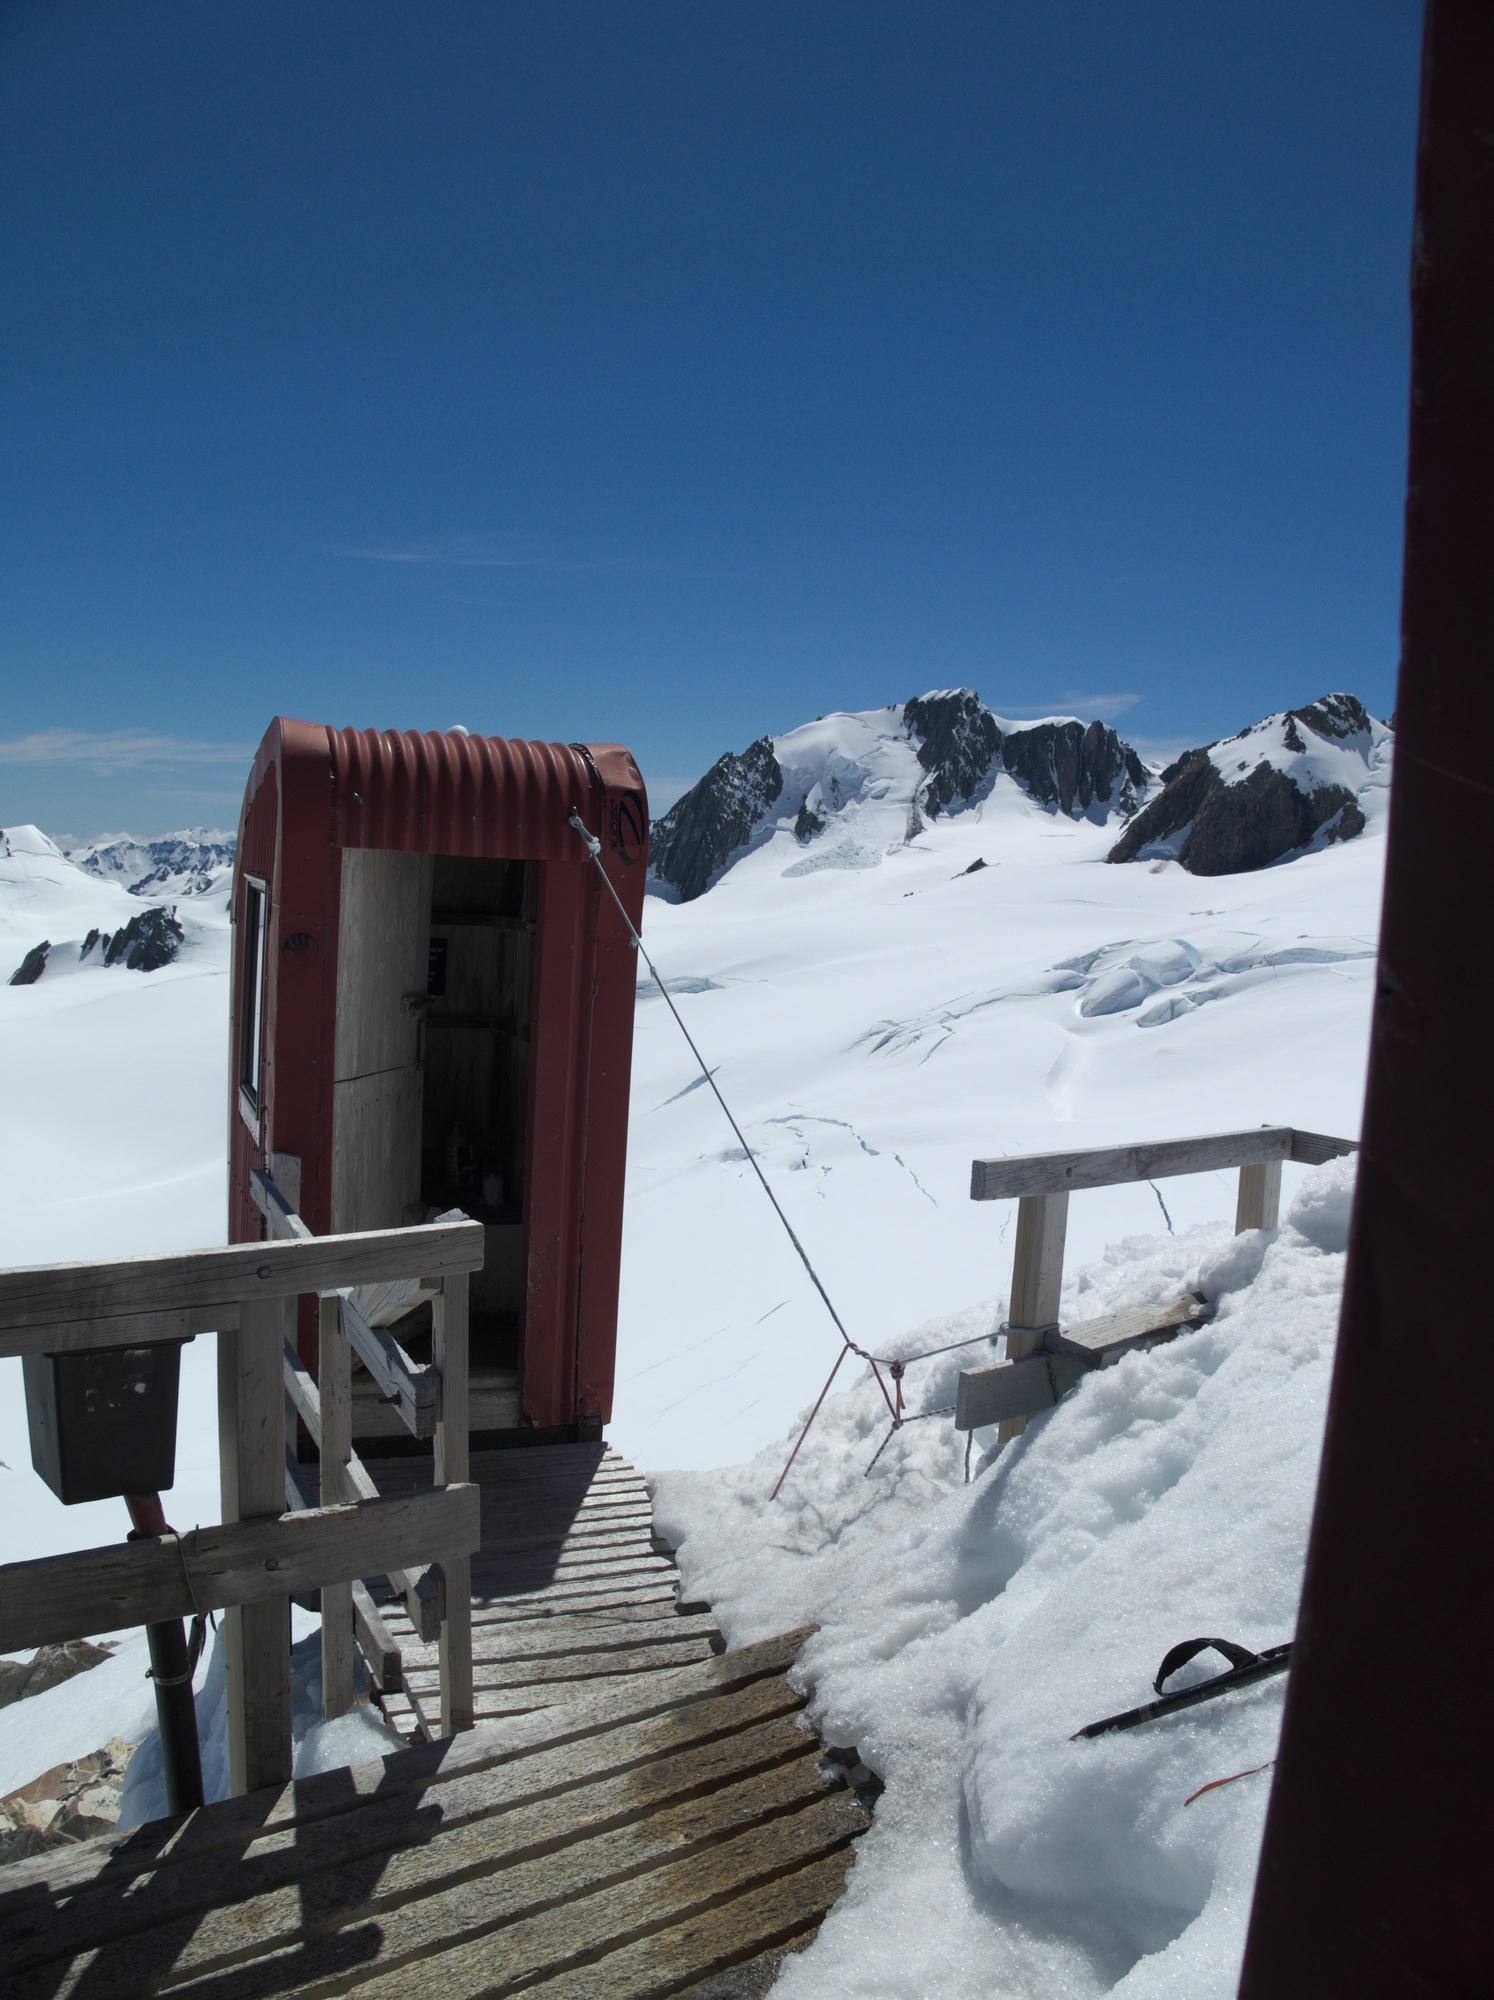
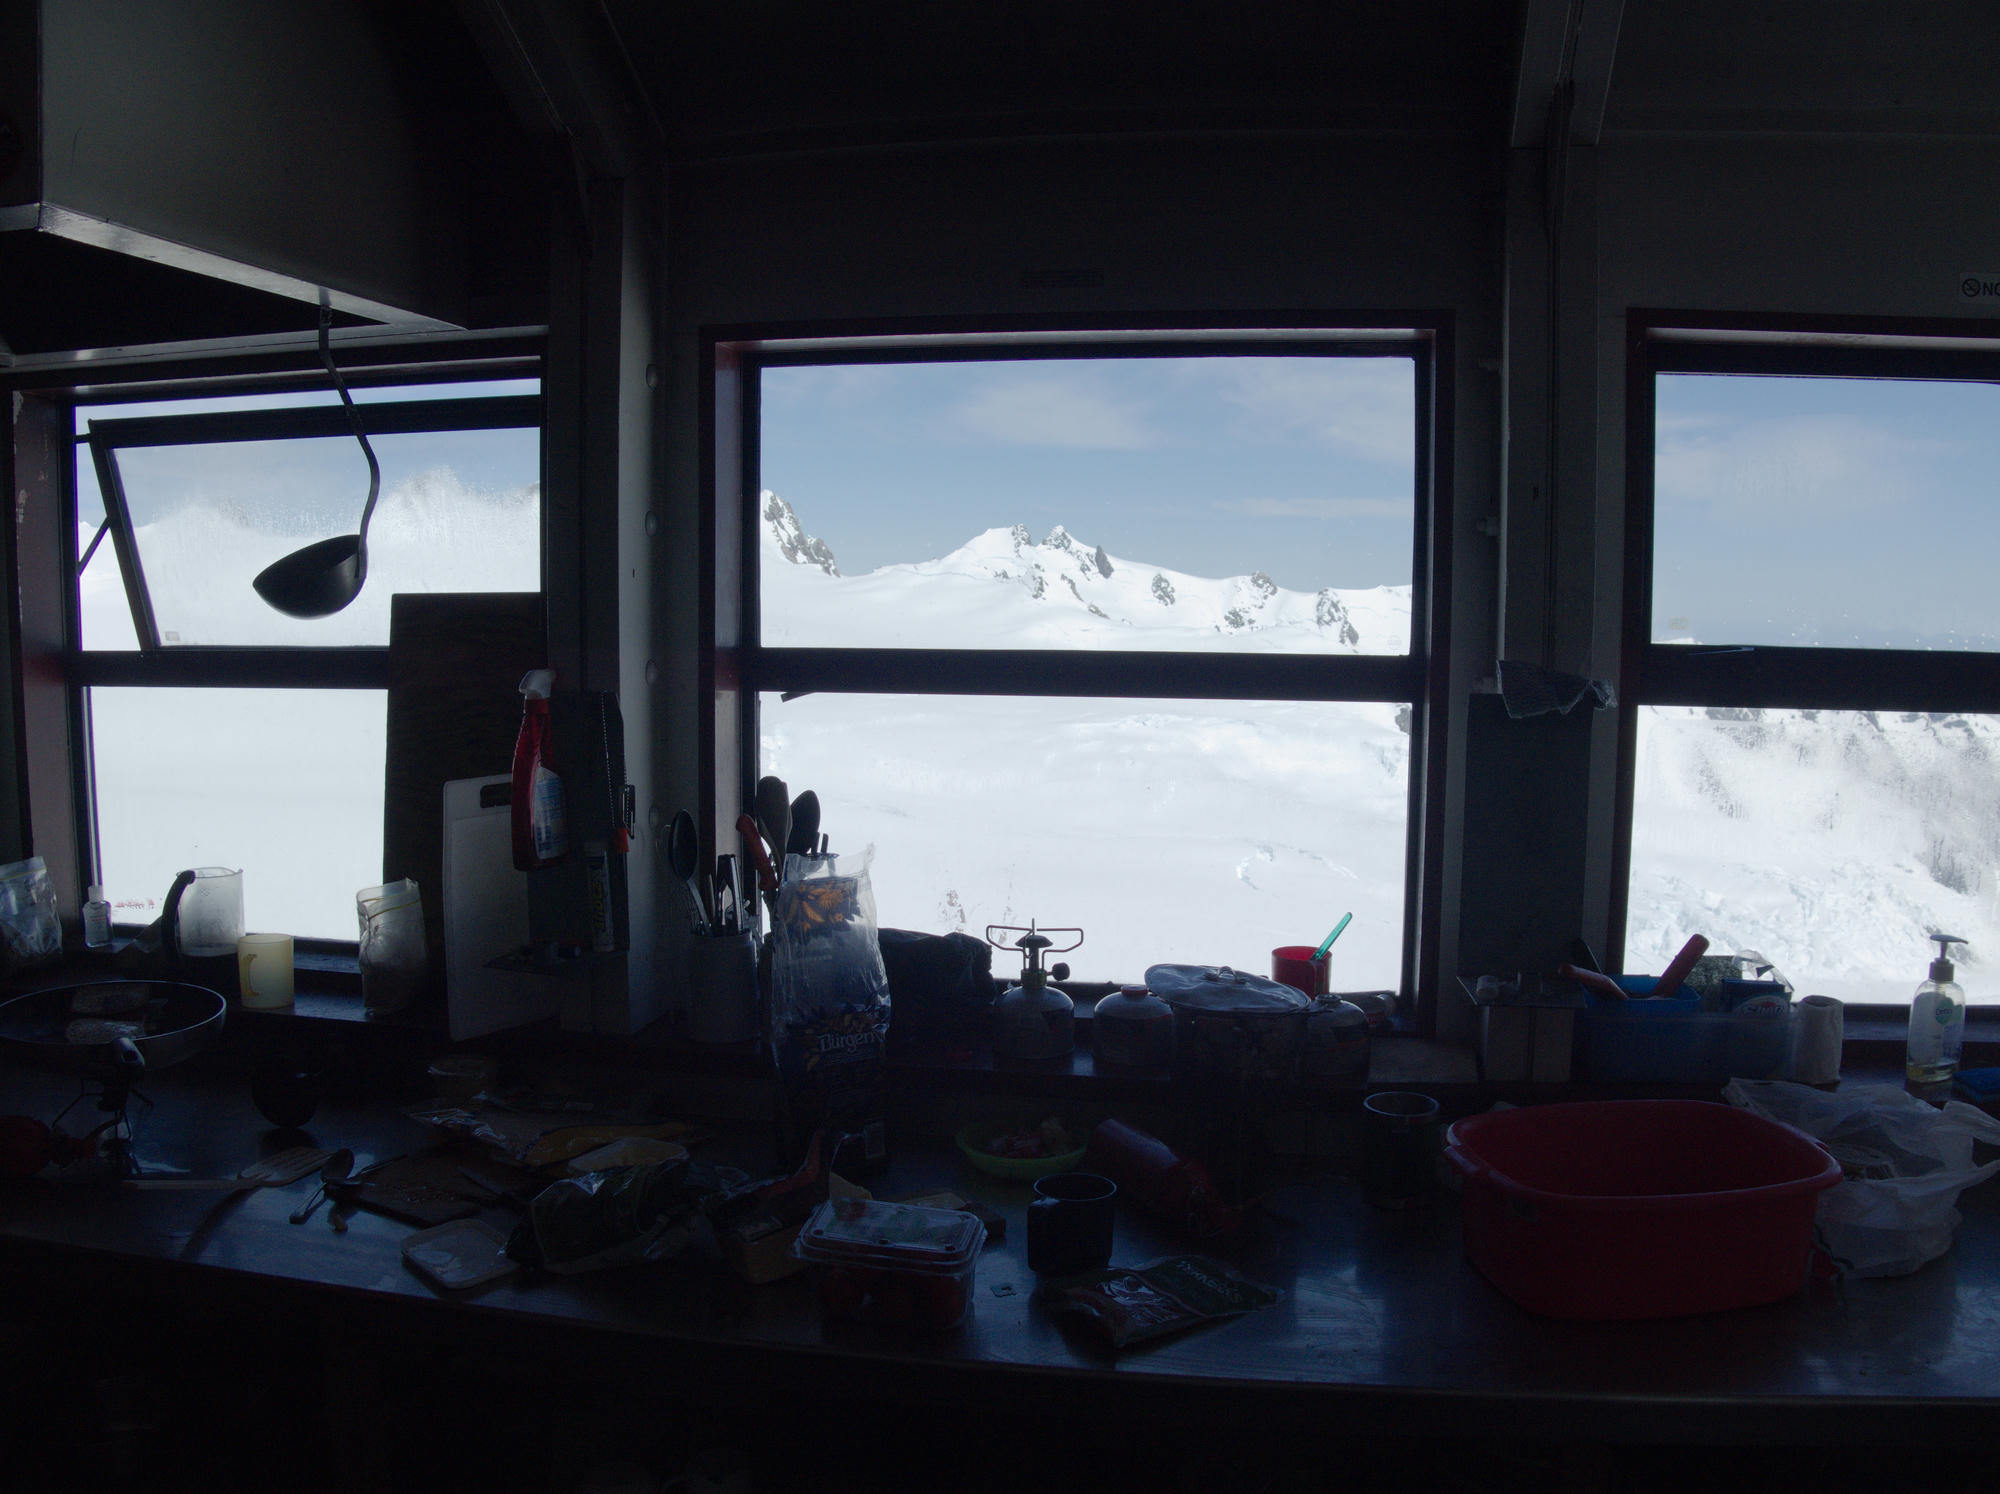
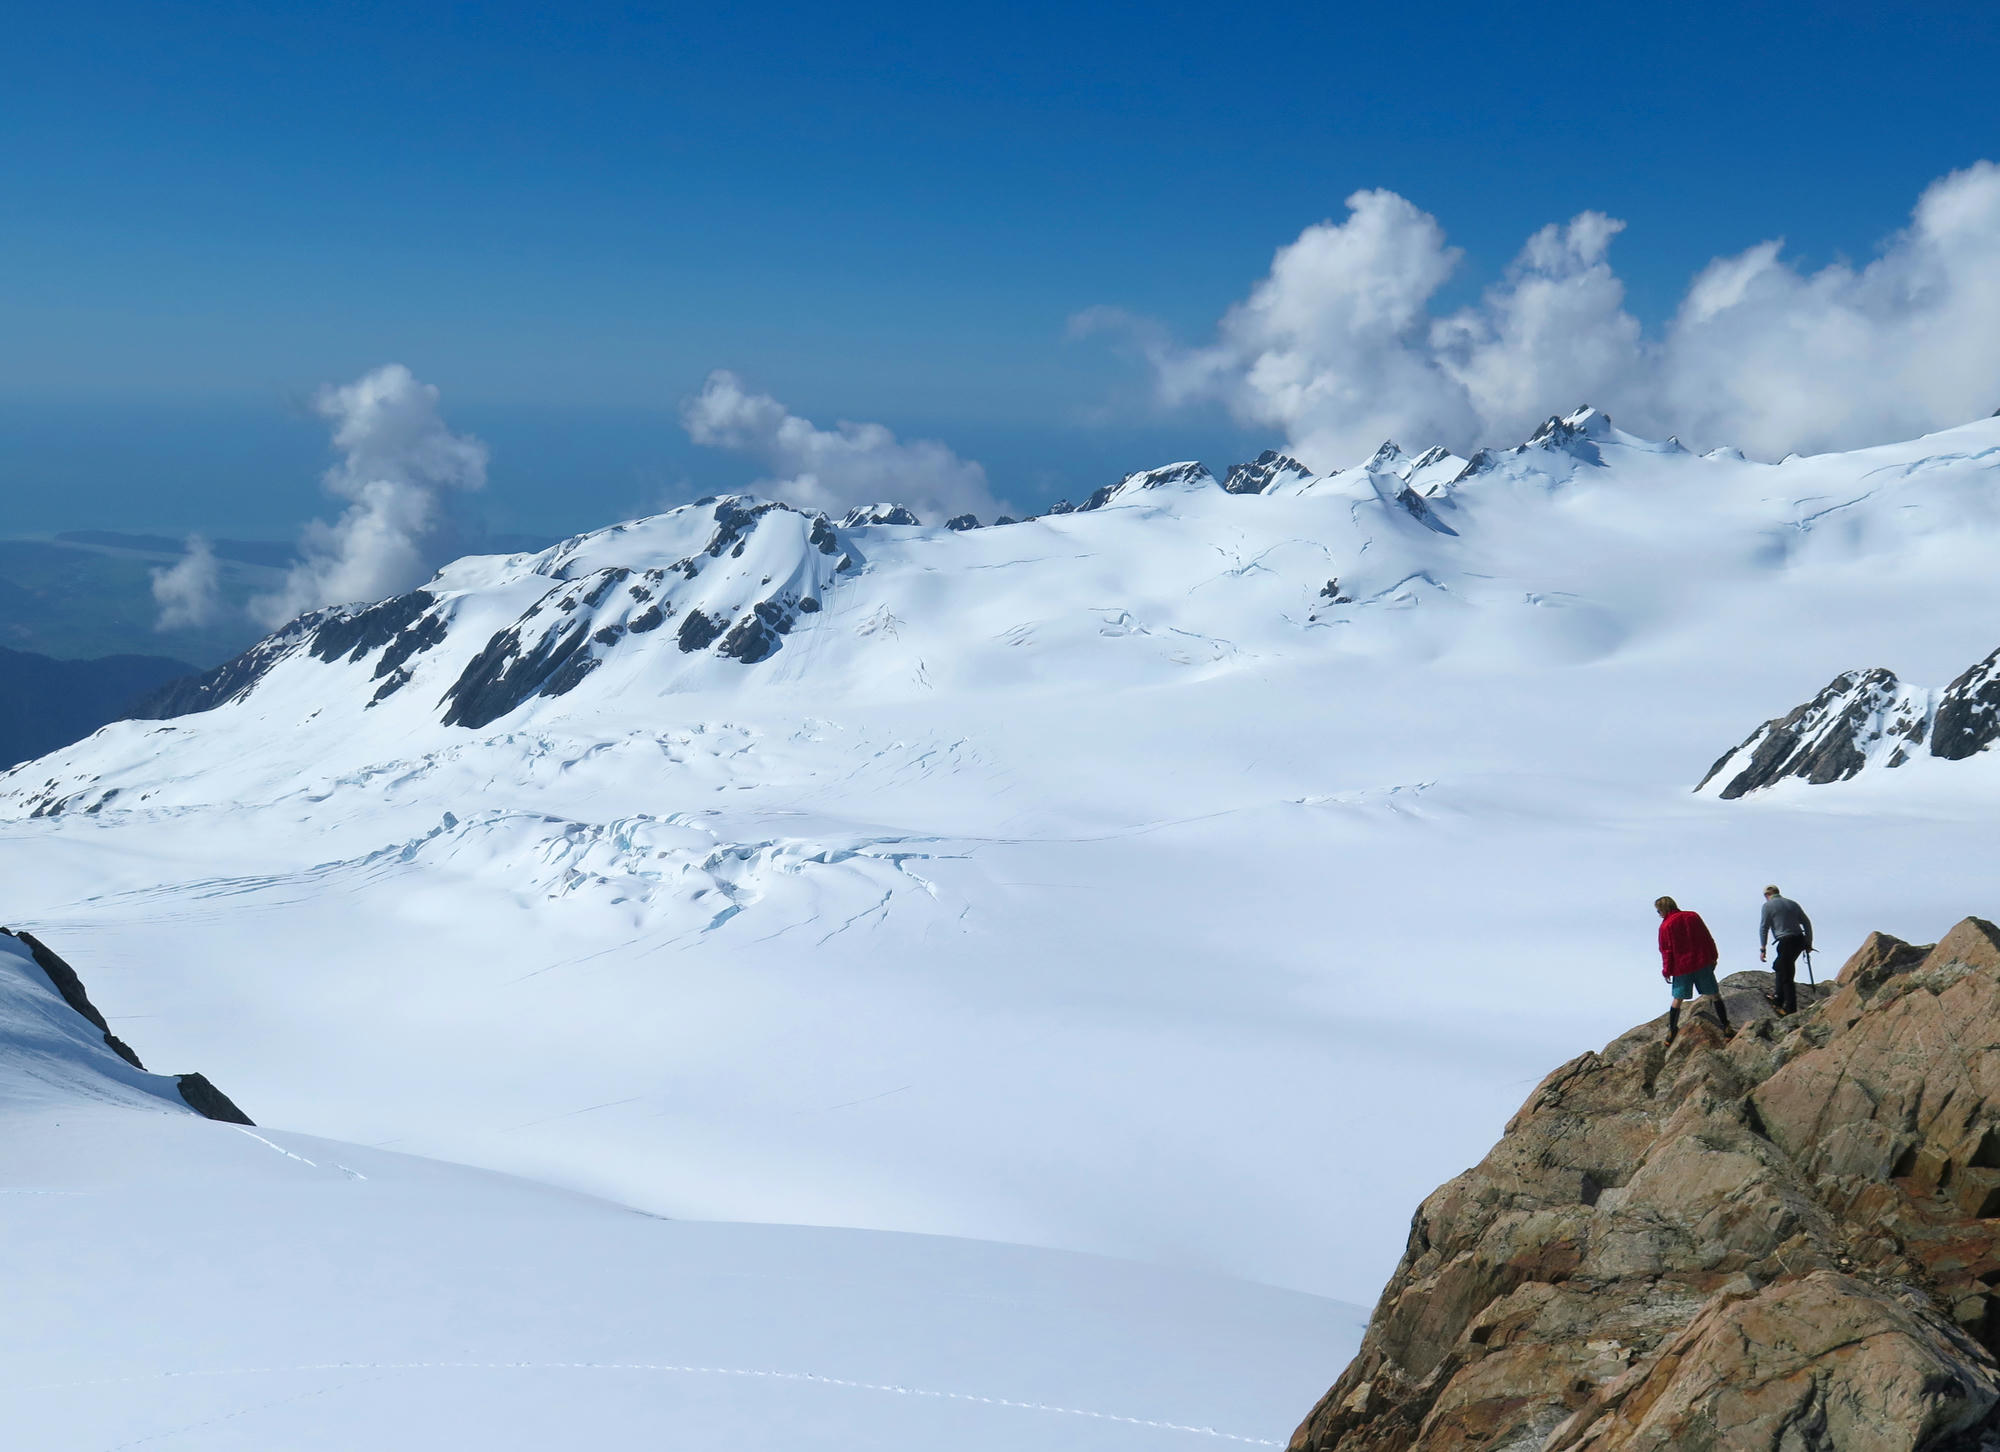
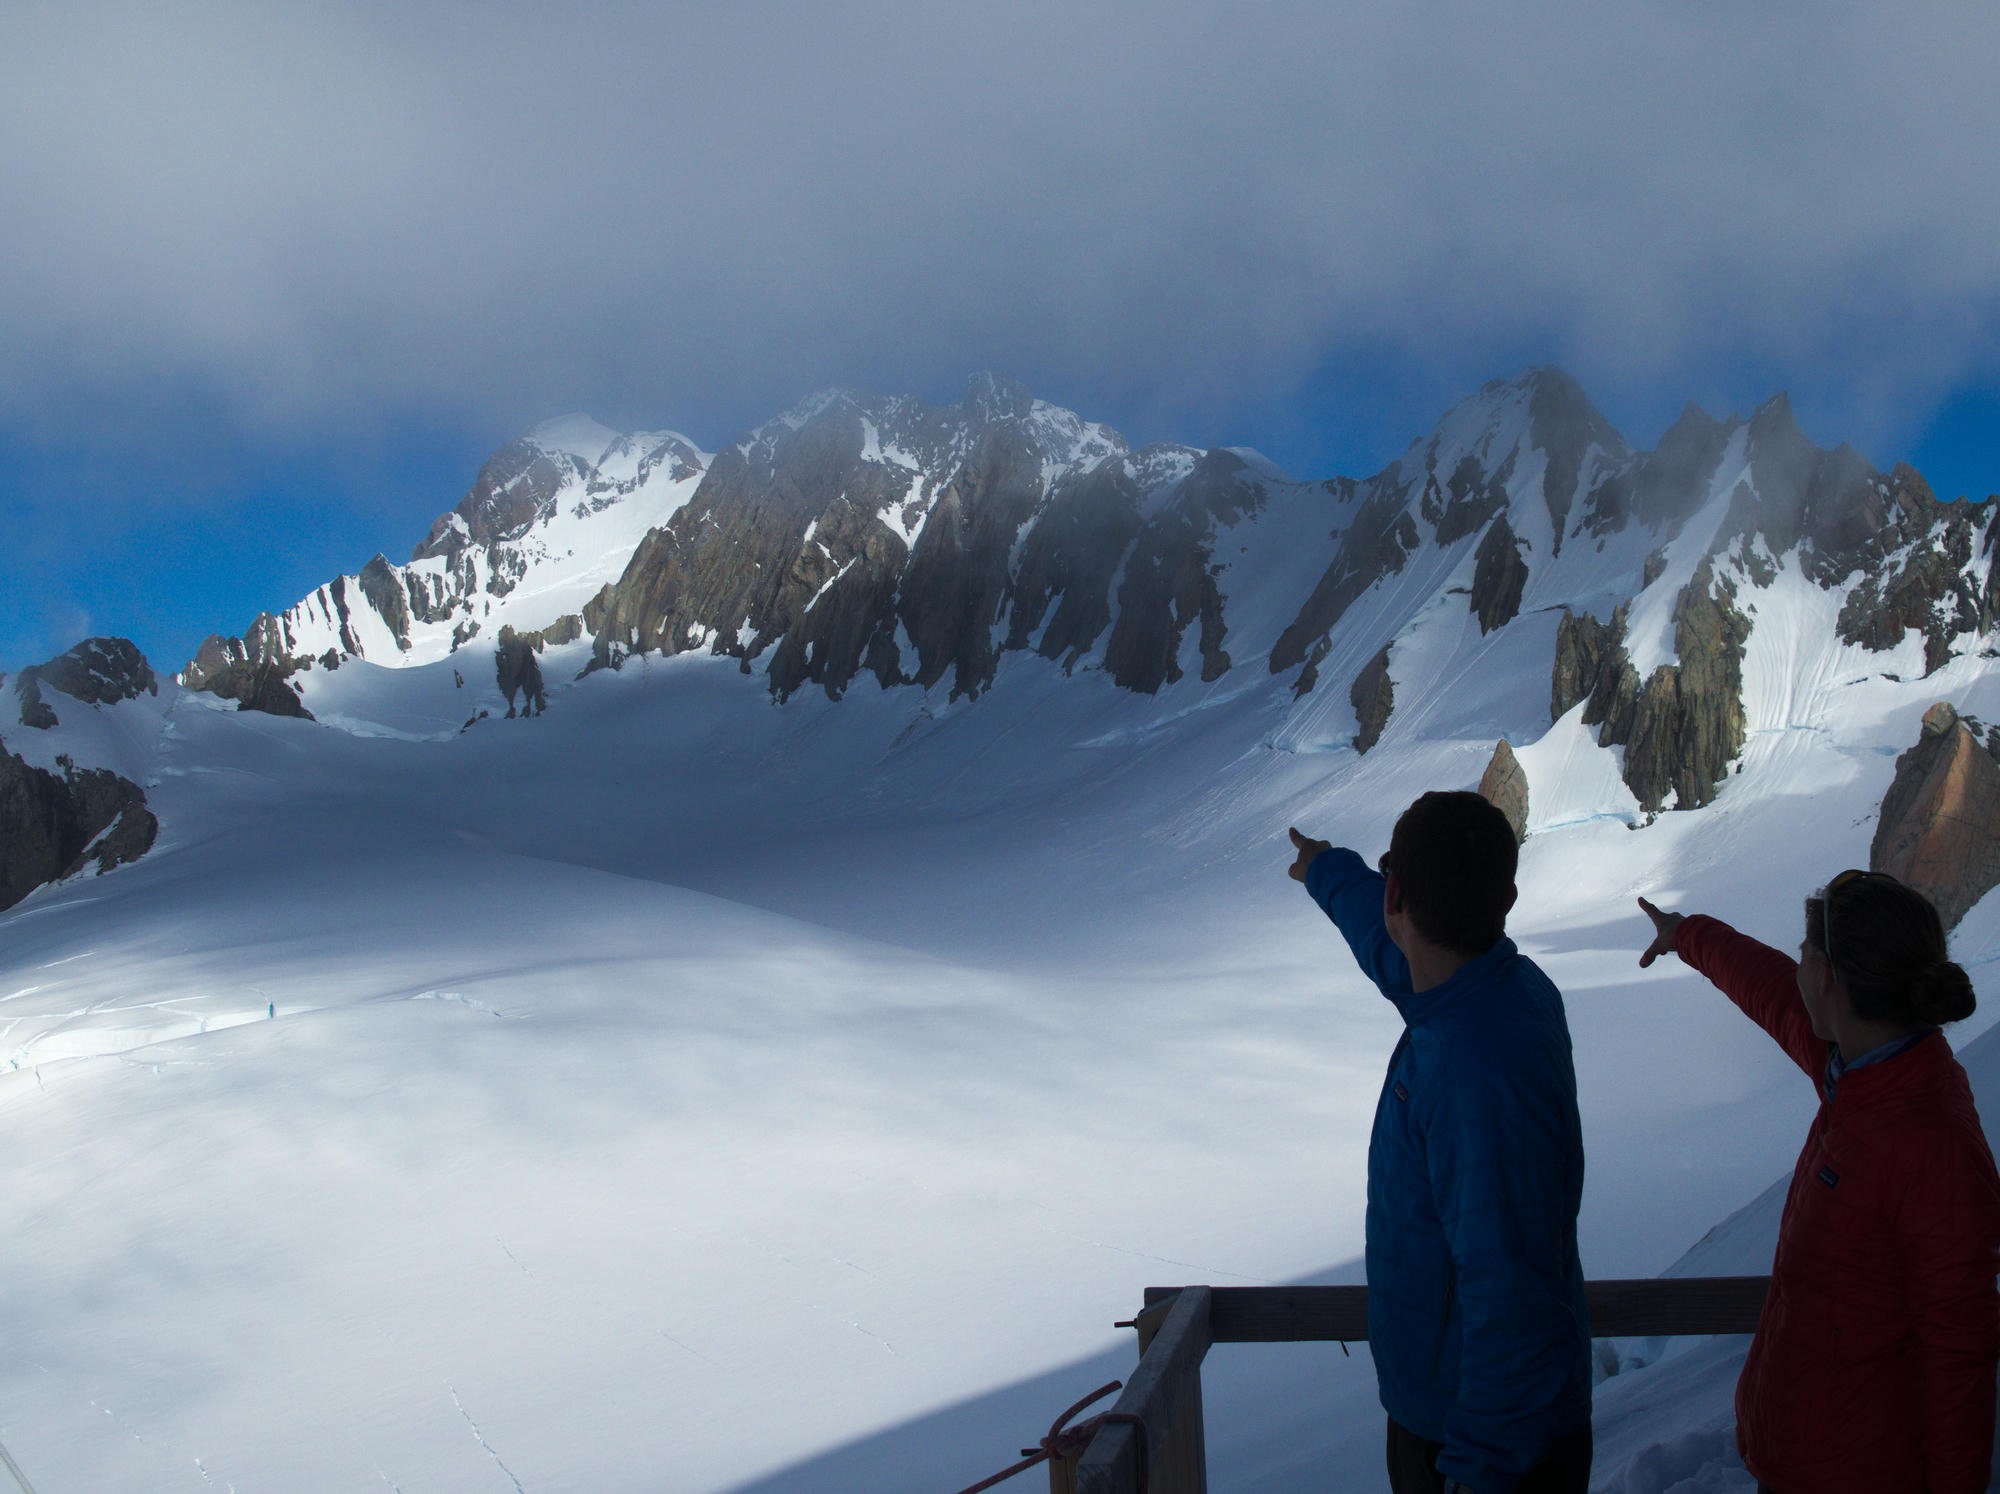
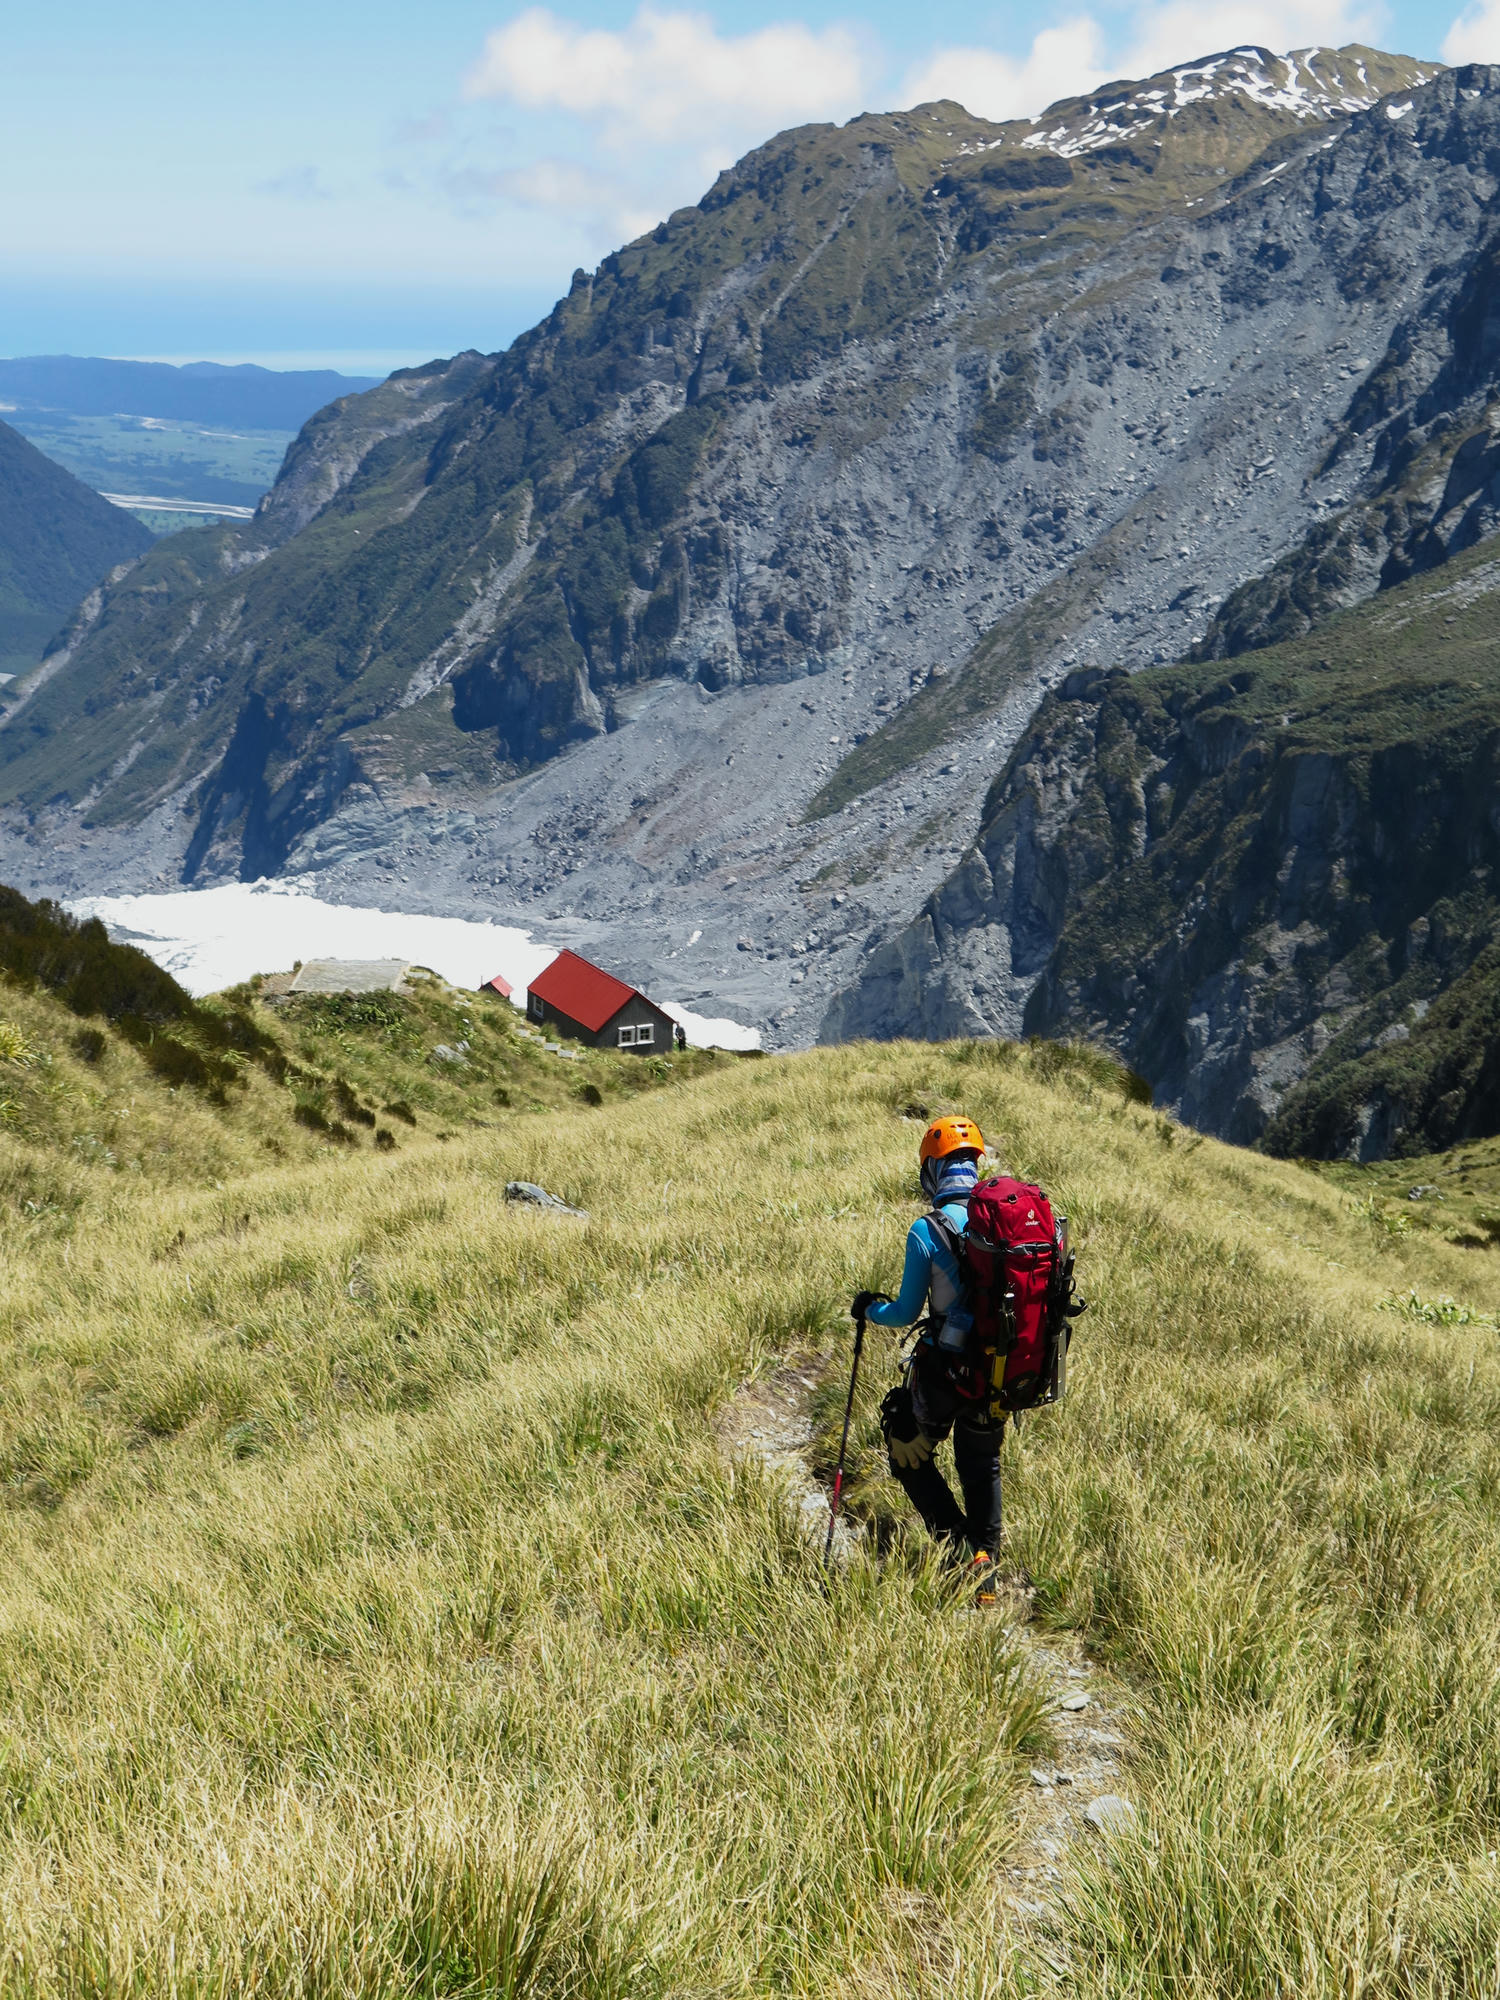
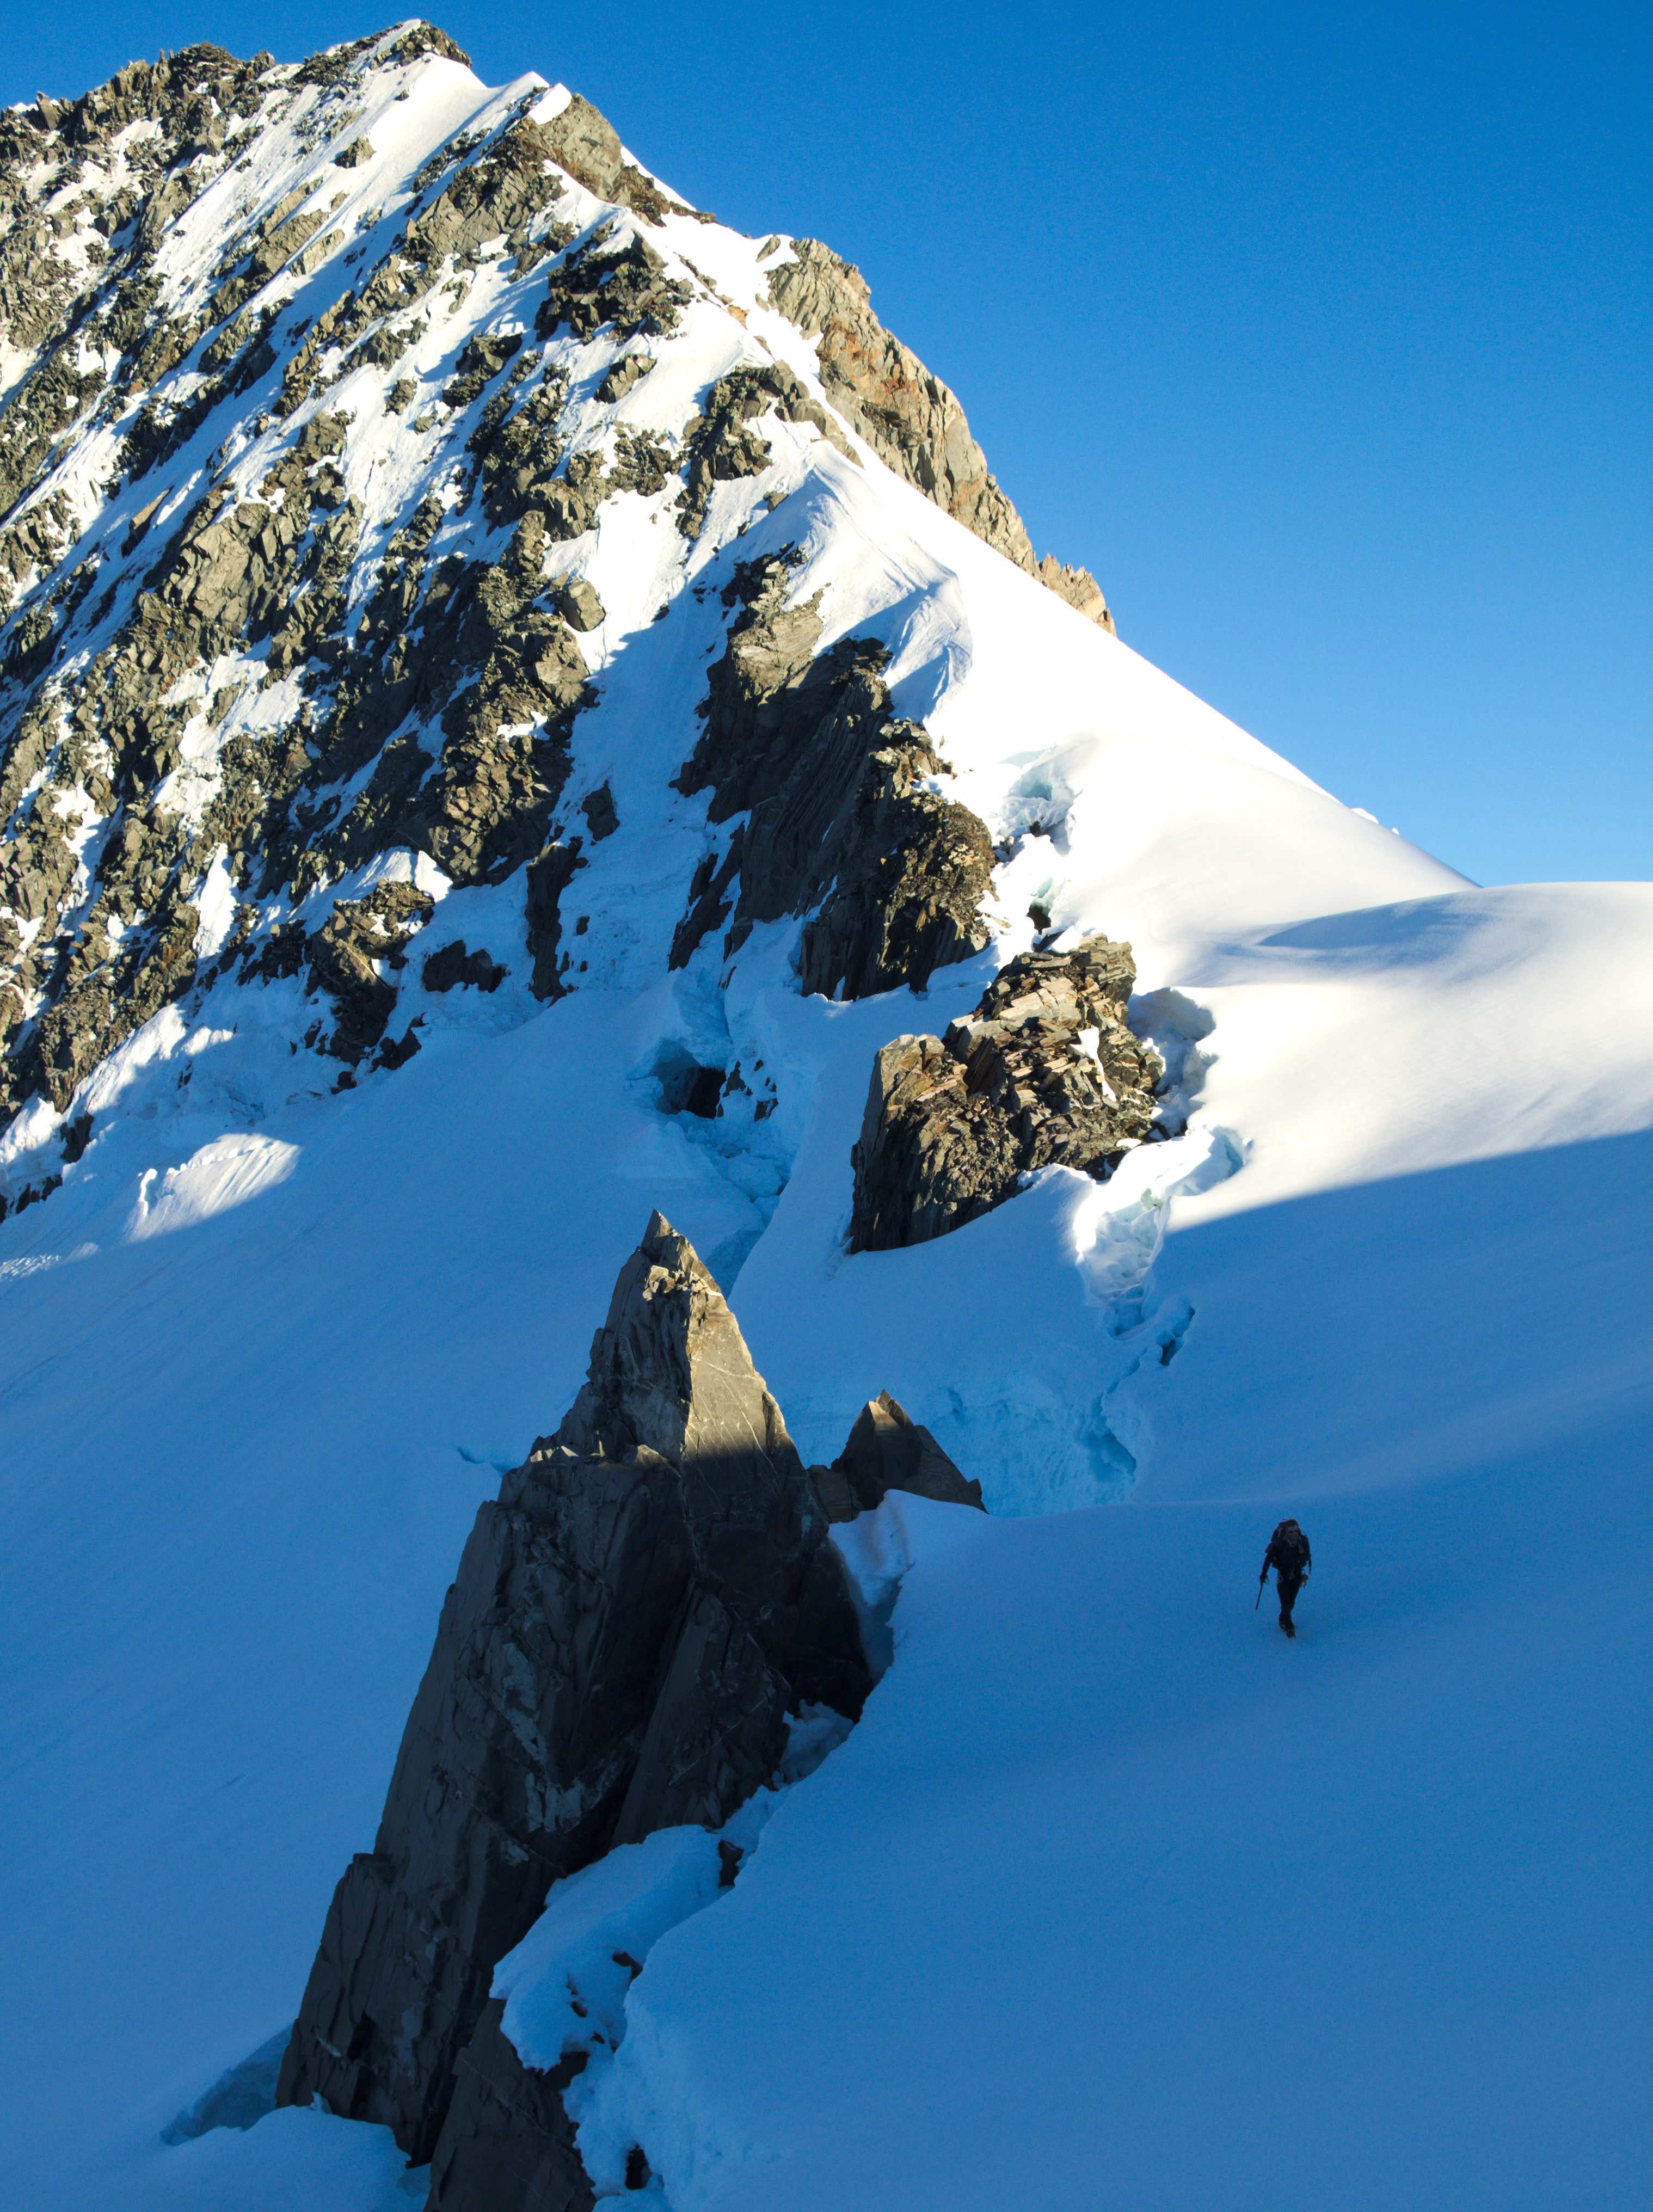
The next morning we all jumped in a helicopter flight up to Centenial Hut. It's a fairly long flight, and you cross over the Fox Glacier and then the Franz Josef, absolutely spectacular. We landed on a flat spot some way above the hut and had to walk our supplies carefully down the hill.
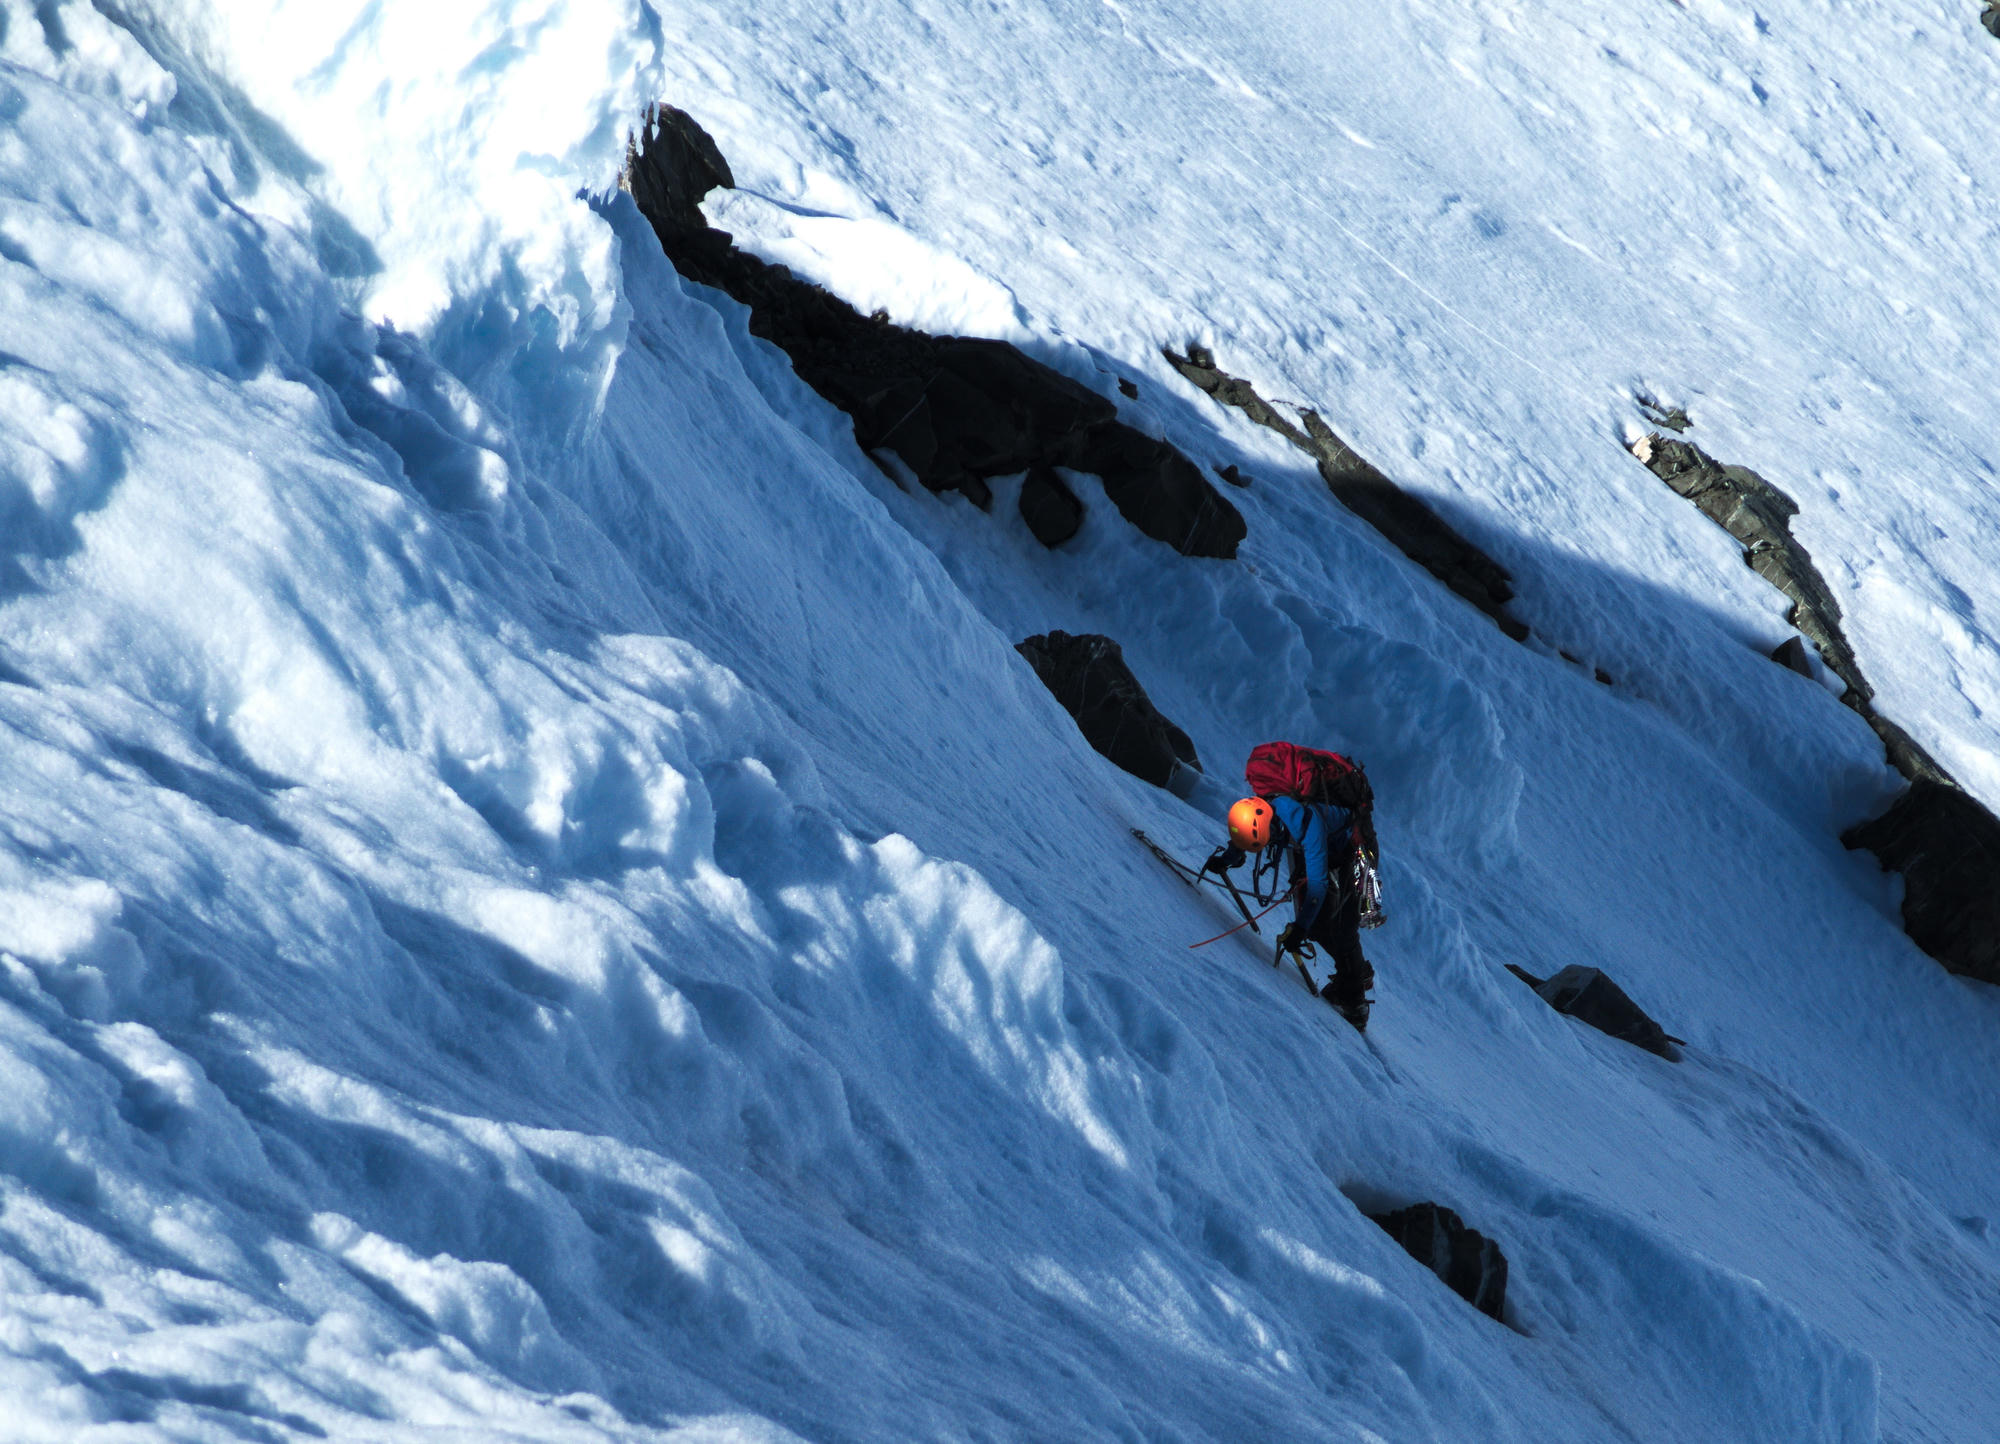
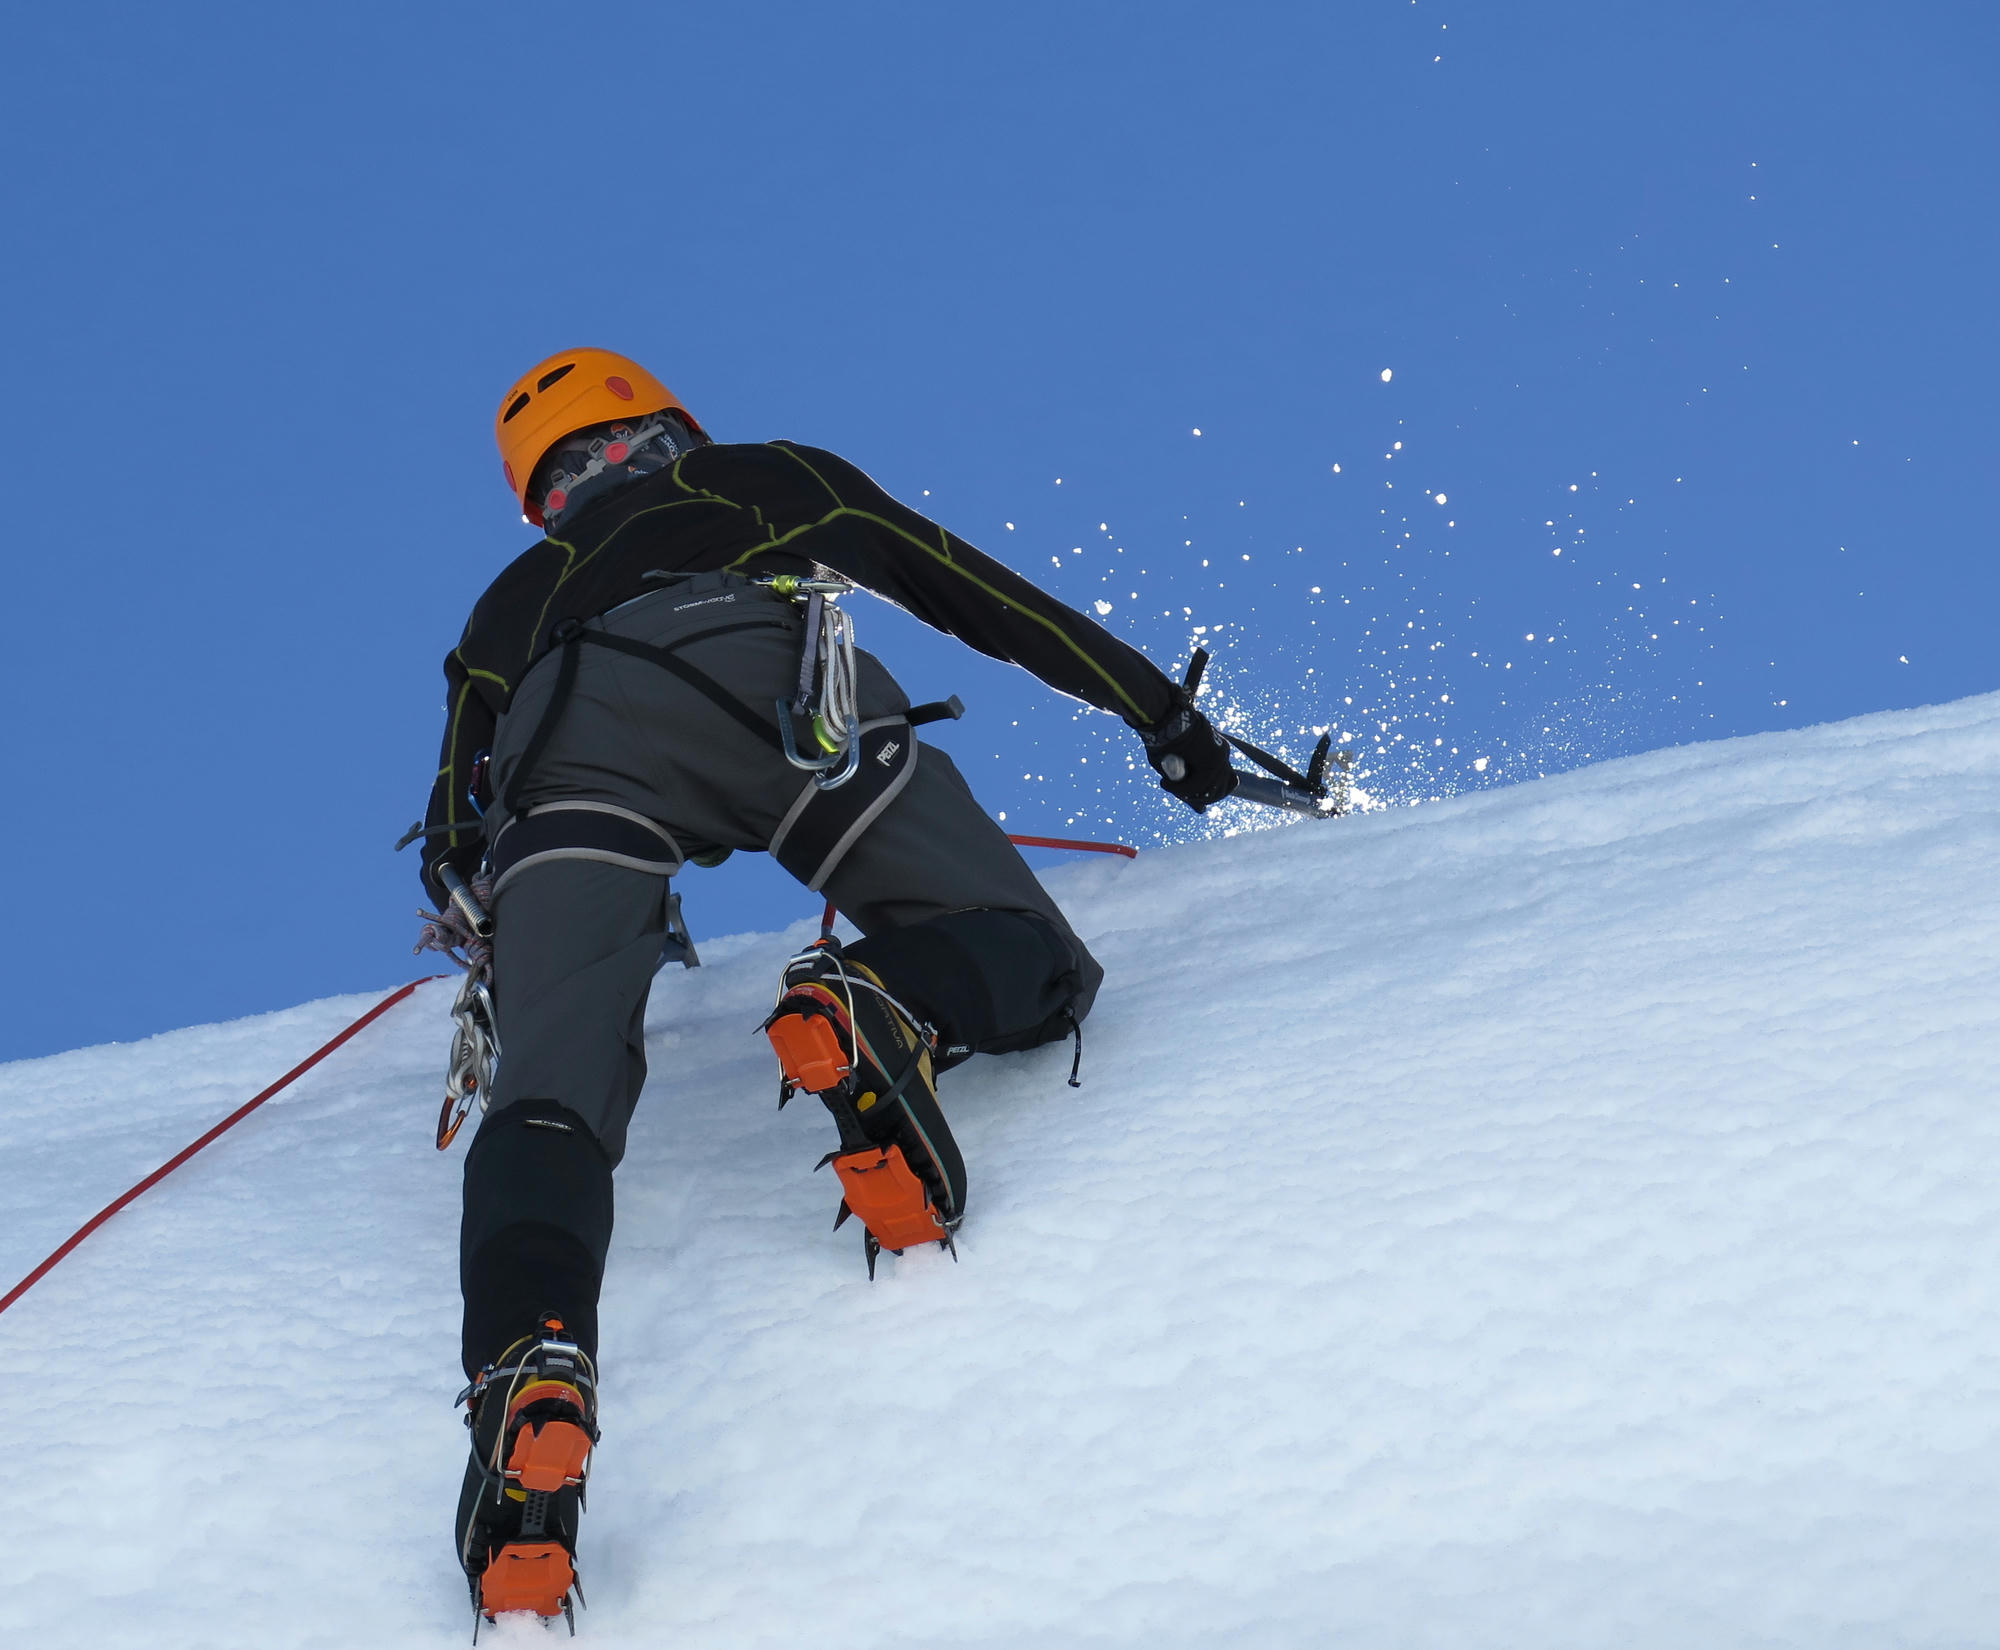
Walking in Crampons
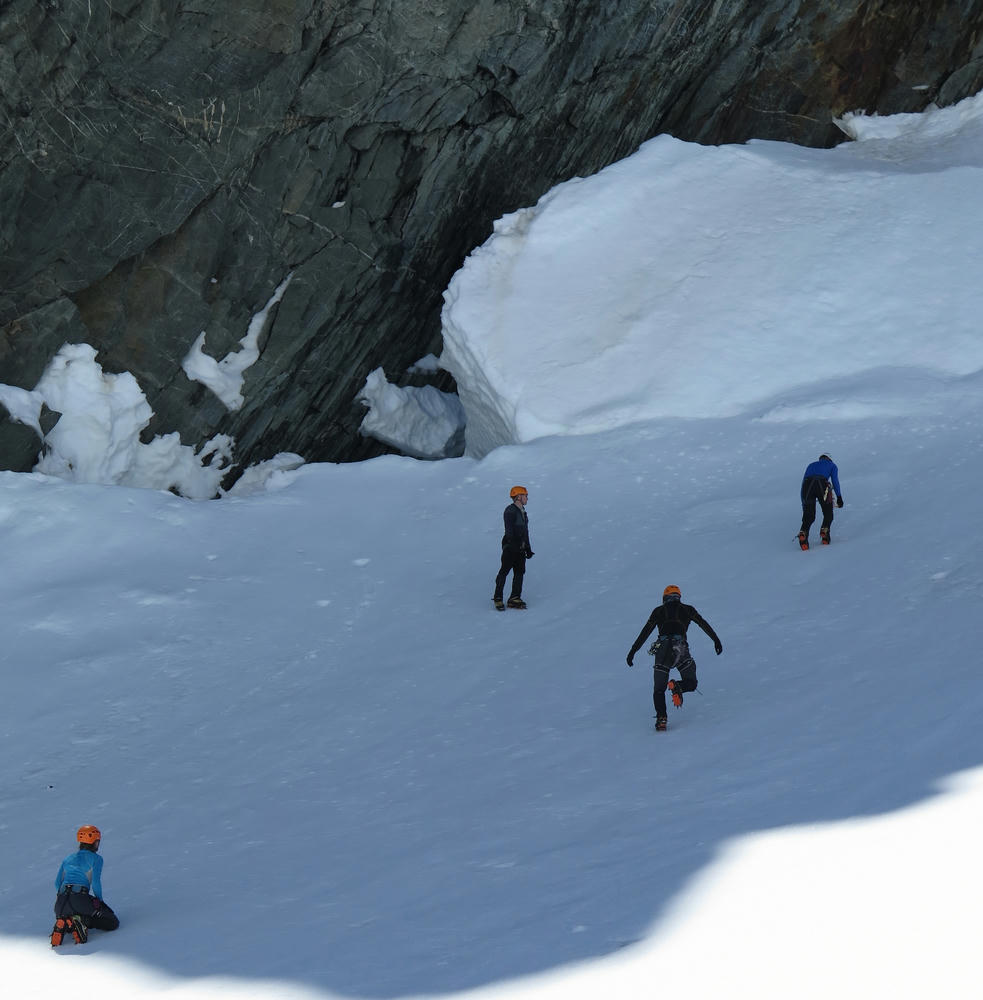
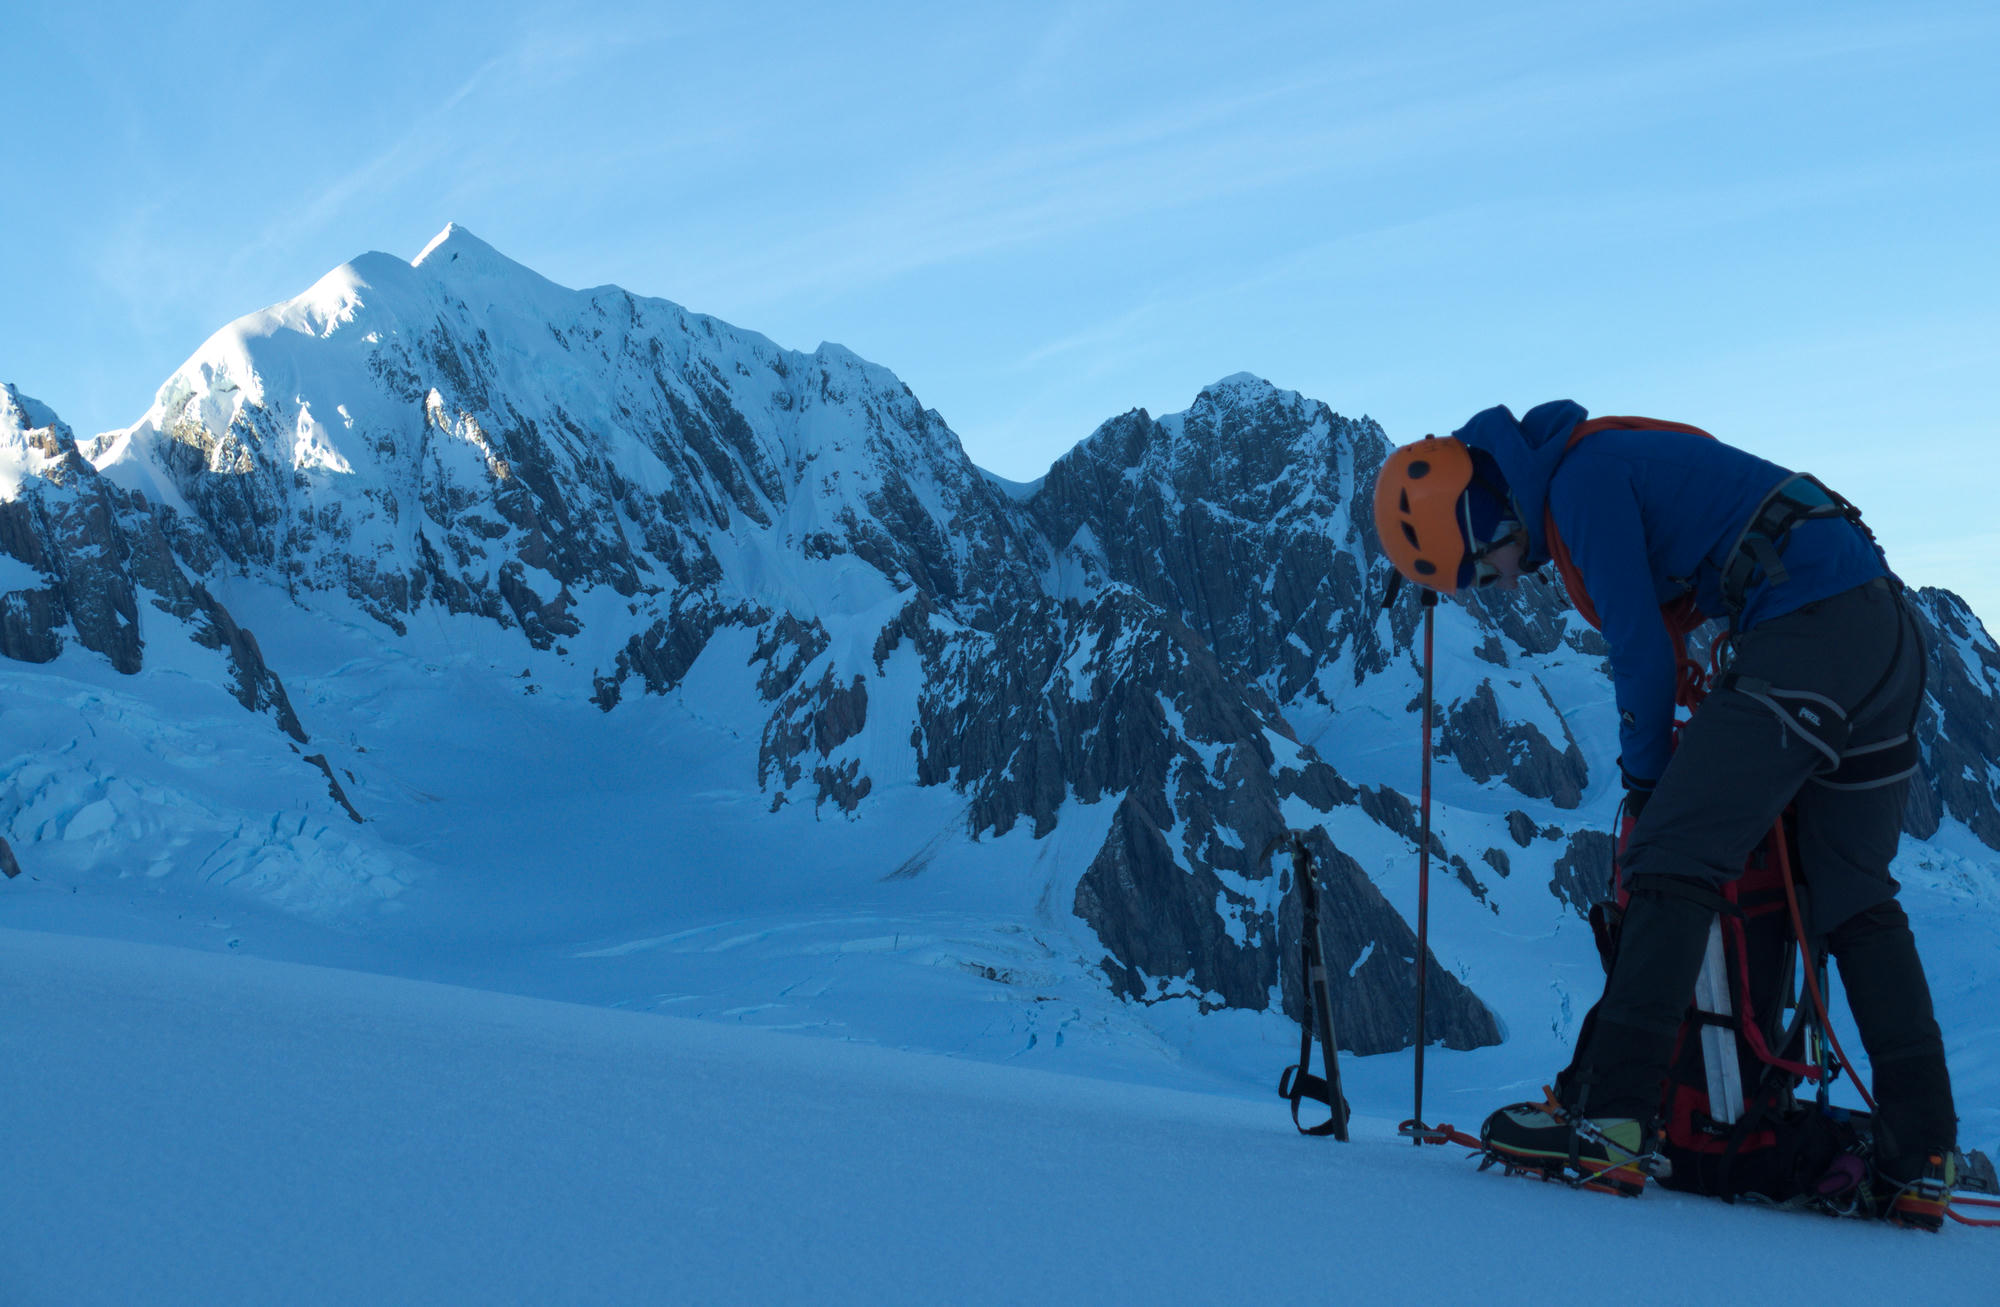
Once we had our stuff stashed away in the hut we headed down onto the glacier to a shaded section where the snow was still firm, for some crampon practice.
The basic concept is that you either need to be on all bottom crampons (usually 10) with foot flat to the ground, or on the front two (or one if you've got monopoints). Standing on the crampons only on one side of the foot on a slope will make them liable to shear through the snow/ice. Flat-footing is appropriate on moderate slopes.
When to Face In
When descending a slope, flat-footing in crampons, this is far less secure than facing into the slope and using your front points. This technique is also often less tiring and is more comfortable than front-pointing. Deciding when the extra security is required, to face in to the slope, is an important decision.
Stu made a video about this topic: Should we face in on this slope? .
Travelling with an Ice Axe
These tips hold for when walking diagonally up a slope:
- Hold the axe in your uphill hand.
- When stepping with the inside foot (the foot closest to the hill), this is the time to place your axe like a walking stick and use it for stability. Stepping with the outside foot is more stable than stepping with the inside foot.
When the slope gets a bit steeper you will need to change how you are using your axe.
If the snow is soft you will switch to plunging the axe into the snow up in front of you, and it may be worth getting both axes out for this.
If the snow is hard you will switch to holding the axe on its shaft and daggering it into the snow.
Once the slope gets steeper, somewhere in the range of 60-70 degrees you will want to switch to placing the axe by swinging it. You should be able to do this efficiently with a flick of the wrist to finish the motion, avoiding smashing your arm into the ice.
Self Arrests
We did spend some time practicing self arrests from all the starting positions (forwards, backwards, upside down, etc). While it's an important skill to learn, I get the impression that self arrests are not very successful in real situations. It's much better to not fall in the first place.
Update 21/09/2018:
After this weekend Rodney reminded me of the following tips.
- Hold the axe diagonally across your body, and use your body weight and your shoulder/chest to push the head of the axe into the ice.
- Always roll towards the head of the Axe, no matter what orientation you start in.
- If you start the fall head-first, reach out diagonally away from your body in the direction of the axe head, in order to first get a point to pivot around on before pulling the axe into your body and pressing down on it more firmly.
Can we be finished by Midday?
Despite knowing and following the best techniques, up there all it takes is a single unfortunate event to ruin your day. In my opinion, human fallibility is an objective and unavoidable risk. It is is perhaps the hardest to manage. We all make mistakes, the best might do it at a lower rate, but mistakes are still made. It is nice that in climbing it often takes a number of mistakes or chances to coincide to result in an accident, but when mountaineering the margin for error is often smaller. Pushing yourself to your physical limit on a climb increases your chance of making mental errors.
Personally I aim to always stay well within my physical comfort zone, with plenty in reserve to try and reduce this risk and deal with unexpected circumstances. This management pricipal I try to apply both while picking climbs, and while on route as my understanding of the objective improves. If I want to climb something bigger or harder, I need to train and prepare more such that it is within this comfort level, or I don't go.
Another philosophy I try to apply which ties in with this is to climb for the enjoyment and not the summit. If I climb well within what I am physically comfortable, it will be much more enjoyable. I try to remove any emotional attachment to the concept of reaching the top because this clouds sensible judgement about when to turn back. My reason for climbing is the enjoyment of being in that environment, and the sensation of climbing. If we're having a good day and the conditions are perfect, we'll make the top by matter of course. As Ed Viesturs says, "Getting to the top is optional. Getting down is mandatory.".
I've tried to adhere to this principal the last two seasons of climbing, and despite what some say about mountaineering being an act of suffering, it was actually quite enjoyable and I never felt physically depleted. Sure there were some moments of uncertainty, but these are much easier to deal with when you're not tired.
Something that Stu advocated to other climbers was the concept of "Can we be finished by midday?". Aiming to, in any event, be back at the hut by midday. Picking climbs which are at your level such that you can reasonably expect to be back by midday. Always asking yourself this question on a climb and taking the actions such as retreating in order to fulfil this goal of getting back to the hut by midday. He made a video about it: Can we be finished by Midday?
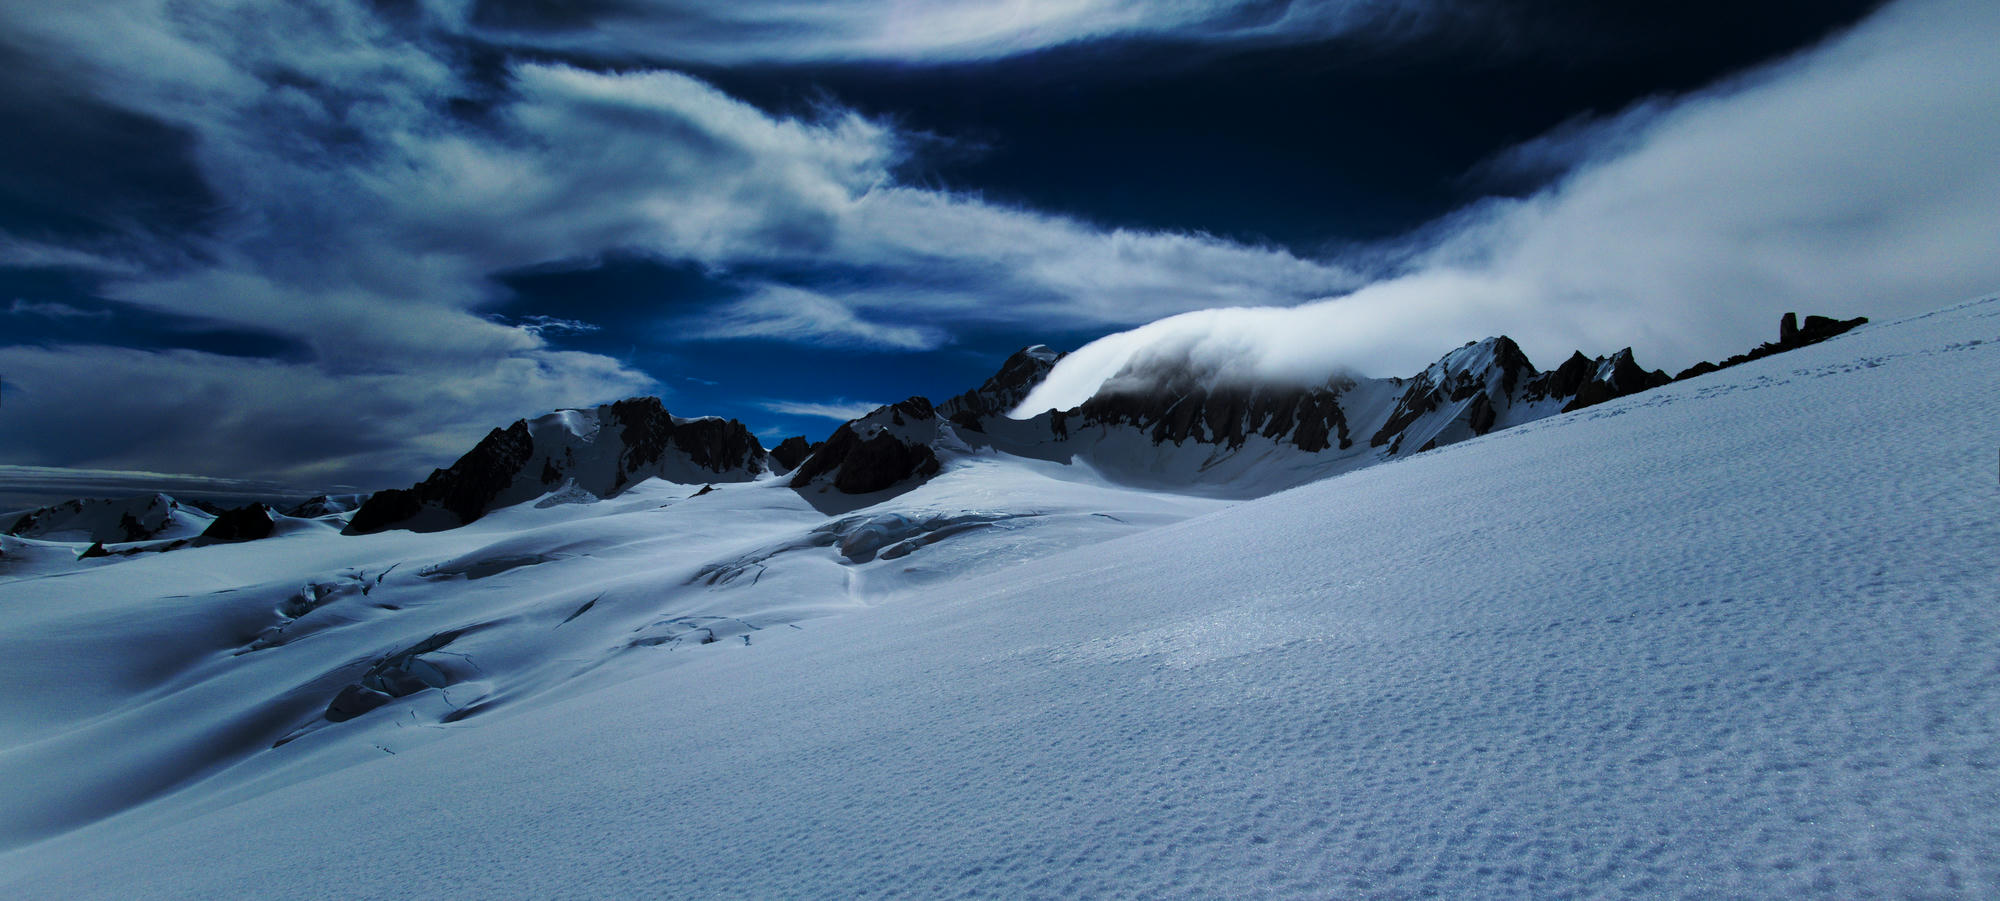
Weather Patterns/Forecasts
Stu's video: Will the weather and snow stability really hold?
Avalanches
During summer climbing in New Zealand, the major avalanche concern is wet loose slides causing you to loose your footing and topple over a precipice or into a crevasse. Wet slabs are also a possibility.
The occasional snowfall does lead to some weak layers with dry slabs, especially with wind loading after a storm. Mitigating this risk, the strategy is usually to wait a day or so after a storm for the layers to bake in the sun and bond again.
Rockfall
Freezing Level
Climbing in summer in New Zealand you need to pay a lot of attention to the freezing level. This weather attribute has a large impact on the consistency of the frozen water you travel over (and under)!
Generally speaking, during good weather periods, each night the snow freezes, and each day it heats up and melts. In the morning, your fast walk across the glacier depends on a good overnight freeze.
If the freezing level is above you, you will need to stumble quite some distance through soft snow before reaching the frozen neve. Returning that afternoon, your risk of breaking through a snow bridge is greatly enhanced. When there is no good overnight freeze it is best to re-evaluate your options, a long classic mountaineering route over snow is not a nice option. A rock climb closer to your hut or base could be a lot more fun.
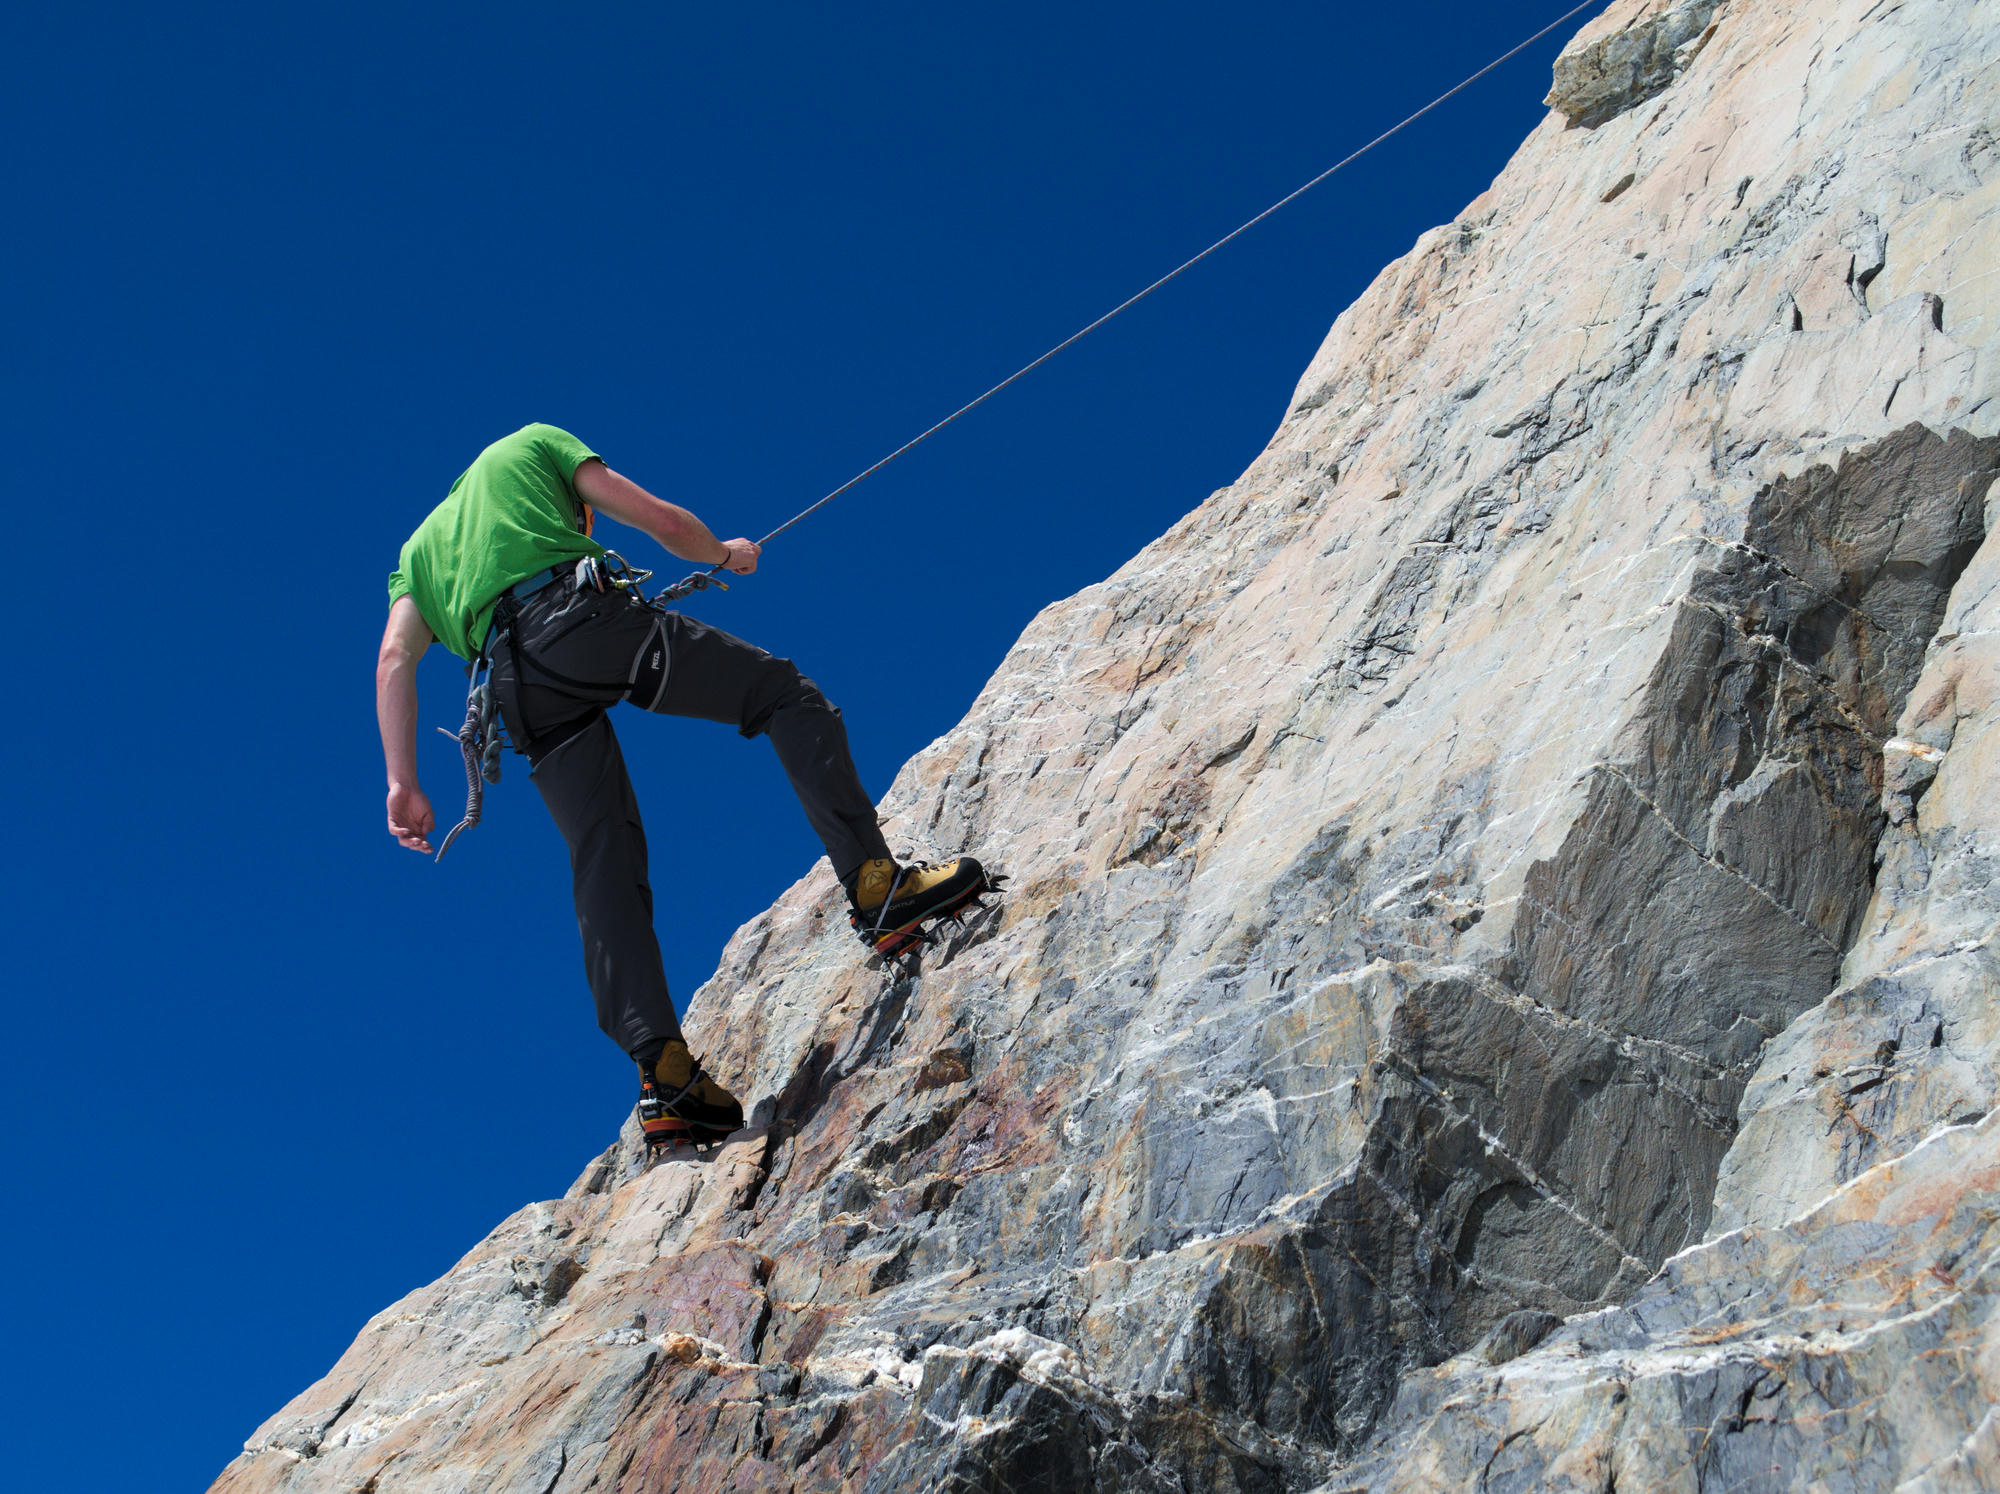
Rock Climbing in Crampons
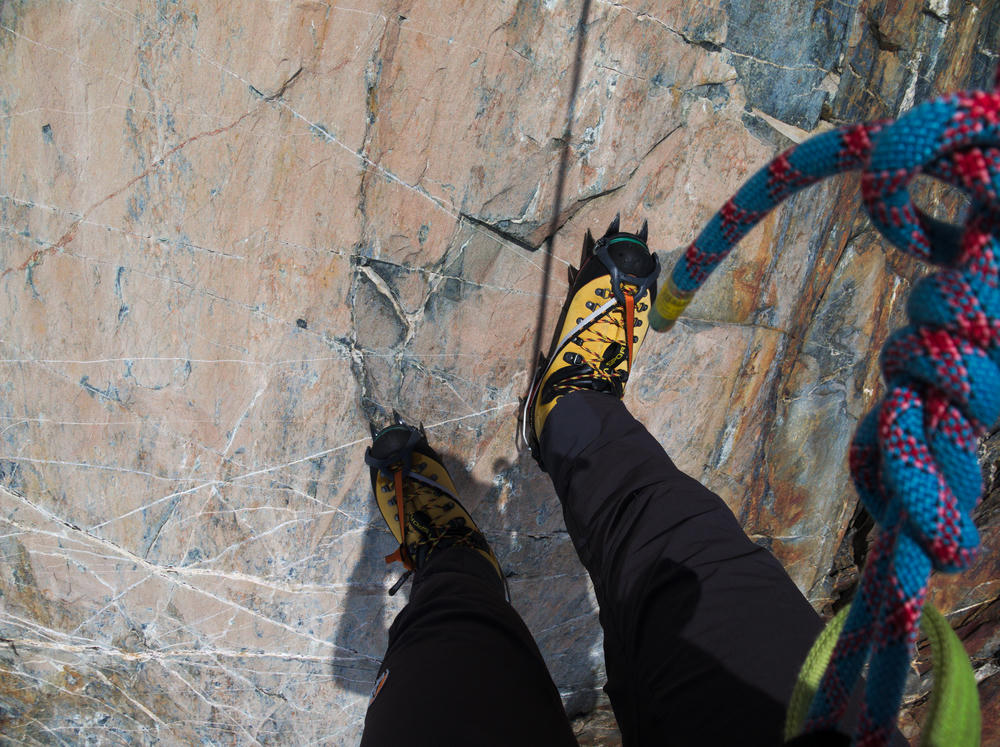
Rock Climbing in Mountain Boots
Learning to climb easy and moderate rock routes in mountain boots is an important skill. It reduces the weight you need to carry (potentially no rock climbing shoes required), and reduces the number of transitions when you need to change shoes.
Placing Pitons
Placing Snow Stakes

Ice Screws
V-Threads
Snow Bollards
Crevasse Rescue